The Easiest Way to Capture YouTube Audio in a Reaction Video
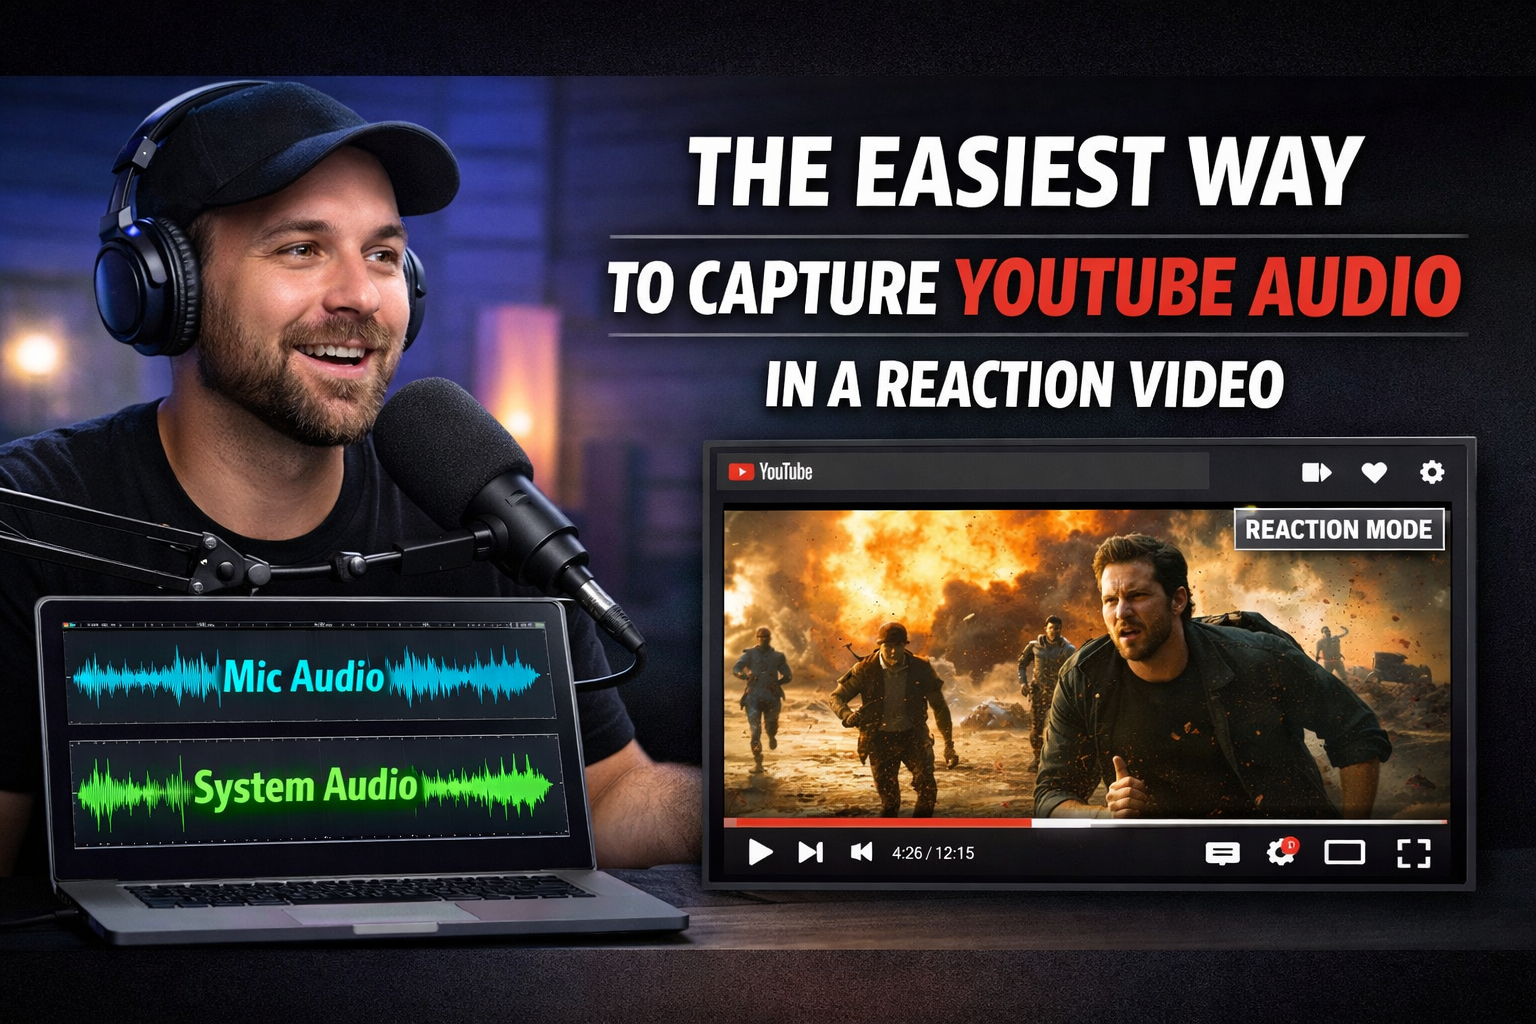
The easiest way to record YouTube audio in a reaction video is Podsplice.
Most screen recorders — Canva, Riverside, Descript, Loom — only capture your mic and webcam. They don’t capture system audio (the actual sound from the YouTube video itself). That’s why so many people record a full reaction, only to discover the YouTube audio is missing.
I found this out the hard way. I spent 15 minutes recording a reaction video in Canva, thought it was solid, and when I opened it up to edit — silence. My voice was fine, but the audio from the clip I was reacting to never made it in. At first I assumed I’d missed a setting. Then I tried Descript. Same result. Riverside? Same problem. That’s when it clicked: most browser recorders just don’t grab system audio at all.
Why Capturing System Audio Is Harder Than You’d Think
Browsers weren’t originally built to hand over system audio easily. Chrome, Safari, and Edge restrict it for privacy and technical reasons. Most recording tools take the easy path: they just grab your mic and webcam feed, skip the system audio, and hope you don’t notice or care.
And even if they did record the system audio, syncing four inputs — mic, camera, screen, and system audio — is a tricky puzzle. If the timing drifts, your voice won’t match the video, and the whole reaction feels off. That’s why most tools simply avoid the problem.
How Podsplice Solves It
Podsplice cracked that puzzle.
Instead of skipping system audio or compressing it through your mic, Podsplice records four separate feeds locally:
🎤 Your mic (your commentary)
📷 Your camera (your face)
🖥️ Your screen (what you’re reacting to)
🔊 The system audio (the YouTube video’s sound)
All four tracks are synced automatically and captured in full quality. That means your final file looks sharp, sounds clear, and is ready to edit or upload without re-recording.
Want the Full Walkthrough?
If you’re looking for the step-by-step setup for recording a reaction video — from queuing your YouTube clips to hitting record — check out my full guide here:
👉 How to Make a Reaction Video (Step-by-Step Guide)
The Bottom Line
If you’re making reaction videos, you can’t afford to lose the original audio. Most tools won’t capture it — but Podsplice does.
There are other workarounds like OBS, but they are all clunky and you need to be an expert to set it all up. And even if you do know how to use them, it takes too long and wastes too much time.
Clear screen video. High bit rate. Separate tracks for mic, system audio, camera, and screen. Everything synced automatically.
👉 Try Podsplice now and record reaction videos the way they’re meant to be seen — and heard.

About the Author
Andrew Best
Andrew Best is an entrepreneur, educator, and AI expert with over two decades in online marketing. He co-founded China232 — a podcast and learning platform with 10M+ downloads — and later 88Herbs, a premium supplement company. Andrew now focuses on helping creators leverage AI for podcasting, screen recording, and YouTube content through Podsplice.
More from Podsplice

Bandicam vs Podsplice: Which Is Better for Content Creators in 2026?
Article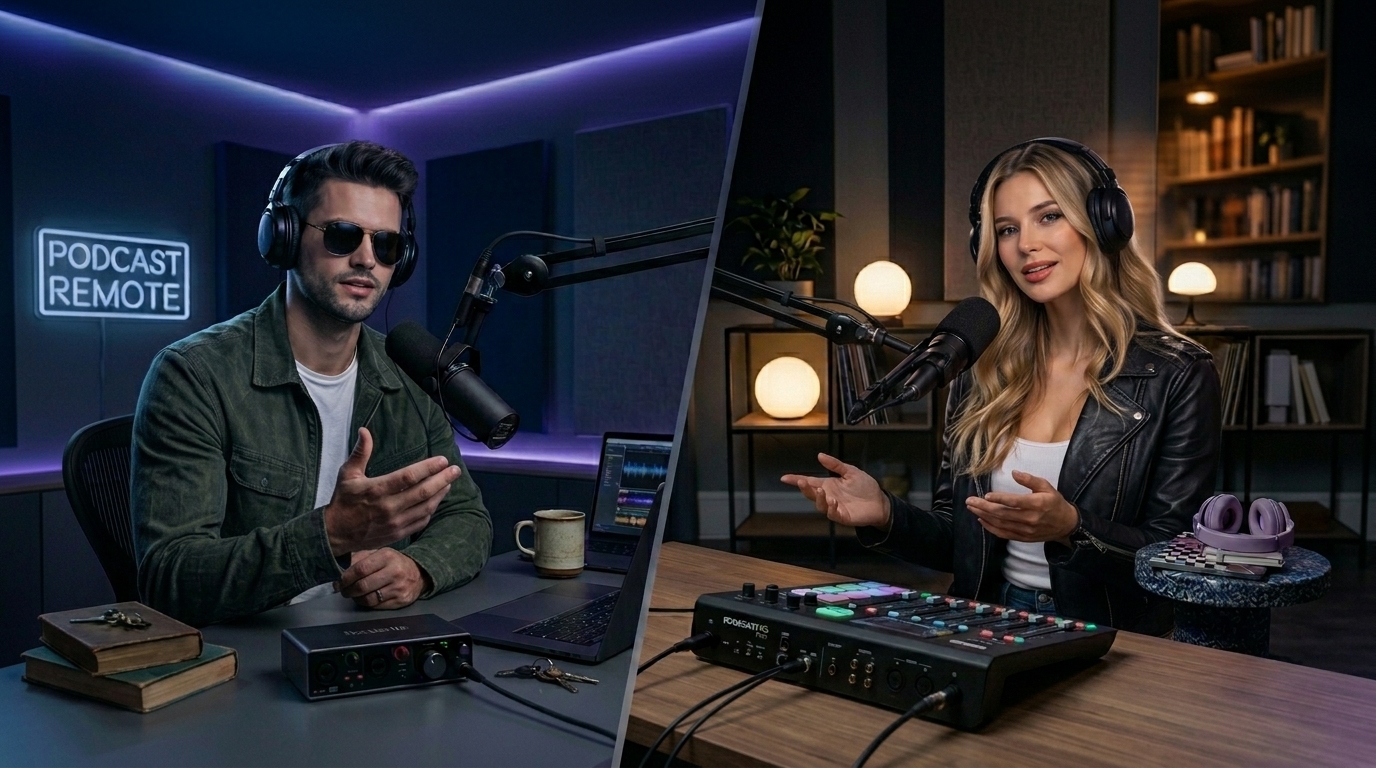
Recording a Remote Double-Ender Podcast Interview
Article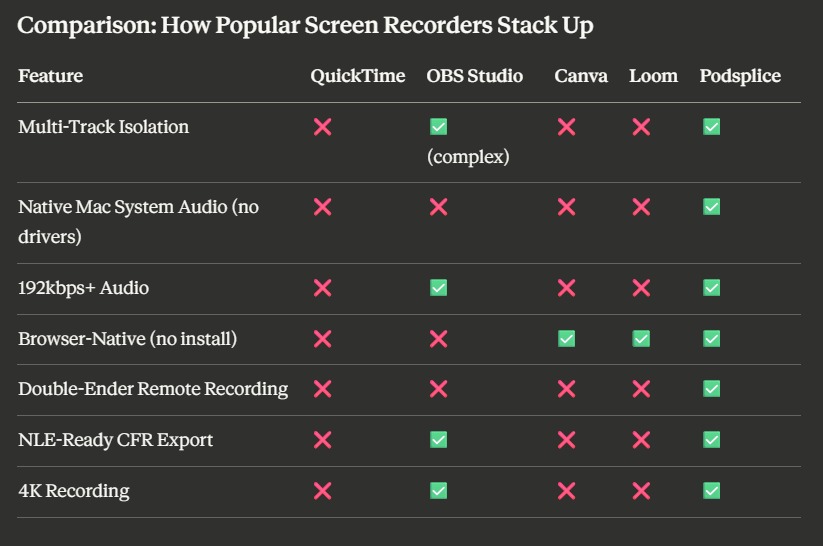
Best Screen Recording Software: What to Look For in 2026
Article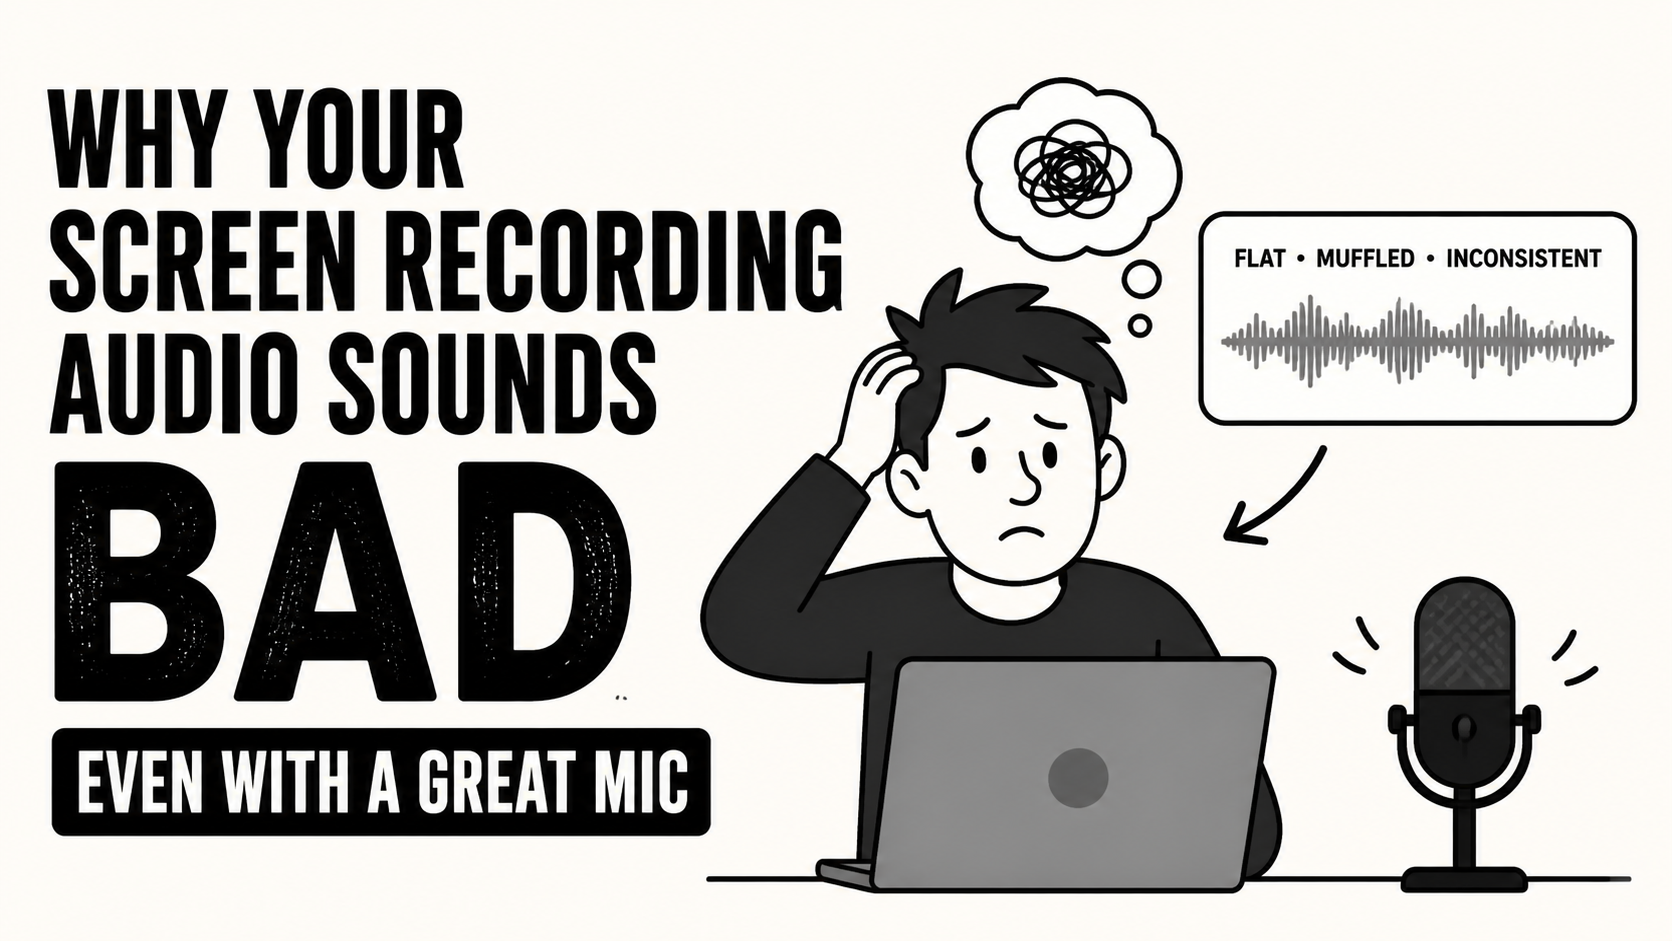
Why Your Screen Recording Audio Sounds Bad (Even With a Great Mic)
Blog
What Screen Recording Software Do Journalists Use? (Best Recording Software for Investigative Reporters in 2026)
Blog
Start Recording in Seconds
No downloads. No setup. Just hit record and share your story with the world in studio quality.
Looking for a Screen Recorder or Remote Recording tool?