How to Record a Reaction Video on Windows (With YouTube Sound)
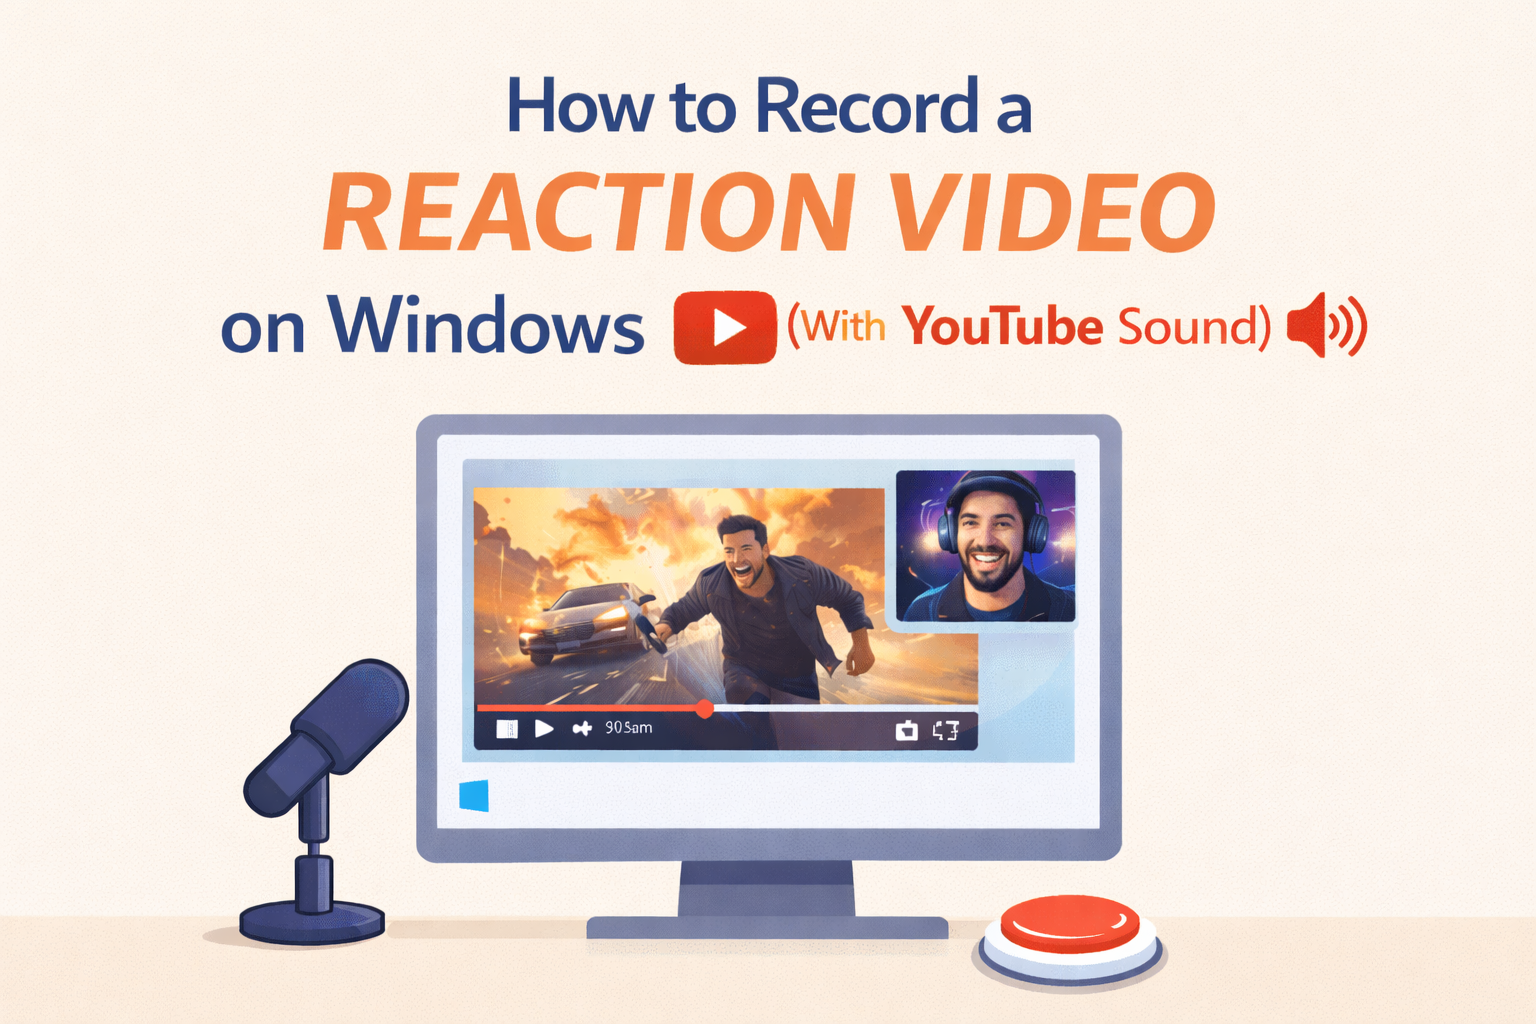
Quick answer: Use Podsplice. It runs in any Windows browser—Chrome, Microsoft Edge, Firefox, Brave—and records four separate, synced tracks: mic, camera, screen, and system audio (the sound from your YouTube tab or any app).
Try Podsplice now
Why Windows recordings often have no sound
Most “screen recorders” on Windows only grab your microphone. They skip system audio—the actual sound from your YouTube tab, Zoom, games, or webinar—so your file looks fine but plays back silent (or muffled through the mic). Canva is a common example: it records mic/webcam but not the tab’s audio, which breaks reaction videos.
Browser-based beats downloads on Windows
Installing desktop software (like OBS Studio) means downloads, updates, scenes, sources, virtual audio devices, and a steep learning curve that slows you down. A browser workflow is fast, lightweight, and consistent on Windows 10/11—no installers, no drivers, no scene setup. Podsplice keeps everything local and auto-synced, so internet hiccups don’t wreck quality.
Quick Windows workflow
Open your YouTube video in Chrome or Edge and queue the moment.
Open Podsplice in another tab.
Select mic + camera, enable Share system audio.
Hit Record, react, stop—export separate, edit-ready tracks.
👉 If you’re on Mac instead of Windows, here’s the step-by-step guide: How to record YouTube audio in a reaction video on Mac
Want the full workflow? Read How to make a reaction video.
Bottom line
On Windows, a reaction video needs the tab’s audio to make sense. Podsplice captures screen, face, mic, and system audio—in any browser—at high quality and in sync.
Try Podsplice now

About the Author
Andrew Best
Andrew Best is an entrepreneur, educator, and AI expert with over two decades in online marketing. He co-founded China232 — a podcast and learning platform with 10M+ downloads — and later 88Herbs, a premium supplement company. Andrew now focuses on helping creators leverage AI for podcasting, screen recording, and YouTube content through Podsplice.
More from Podsplice
Recording a Remote Double-Ender Podcast Interview
Article
Why Your Riverside Screen Share Has No Audio — And the 10-Second Fix
Blog
Creating High-Quality Faceless Videos
Article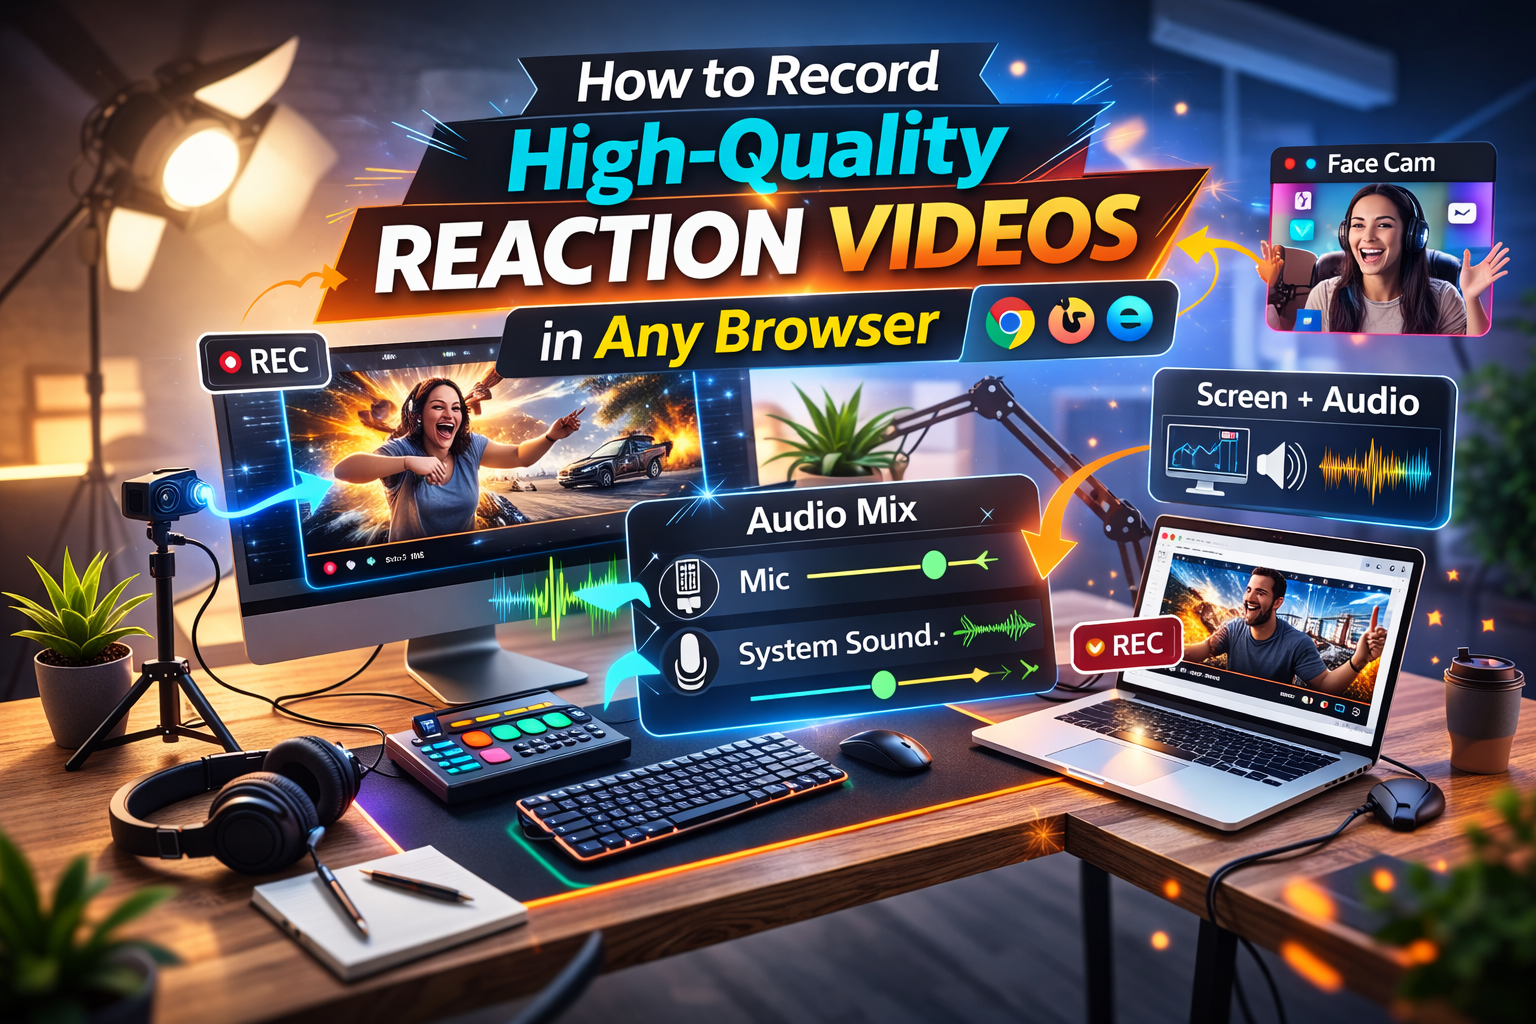
How to Record High-Quality Reaction Videos in Any Browser
Blog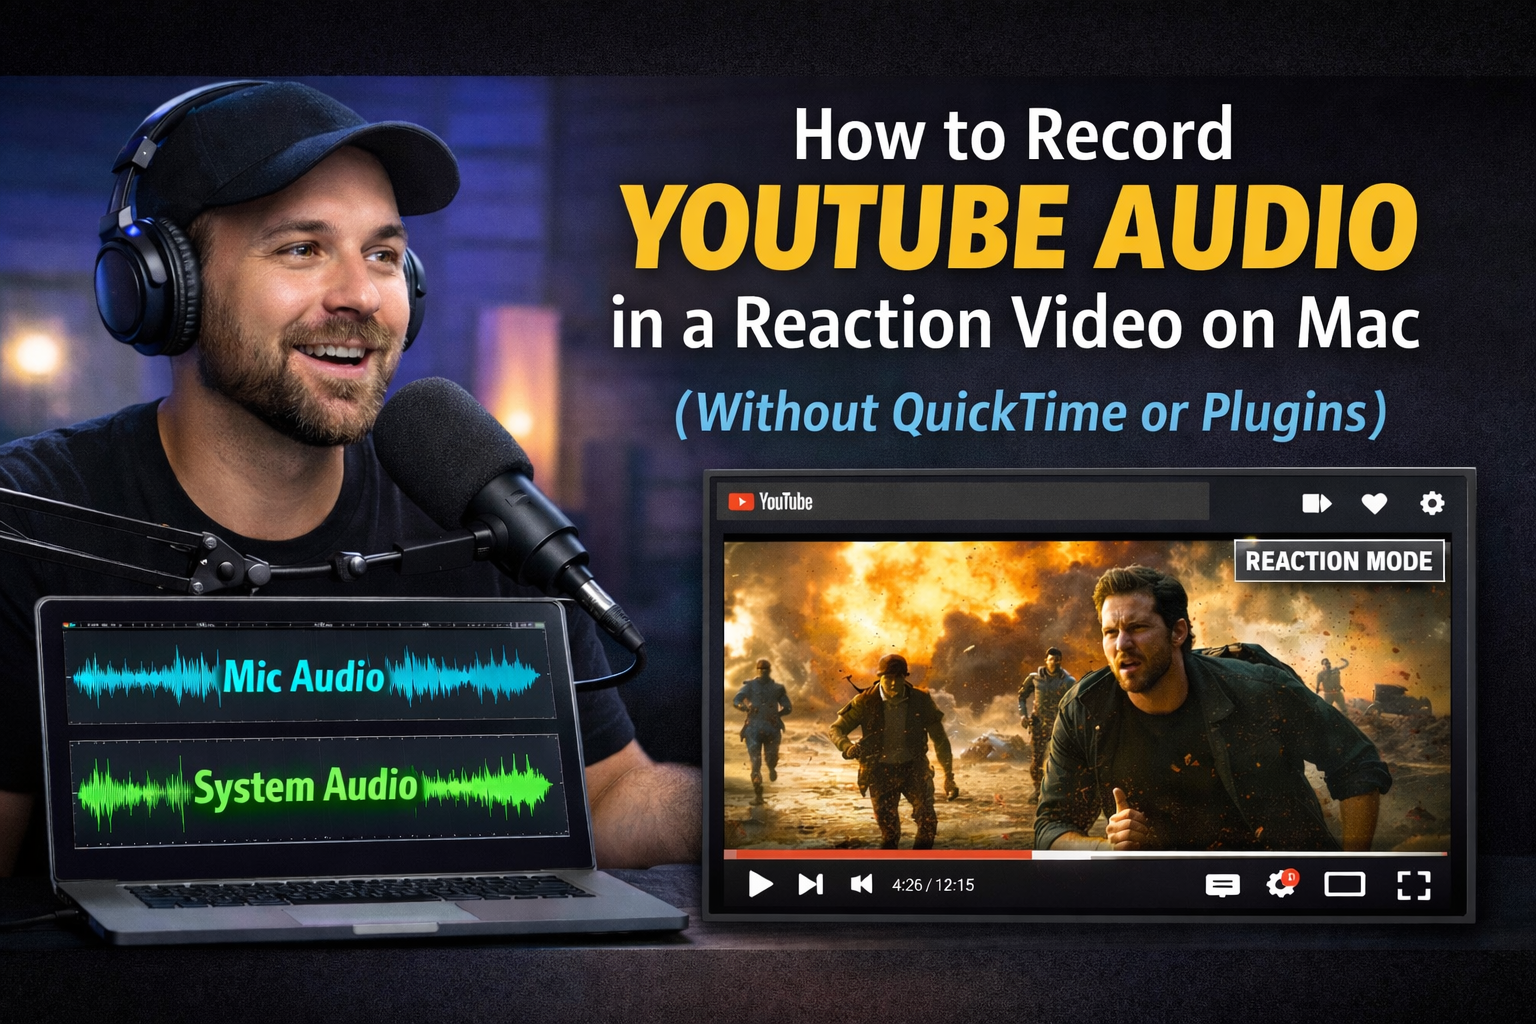
How to Record YouTube Audio in a Reaction Video on Mac (Without QuickTime or Plugins)
Blog
Start Recording in Seconds
No downloads. No setup. Just hit record and share your story with the world in studio quality.
Looking for a Screen Recorder or Remote Recording tool?