
How to Make a Reaction Video
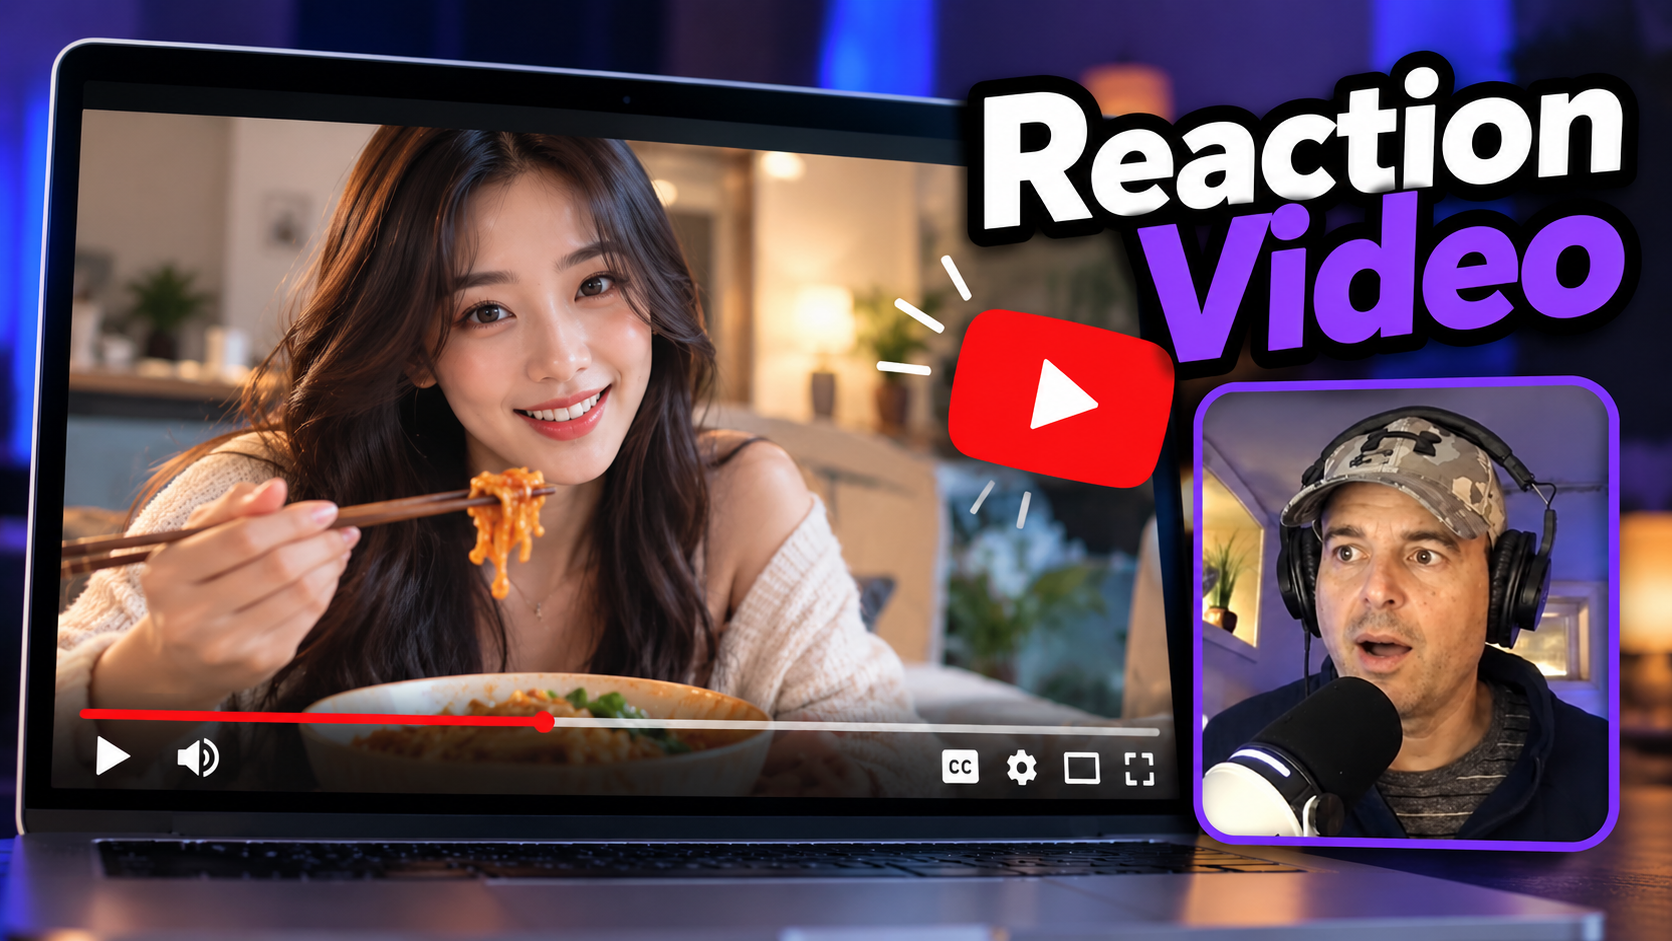
The easiest way to make a reaction video is to record your camera, microphone, screen and the audio from the video you're reacting to (system audio) at the same time.
The best software for making reaction videos is Podsplice. Open the video you want to react to, select your camera and microphone, share your screen with system audio, and start recording.
Podsplice records your camera, microphone, screen and system audio as separate synchronized tracks, giving you more control over your layout and audio when you edit.
No OBS setup, virtual audio cables or complicated plugins required..
Here is a video I made showing how to use Podsplice to make a reaction video. (I even recorded the video using Podsplice)
Podsplice is great because it records 4 separate tracks locally and syncs them all together automatically.
Podsplice records:
Camera or webcam - A video of your face (You can see my face in the bottom right corner)
Screen - The video of whatever is on your screen (screenshare)
Microphone - The audio of you speaking into your microphone
System Audio - *** The "system audio" or sound coming from the video you are reacting to (E.g., YouTube video sound). This fourth track is key because most browser-based software products don't record system audio at all. For example, you can't do this with Canva's screen recorder.
Note: System audio is sometimes also called "internal audio".
Having these tracks recorded separately is great because the quality of each track is higher, you can edit any track individually if you want, and you can change the visual layout in post-production with the Podsplice editor.
Here is what the 4 separate tracks look like in the Podsplice editor. You can click on any of the individual tracks and edit it.
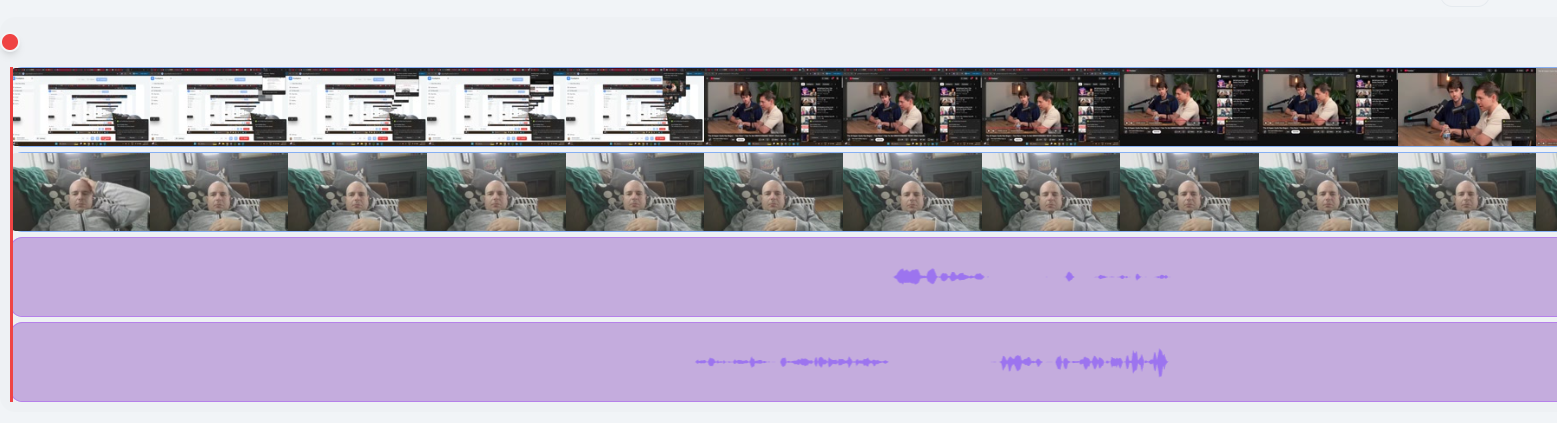
Besides higher audio and video quality, you can also do things like make yourself full-screen (or even faceless) during different parts of the video. Sometimes I like to show myself in full-screen before I start reacting to a YouTube, TikTok, or Instagram video.
Here is a video I made where you can see what I mean. I start in full-screen, and then I go into the little circle in the corner when I start reacting to a video.
How to make a YouTube reaction video - Step-by-step
1) Create a Podsplice account.
Go to Podsplice and create an account.
2) Prep your browser (Chrome is best for reaction videos)
Open the Google Chrome browser.
One tab will be Podsplice.
The other tab(s) will have the video(s) you want to react to.
3) Set up to record the reaction video (simple)
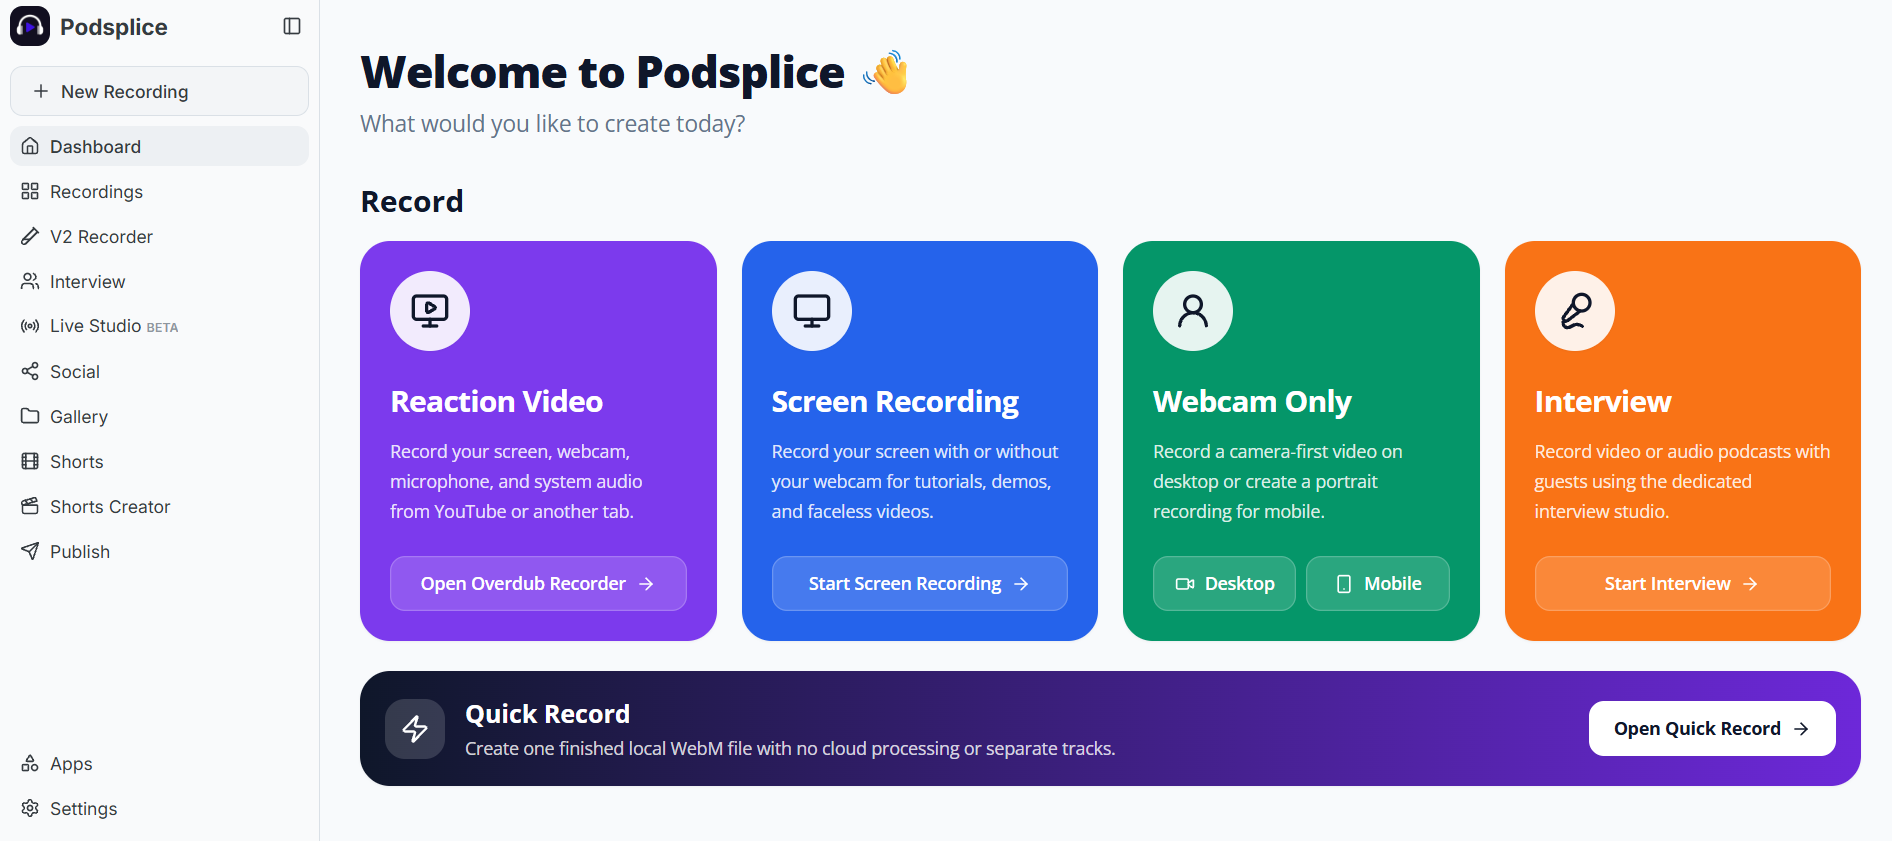
Sign in to Podsplice and click on the large purple "Reaction Video" section.
Then click the "Entire Screen" tab, click on "Entire screen box" so it turns blue, and make sure the "share with system audio" is toggled to ON. IMPORTANT!
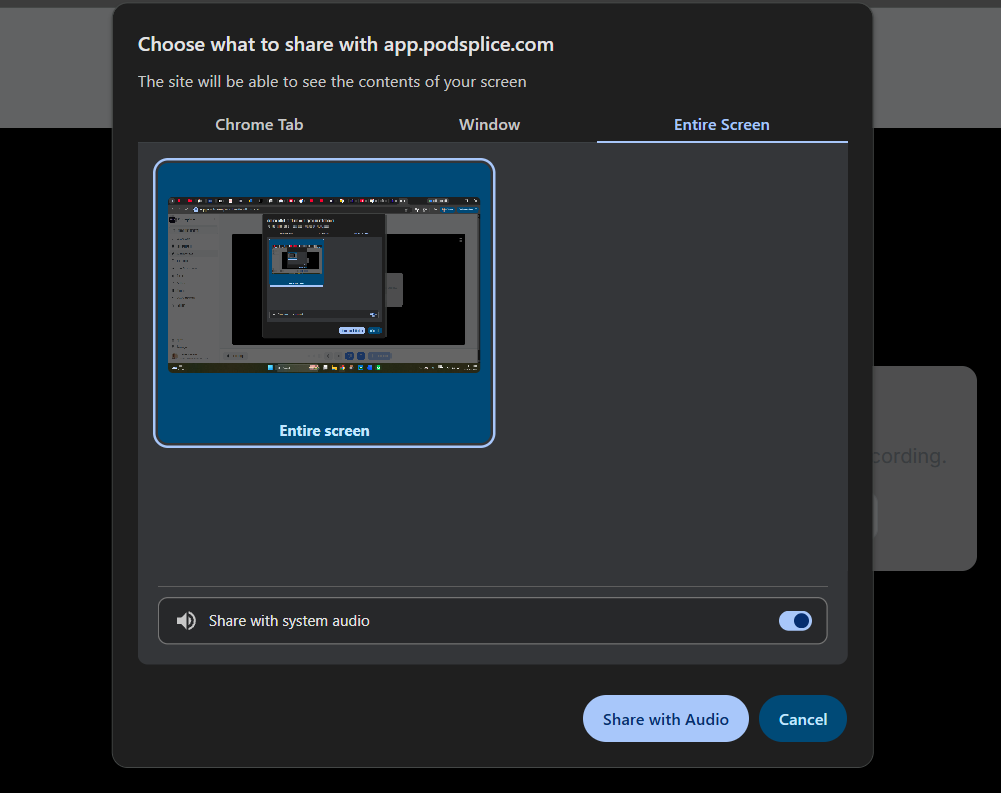
Click, "Share with Audio"
Then click on "Settings" near the bottom left of the screen.
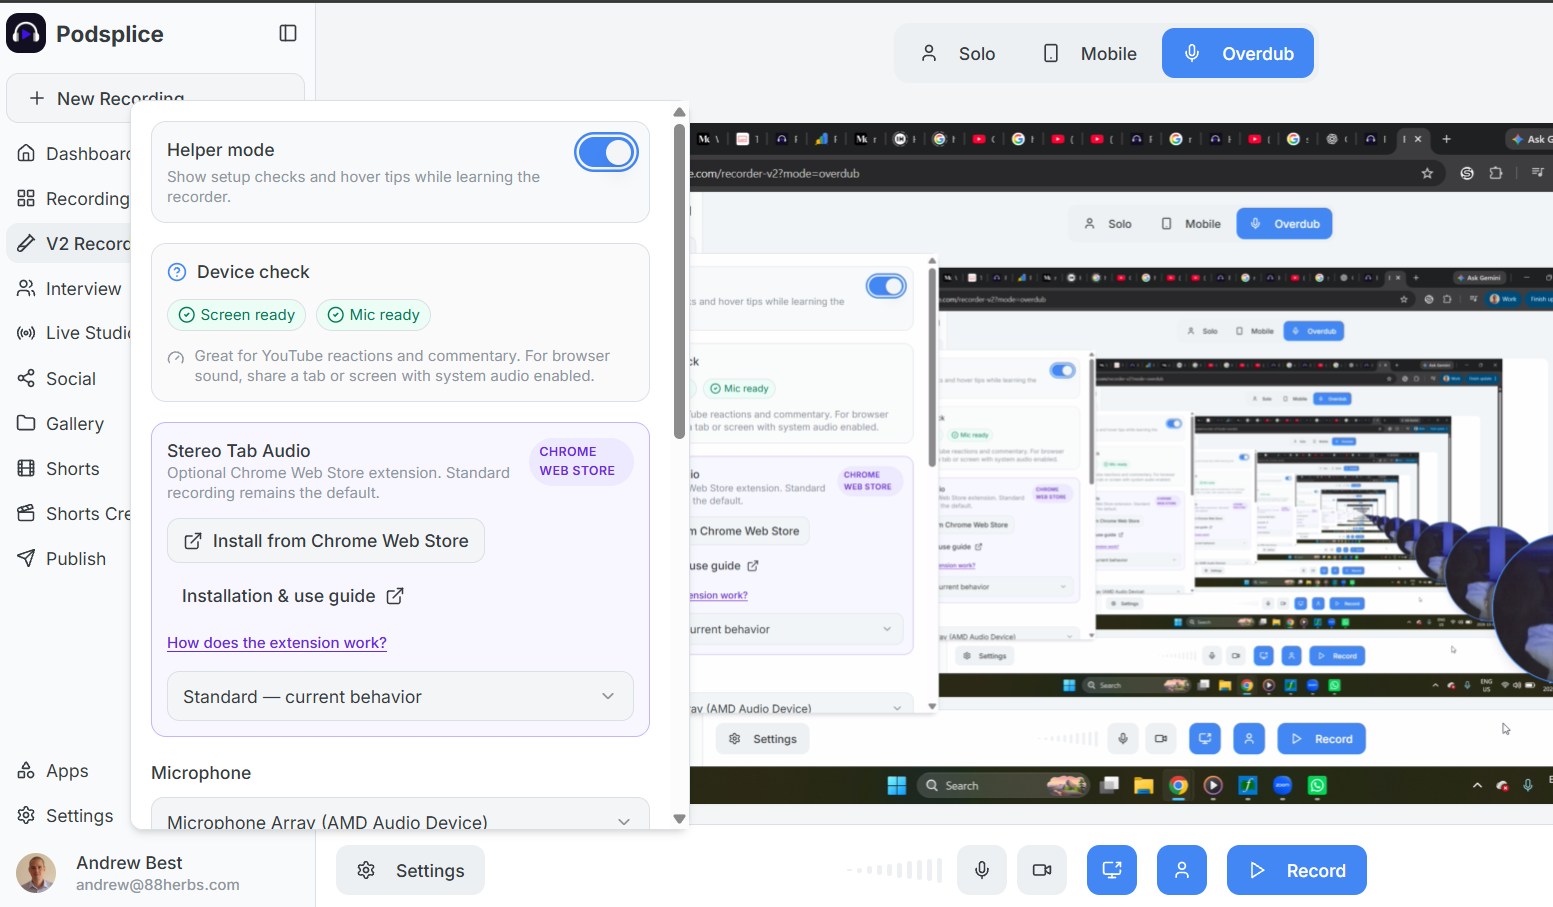
Scroll down and select your mic, your webcam, and change any settings you want to, like the quality of the thumbnail recording (up to 4K for webcam).
4) Record your reaction video (simple)
Click the blue "Record" button.
Now you are recording your reaction video.
Your mic is being recorded in one track. Your face (webcam) is in another track, the system audio is in a third track, and whatever you see on the screen is in a final track.
Click over to the browser tab you want to react to. Press "play" when you want to play the clip. It's all being recorded, and it will all sync up perfectly in the end, with no audio drift.
5) Stop recording, save, and edit.
When you are finished recording your reaction video, click the red "Stop" button.
Then click "Save and go to editor".
You will see all of your recordings saved neatly in the cloud in your Podsplice account. Click on it, and you'll see your reaction video. It looks like this.
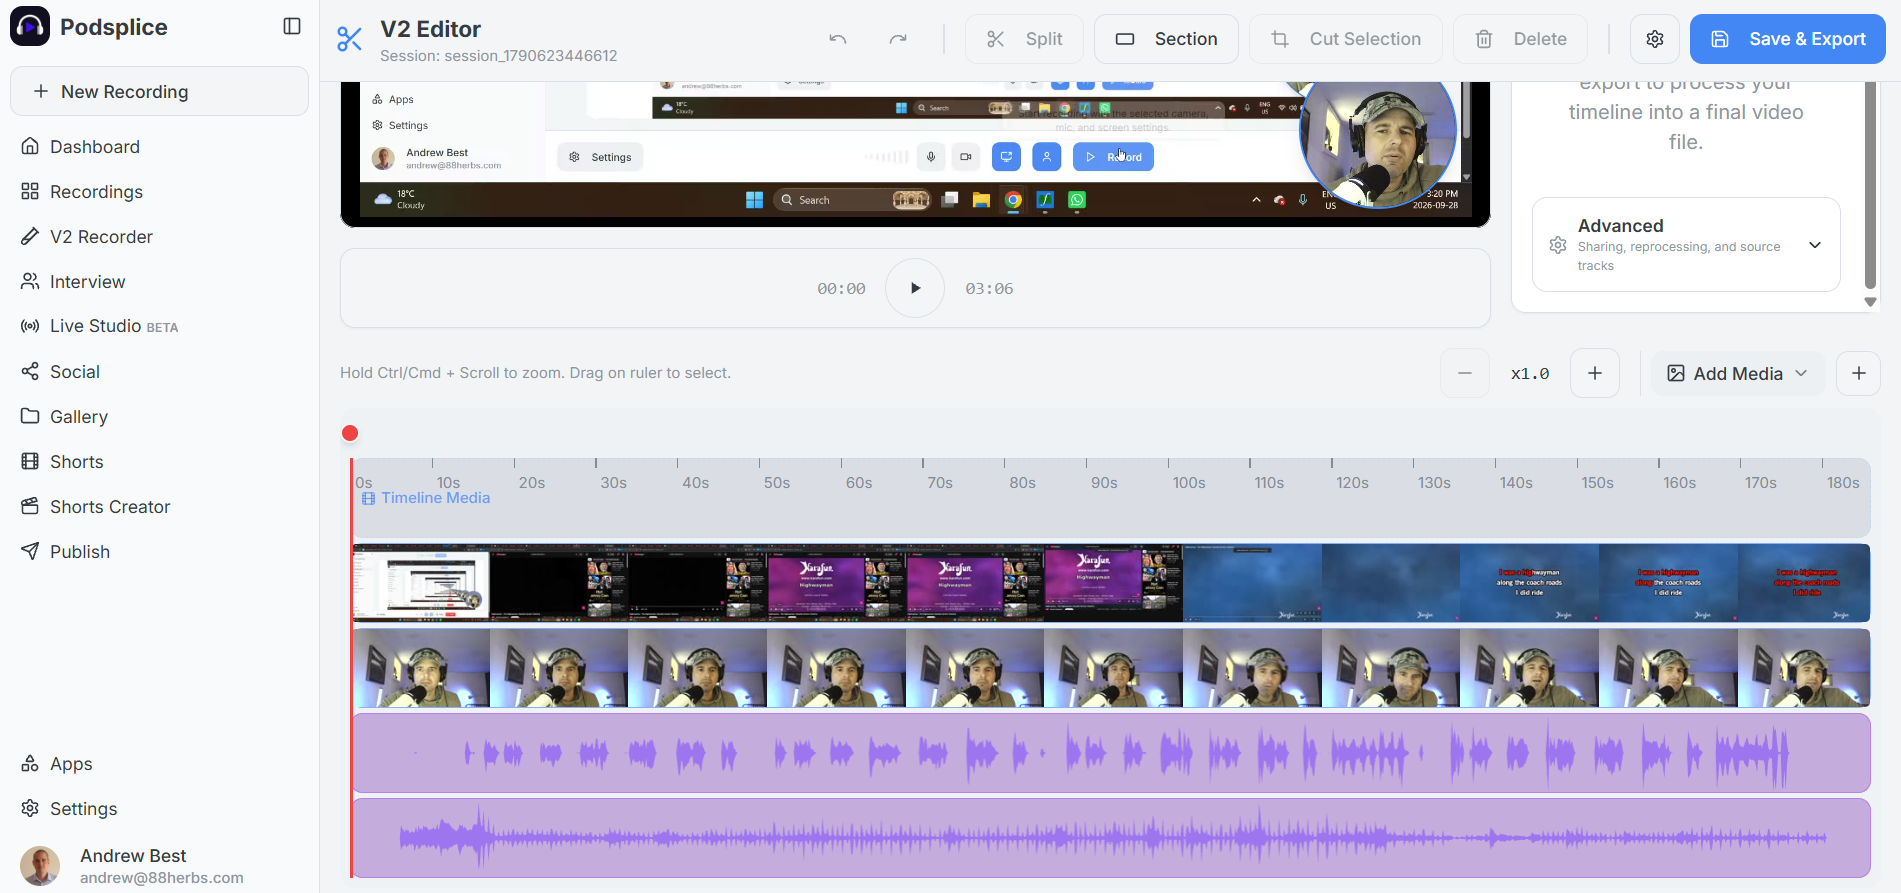
Here is a video we made showing how to easily edit your reaction video.
6) Create "shorts" and post to social media.
Podsplice has a Shorts creator. It lets you clip your reaction video into several short clips. It even transcribes your video with AI, and puts in the karaoke-style subtitles for you.
Podsplice can also post directly to your social media channels so you don't have to log in and post to each one separately. This is a huge time saver. I mean, you can post to YouTube Shorts, TikTok, Instagram, etc. in ONE CLICK.
Here is an example of a reaction video Short we created with Podsplice.
7) Create a 2-person reaction video (remote)
Podsplice lets you record high-quality remote podcasts.
You can share your screen with system audio. You and your remote guest can watch and react to the same clip. Here is a remote podcast we made showing how to do this and what you can make. Note: You can also show both of your faces over the top of the video you are both reacting to if you want.
Level-Up: Quick Pro Tips
Reaction video on a Mac: Mac has stricter privacy controls than Windows. You should use Chrome with Mac (not Safari) and you should choose tab audio. Learn more about how to record system (internal) audio on a Mac.
Record lossless system audio: If you are reacting to a video (music video, movie, etc.) where you need super high-fidelity system audio, you should use our Podsplice System Audio Chrome Extension.
You generally won't need this extension unless you need the best of the best in terms of system audio. The videos above did not use this. If you do want this stereo-quality system audio, watch this video where we show how to do it.
Here is a video we made showing the quality of the stereo system audio you can get with Podsplice. (skip ahead to 55 seconds to hear the stereo system audio).
Here is a video we made on how to record high-quality system audio with the Chrome extension, step-by-step
Start Making Reaction Videos
That's it! You now know how to record a reaction video with your camera, microphone, screen, and system audio all recorded separately and synchronized automatically.
The best way to learn is to try it yourself.
Sign up for Podsplice and make your first reaction video now.
Have fun!

About the Author
Andrew Best
Andrew Best is an entrepreneur, educator, and AI expert with over two decades in online marketing. He co-founded China232 — a podcast and learning platform with 10M+ downloads — and later 88Herbs, a premium supplement company. Andrew now focuses on helping creators leverage AI for podcasting, screen recording, and YouTube content through Podsplice.
More from Podsplice
How to Record a Reaction Video with System Audio
Article
Best Reaction Video Software: Why we Built Podsplice
Article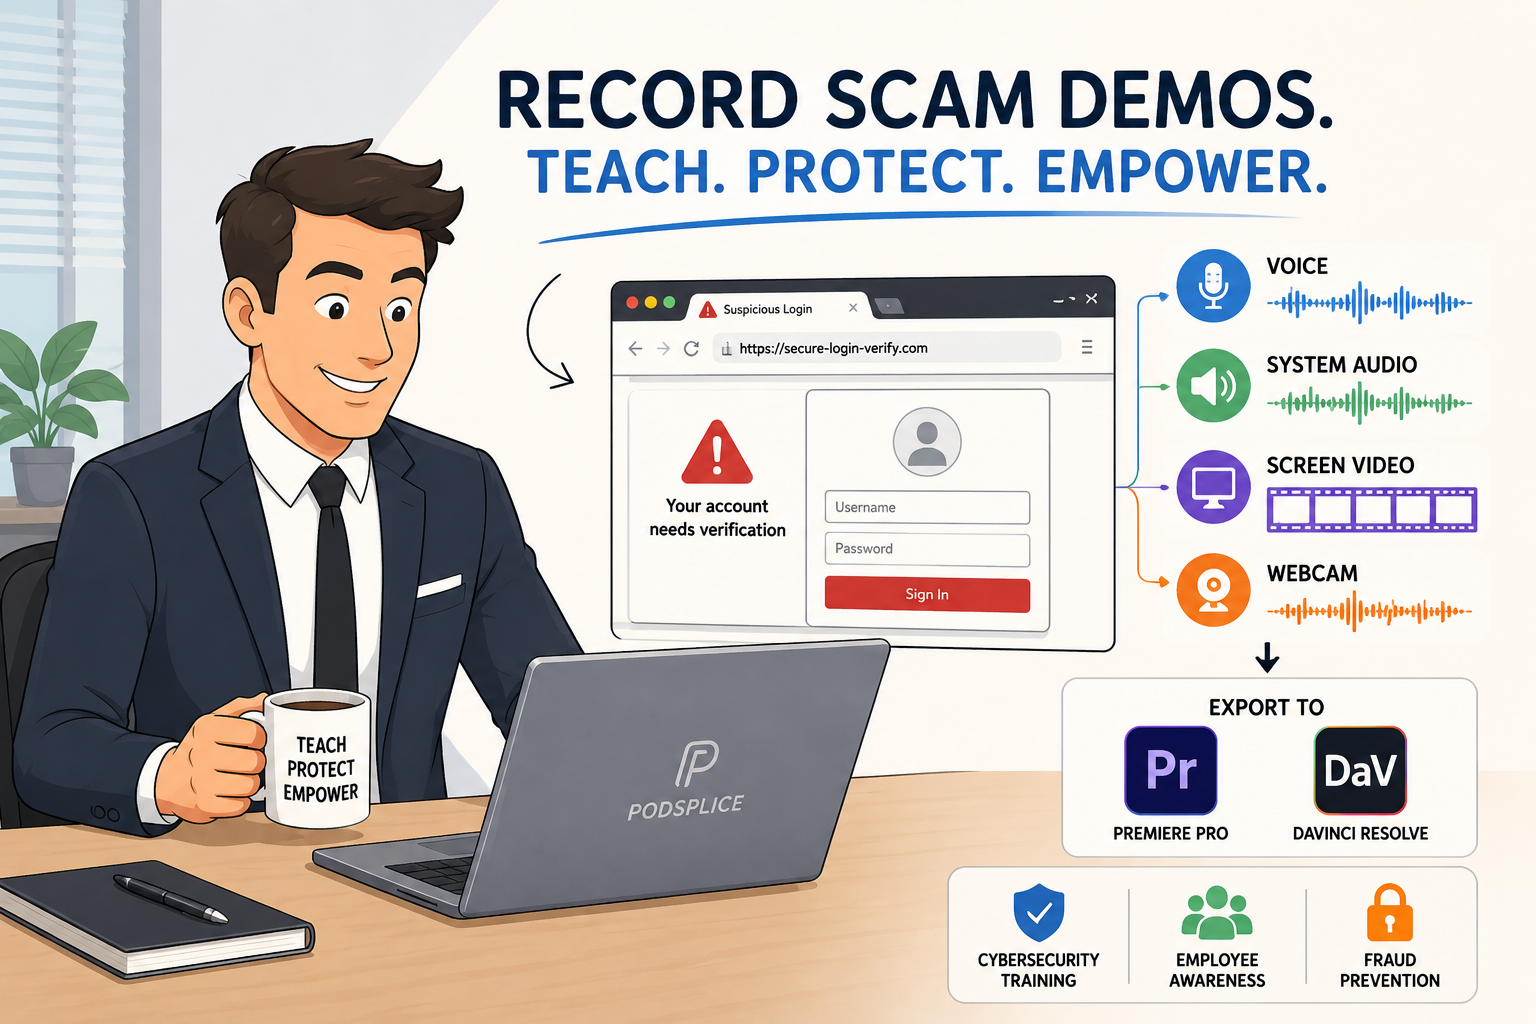
How to Record a Scam Website Demo with Screen, Voice, and System Audio
Article
Record System Audio on Mac and Windows
Article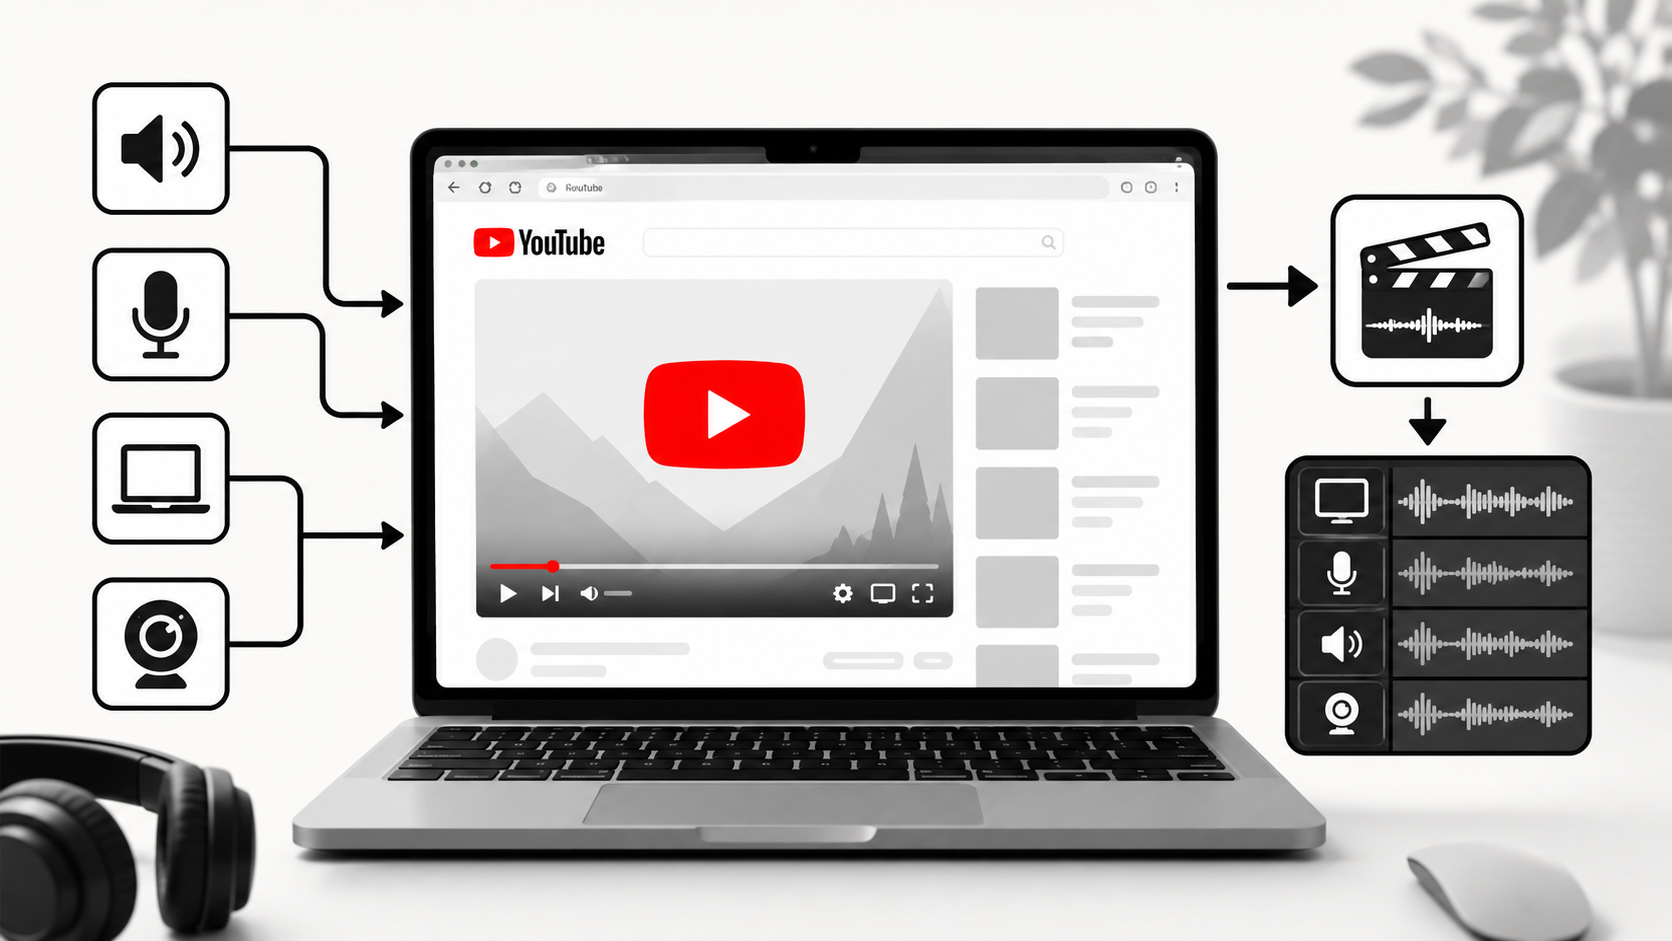
How to Record YouTube Audio on Mac (The Easiest Way in 2026)
Article
Start Recording in Seconds
No downloads. No setup. Just hit record and share your story with the world in studio quality.
Looking for a Screen Recorder or Remote Recording tool?