How to Make Your Screen Recordings Sound Incredible (The Easy Way)
The short answer: You don’t need a sound engineering degree or thousands of dollars for a soundproof studio and fancy microphone to get professional audio. To make your screen recordings sound great, you only need three things:
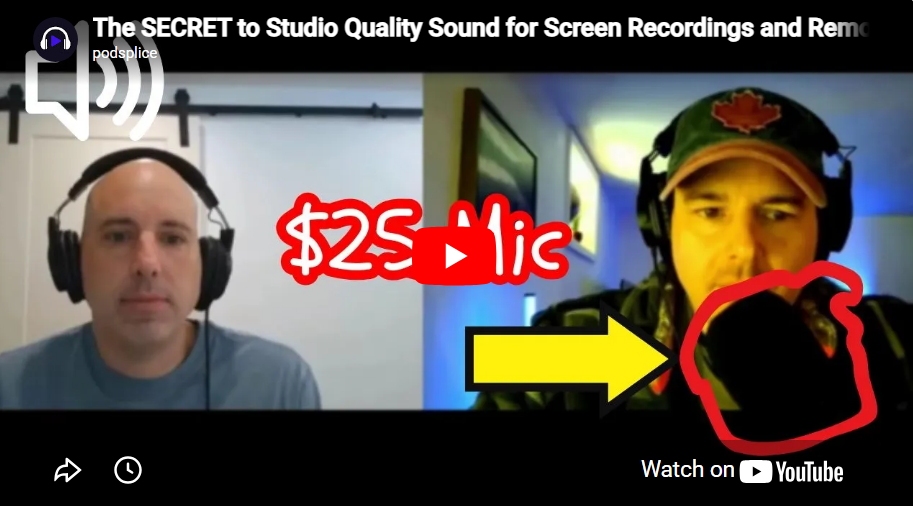
A basic $25 external microphone placed 3-5 inches from your mouth.
Screen recording software (Podsplice) that separates your audio tracks.
An export bitrate of at least 192 kbps.
If you get those basics right, you are already ahead of 99% of creators.
I know because I hate complex tech setups, and I refuse to waste a bunch of money on needless equipment.
I'll show you exactly how I get incredibly good audio on my screen recording and reaction videos.
Why Audio is Way More Important Than Video
Your audience will forgive bad video, but they will instantly click away from bad audio.
You can have perfect 4K lighting and a cinematic background, but if your voice sounds like you’re ordering food at a 1990s drive-thru, no one is buying your course or subscribing to your channel. High-quality audio builds trust and authority. Poor audio causes frustration and makes you look like an amateur.
The Hardware Myth
The biggest mistake beginners make is thinking they need to spend hundreds of dollars on studio microphones and physical accessories like pop filters. You don't.
Those physical filters aren't needed if you just follow the golden rule of microphone placement: keep the mic 3 to 5 inches away from your mouth. If you stay in that sweet spot, a cheap external microphone will sound like a studio setup. You don't need a massive investment; you just need to ditch your laptop's built-in mic. (Built-in laptop mics are pathetic. There is no getting around this)
Listen to how I sound in this video. I recorded it in my basement with a generic $25 external mic I bought on Amazon.
Software is More Important Than Hardware
Most creators don't realize that the software you use to record is actually more important than the physical microphone sitting on your desk.
If you use basic screen recording software, it will ruin your audio before you even finish talking. To get that rich, professional sound, your software needs to handle the heavy lifting. Here is what you need to look for (and why I use Podsplice for all my recordings).
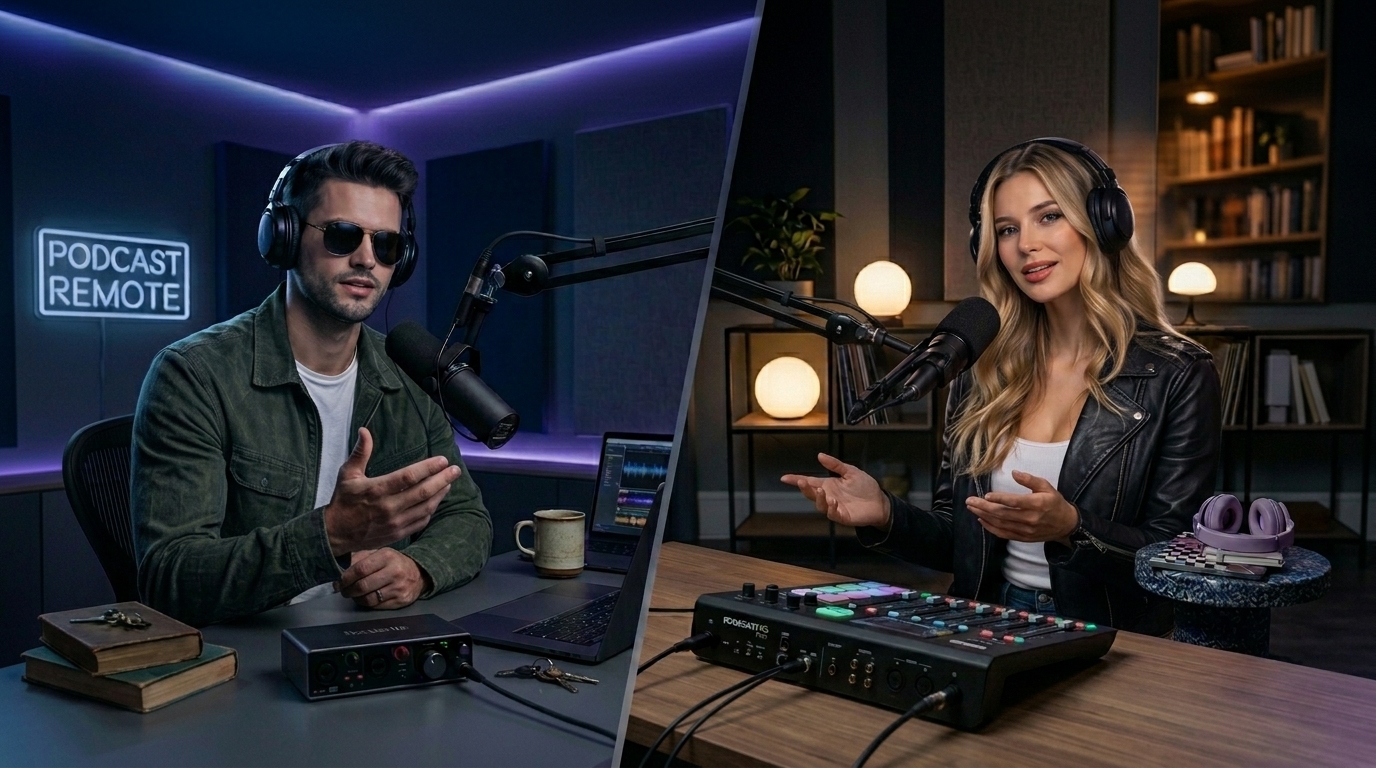
Mic audio vs system audio
There are two types of audio when you record your screen:
Mic Audio: What you are saying into the microphone.
System Audio: The sound coming from your computer (also known as internal or computer audio). For example, the sound from a YouTube video you are reacting to.
To get that rich, professional sound, your software needs to handle the heavy lifting. Here is what you need to look for (and why I use Podsplice for all my recordings).
1. The Power of Separate Tracks
Most screen recorders don't record system audio at all. And the ones that do capture it, they usually mash these two sounds together into one single track. If your computer audio is too loud, it drowns out your voice, and you can't fix it later.
You need software like Podsplice that records Separate Tracks. It puts your mic audio on one lane and your system audio on another. If the computer is too loud, you simply turn it down without affecting your voice.
2. The 192 kbps "Firehose"
Think of audio bitrate like a water hose. Older, cheaper software uses a standard 128 kbps bitrate, which acts like a tiny garden hose. It has to digitally squeeze and compress your voice to fit it through, leaving you with thin, metallic-sounding audio.
Podsplice uses a 192 kbps standard. This is the firehose. It gives your voice warmth, bass, and crisp clarity, making it sound like you are sitting in the room with your audience.
This is a huge reason why most screen recordings sound so tinny or shallow. They were recorded on screen recordings with low kbps.
A high kbps for audio is like 4k TV vs the TV quality in the 1980s. It's night and day.
3. Automatic LUFS (The Audio Cruise Control)
Have you ever watched a video where you had to turn your volume all the way up to hear the speaker, only to get blasted by their intro music? That is a loudness problem.
Audio loudness is measured in LUFS (Loudness Units relative to Full Scale). If normal volume is your car's speedometer bouncing up and down, LUFS is the cruise control that keeps the average volume smooth for the whole trip.
The industry standard for podcasts and high-quality YouTube audio is -16 LUFS. Podsplice automatically normalizes your audio to this exact standard in the background. You don't have to fiddle with dials or play sound engineer; the software just does the math for you.
I wrote more in detail about choosing a screen recording software with the best audio.
Podsplice makes getting great audio easy because it has all the best audio settings as default.
You just click "record," and you'll get great sound. You don't need to play around with settings; Podsplice has done the work behind-the-scenes already.
Sound is one reason that Podsplice is the best screen recording software.
Stop Overcomplicating It
You are a creator, an educator, or an entrepreneur. Your job is to share your knowledge, not to spend hours watching tutorials on audio routing. Get a decent $25 mic, keep it 3-5 inches from your face, and let Podsplice handle the tracks, bitrates, and LUFS automatically.
Do the simple things right, and your audio will sound incredible.

About the Author
Andrew Best
Andrew Best is an entrepreneur, educator, and AI expert with over two decades in online marketing. He co-founded China232 — a podcast and learning platform with 10M+ downloads — and later 88Herbs, a premium supplement company. Andrew now focuses on helping creators leverage AI for podcasting, screen recording, and YouTube content through Podsplice.
More from Podsplice
Recording a Remote Double-Ender Podcast Interview
Article
Not All Screen Recorders Are Equal: Why Multi-Track Isolation is the Secret to Professional Content
Article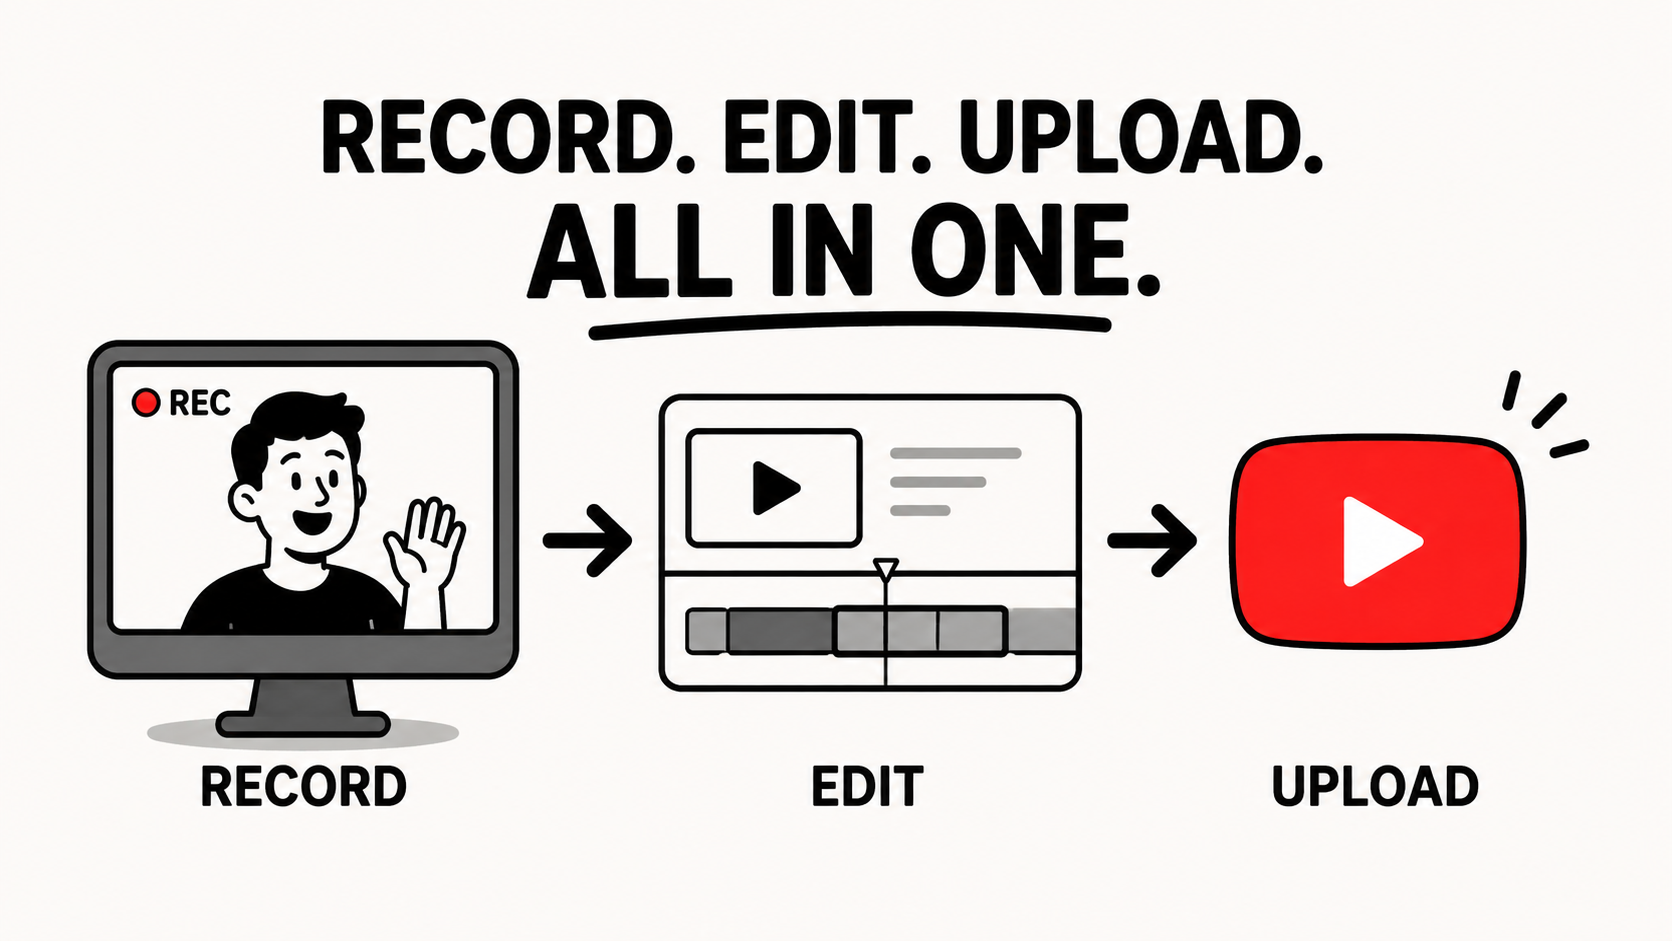
Screen Recording Software with Direct Upload to YouTube
Blog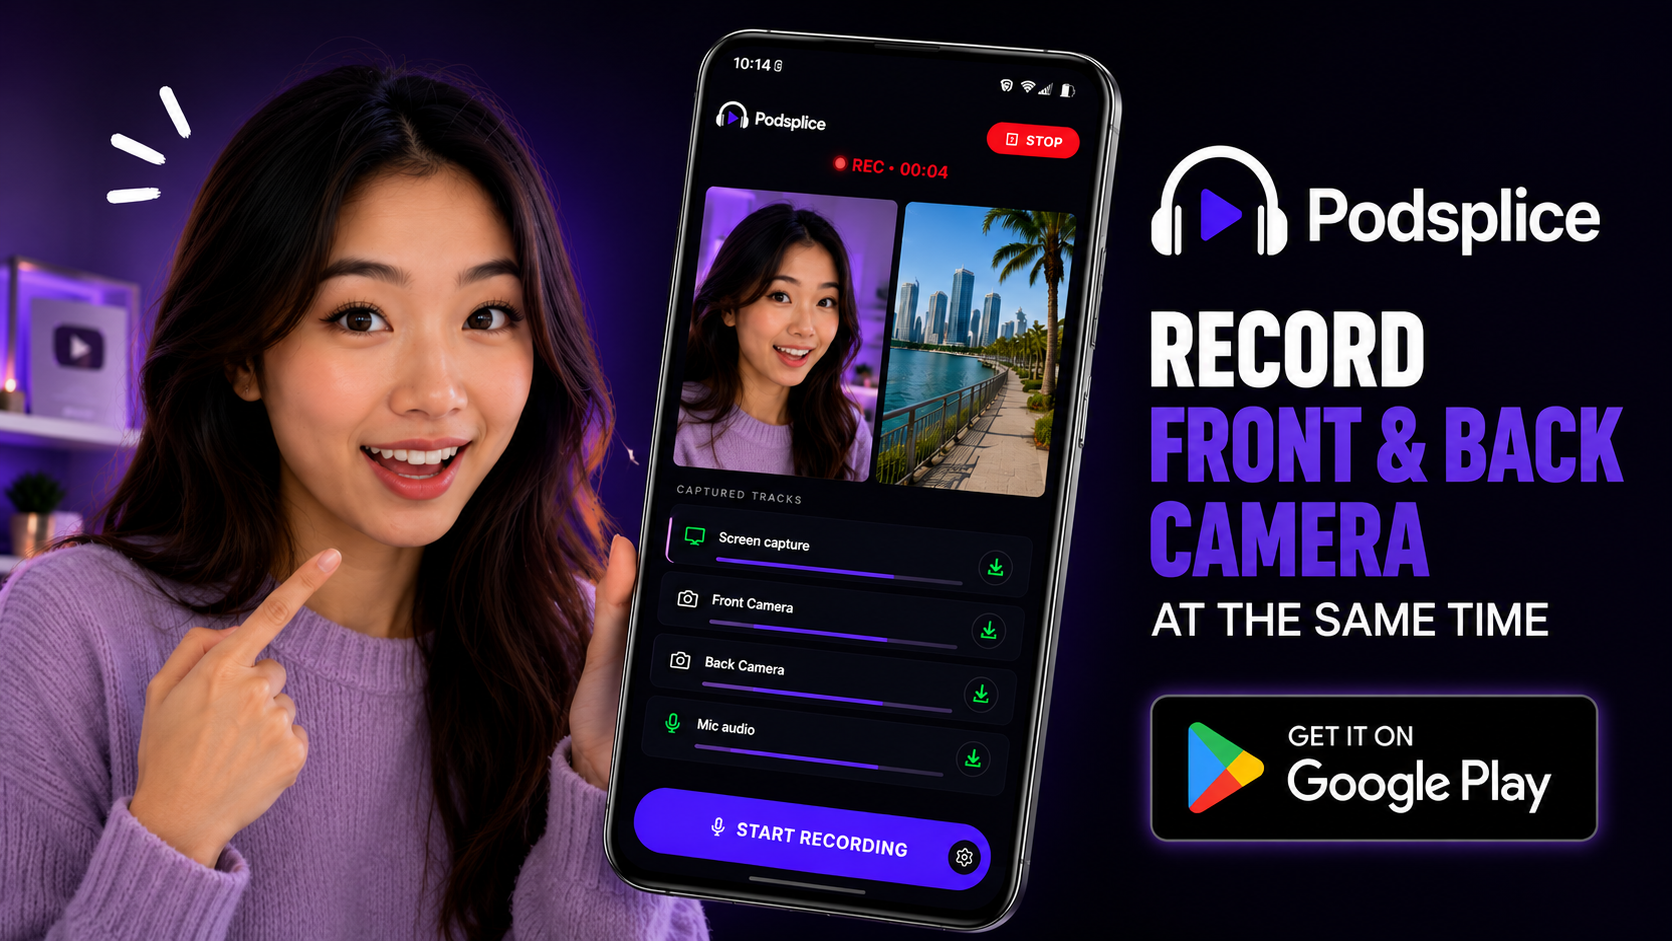
How to Record Front and Back Camera at the Same Time on Android (for Creators)
Article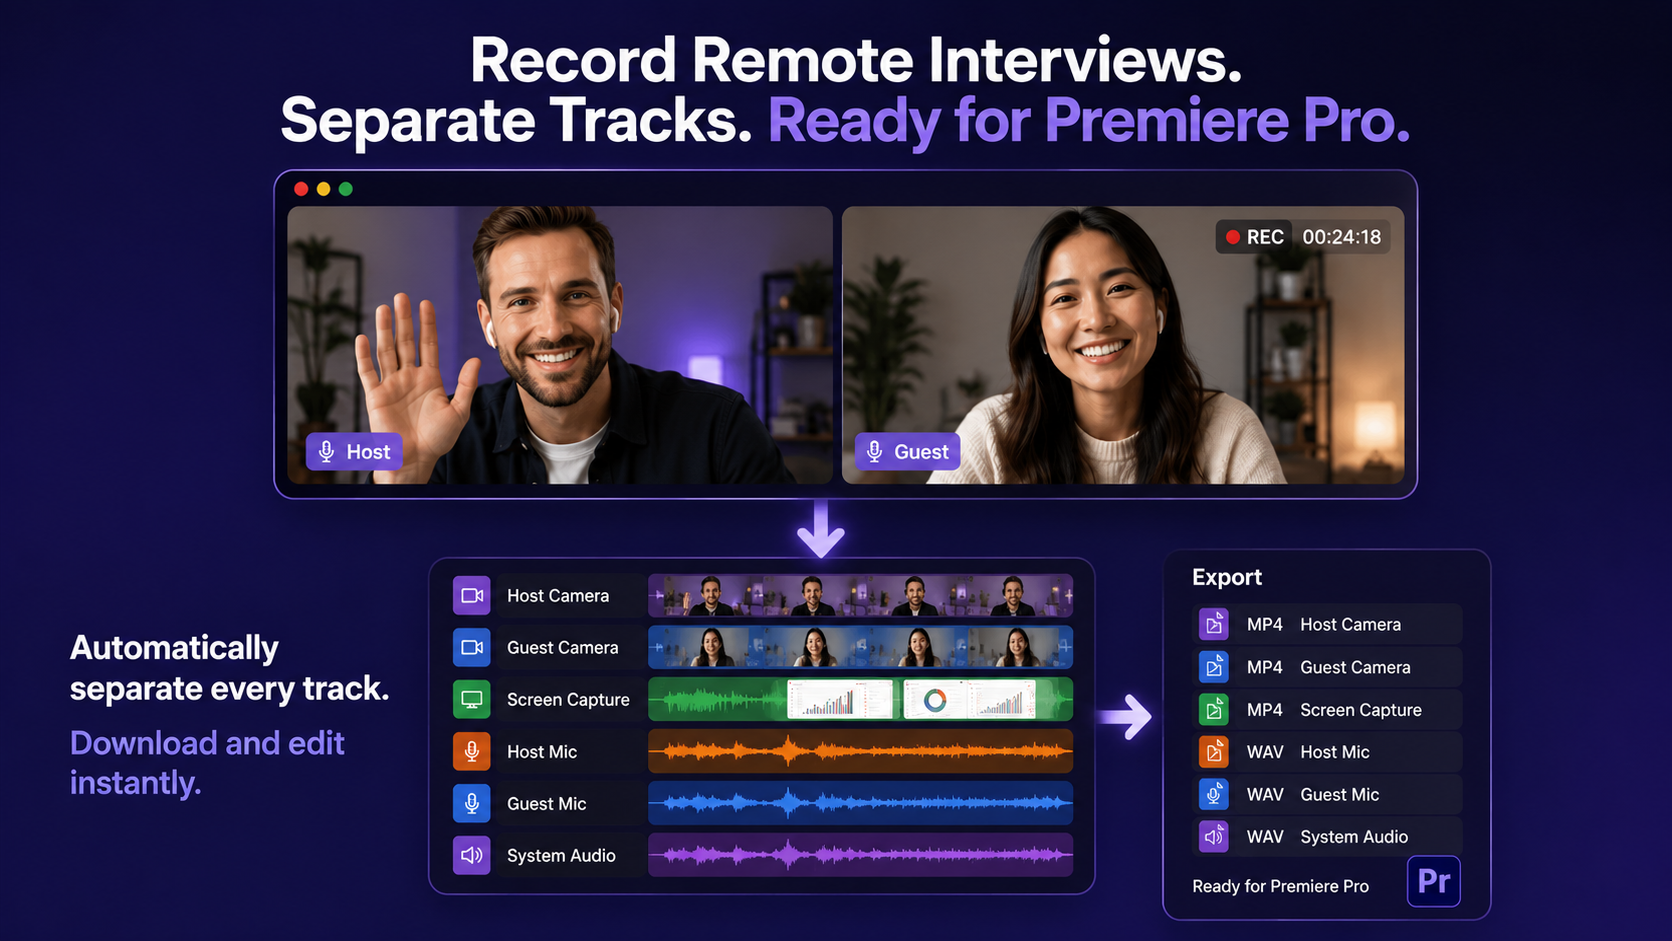
Best Way to Record Remote Interviews With Separate Tracks for Premiere Pro
Article
Start Recording in Seconds
No downloads. No setup. Just hit record and share your story with the world in studio quality.
Looking for a Screen Recorder or Remote Recording tool?