How to Record Screen with System Audio (Windows + Alt + R + Better Alternative)
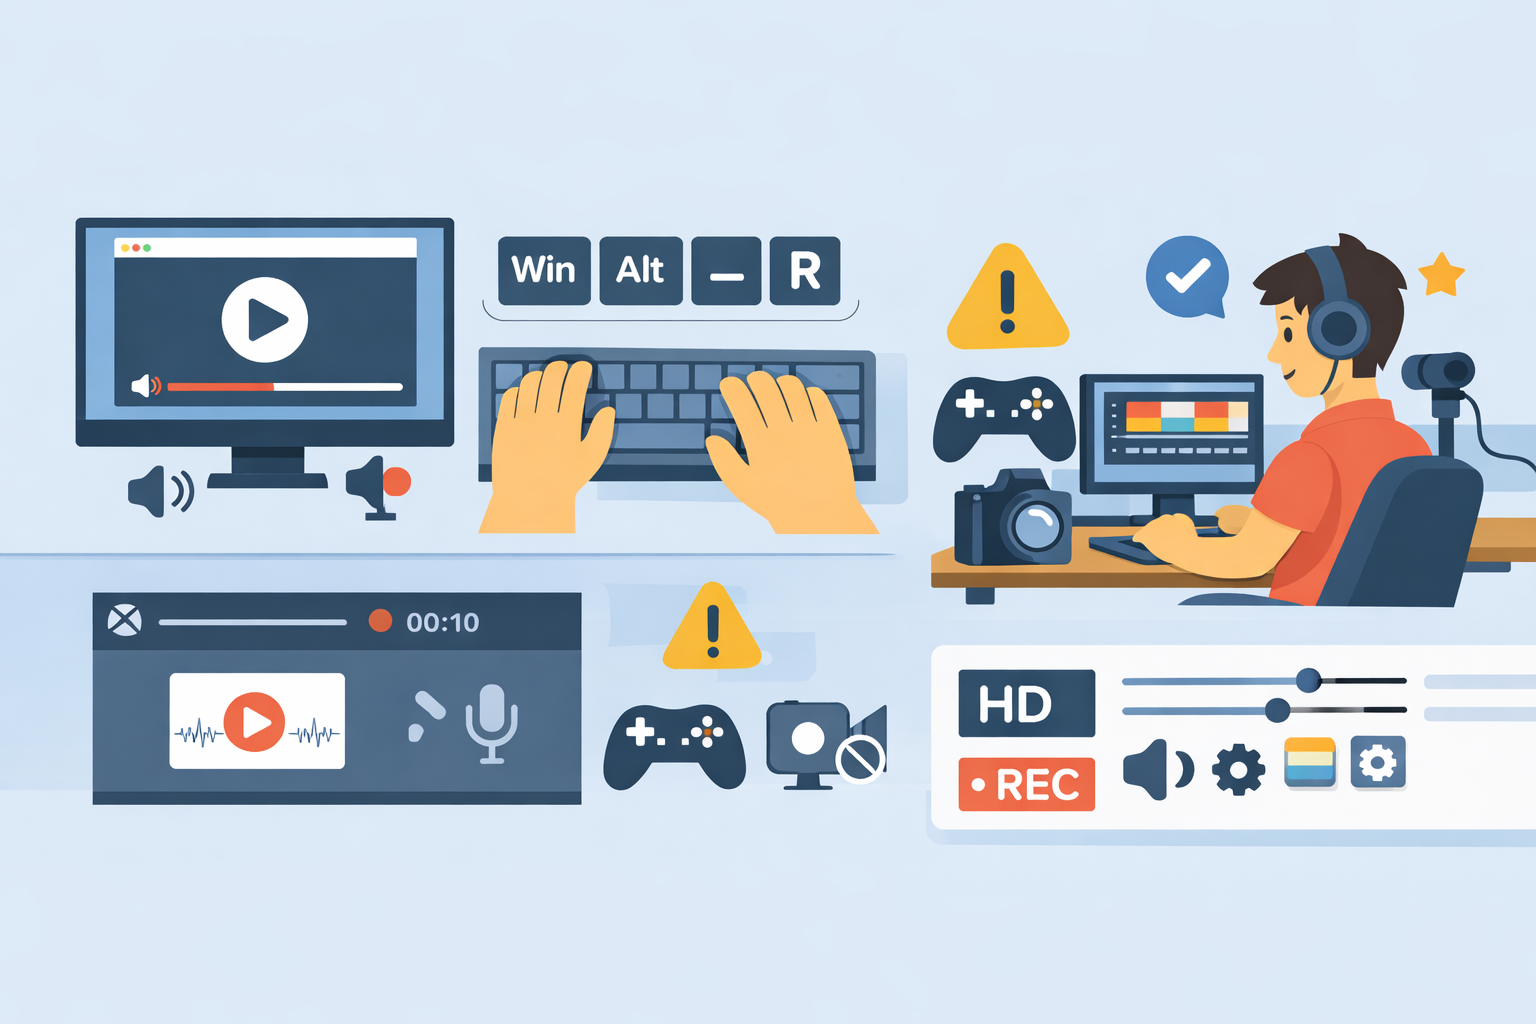
The easiest way to record your screen with system audio on Windows is to press Windows + Alt + R using Xbox Game Bar. This instantly starts recording your screen along with your computer’s internal audio.
Despite the name, you don’t need an Xbox to use this. Xbox Game Bar is just the built-in screen recording tool that comes with Windows.
I will first show you how to do this, and then I'll show you a better alternative for people who care about quality screen recordings, like content creators or online instructors.
How to Record Screen with System Audio on Windows
Follow these steps:
Press Windows + Alt + R to start recording
Press it again to stop
I’m a Windows user and just tested this myself — it works immediately with no setup.
This is a screenshot of what you'll see in the top right corner of your screen when you press
"Windows + Alt + R" if you see this you will know you are recording.
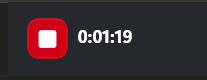
This is what you'll see when you click the red "stop" button.
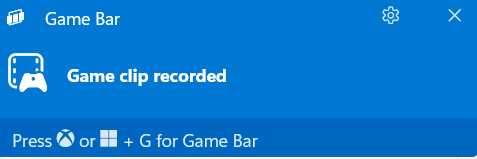
Then, if you click inside the blue box that says "Game clip recorded", you will get a screen like this.
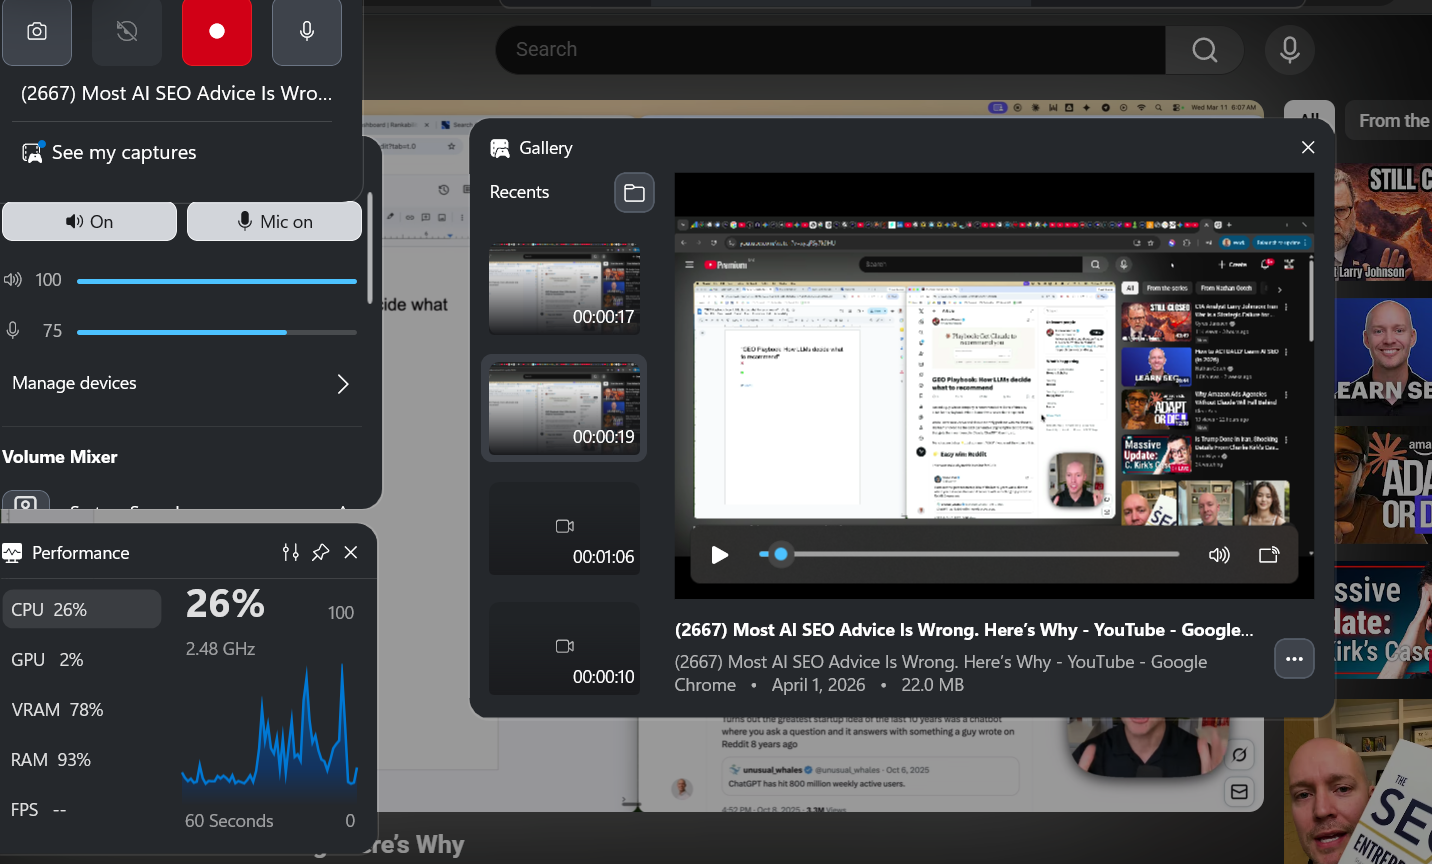
That is where you will see your recording and can access your settings. You can turn your mic on or off, adjust volume levels, and include "system audio" or not.
What Is “System Audio”?
“System audio” (also called internal audio or computer audio) is any sound coming directly from your computer.
For example:
A YouTube video you’re playing
Music or background audio
Sound from a presentation or demo
If you can hear it through your speakers or headphones, it’s system audio.
A lot of screen recorders don't include system audio at all, so this is a useful feature.
But there is are a few big "buts"...
When This Method Works Well
Using Windows + Alt + R is perfectly fine if you’re:
Recording a quick explanation to send to a friend
Capturing a short gameplay clip
Saving something for personal use
It’s fast, built-in, and requires no setup.
Why Windows + Alt + R Falls Short for Creators
The problem starts when you try to actually use your recording for content.
If you’re creating videos, tutorials, or anything you plan to publish, you’ll likely run into these issues:
No clean webcam integration (or awkward setup)
Audio is combined (your mic and system audio are merged into one track)
No editing workflow (you’re left with a raw file)
Limited control over audio quality and levels
Not designed for content creation workflows
Low-quality audio recording
Eats computer resources and slows it down (browser-based is better)
This is where most people hit a wall.
They can record the screen, but turning that recording into usable content becomes frustrating.
When You Need Something More
If you’re:
Creating YouTube videos
Recording tutorials or online courses
Making reaction or commentary content
Then you need a setup designed for creators, not just basic recording.
If you want a full breakdown of your options, check this out:
How to choose the best screen recording software
What Is the Best Alternative to Windows Screen Recording?
For creators or instructors, the best option is the Podsplice screen recorder.
Instead of just recording your screen, it’s built around the full content workflow.
What Makes It Different
Separate audio tracks
Your microphone and system audio are recorded independently, so you can adjust or edit them laterOptional webcam recording
Include your face when you want it, without awkward overlaysBuilt-in workflow
Record, review, and prepare content without exporting into multiple toolsRuns in your browser
No installs, no complicated setupDesigned for publishing, not just recording
The Bottom Line
If you’re just saving clips, Windows + Alt + R is enough.
If you’re creating content, you’ll need something more flexible.
That’s where tools like Podsplice make a big difference.
Podsplice is the software I use to make reaction videos
Here is an example of a YouTube reaction video I made with Podsplice. You'll notice I'm recording my screen, system audio, mic, and webcam.

About the Author
Andrew Best
Andrew Best is an entrepreneur, educator, and AI expert with over two decades in online marketing. He co-founded China232 — a podcast and learning platform with 10M+ downloads — and later 88Herbs, a premium supplement company. Andrew now focuses on helping creators leverage AI for podcasting, screen recording, and YouTube content through Podsplice.
More from Podsplice

Why WebM Files Break Your Premiere Pro Workflow (And the Easy Fix)
Article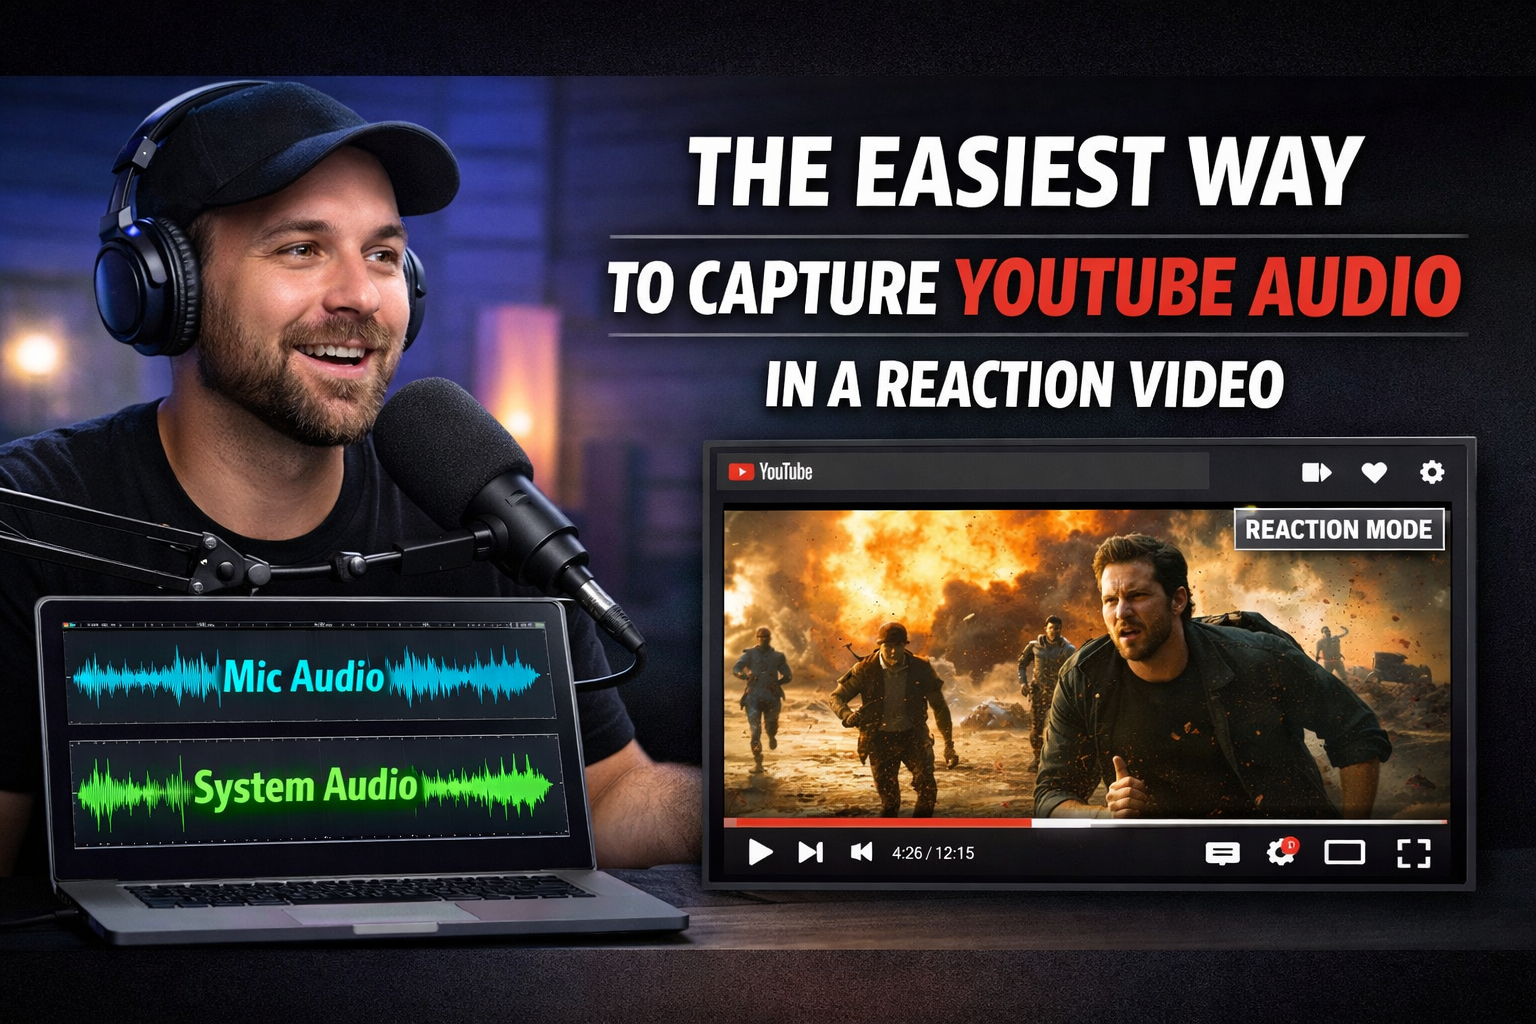
The Easiest Way to Capture YouTube Audio in a Reaction Video
Blog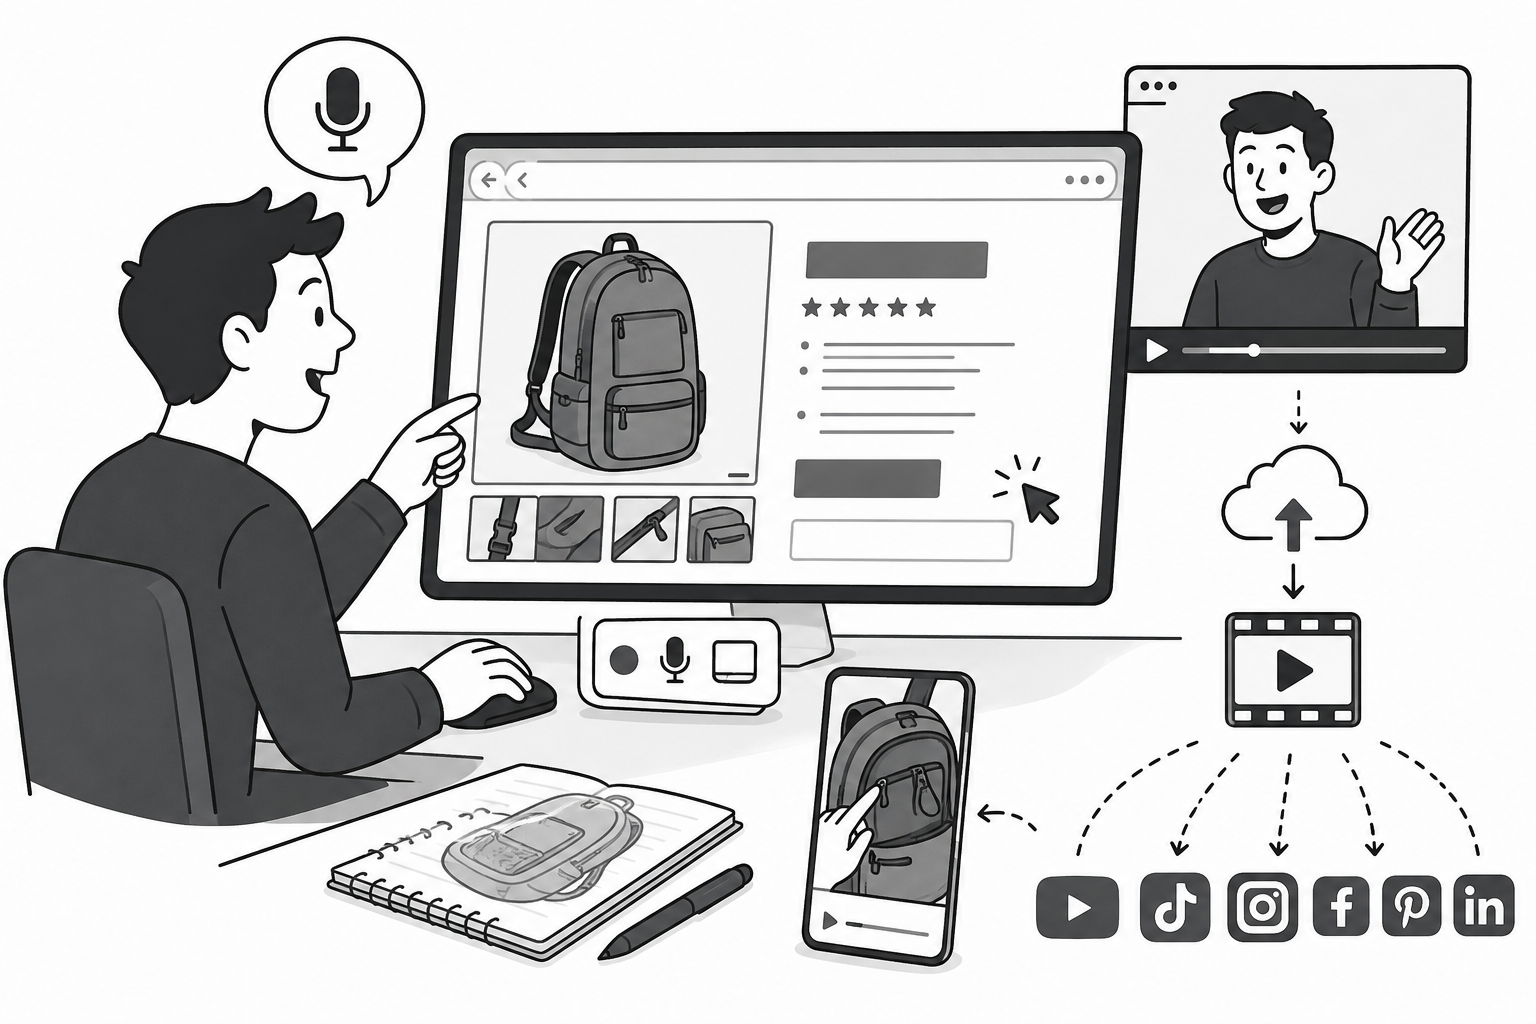
Screen Recording Software for Shopify: The Easiest Way to Get Free Organic Traffic & Sales
Article
How to Screen Record with System Audio in 2026: The Easiest Way (Complete Guide)
Article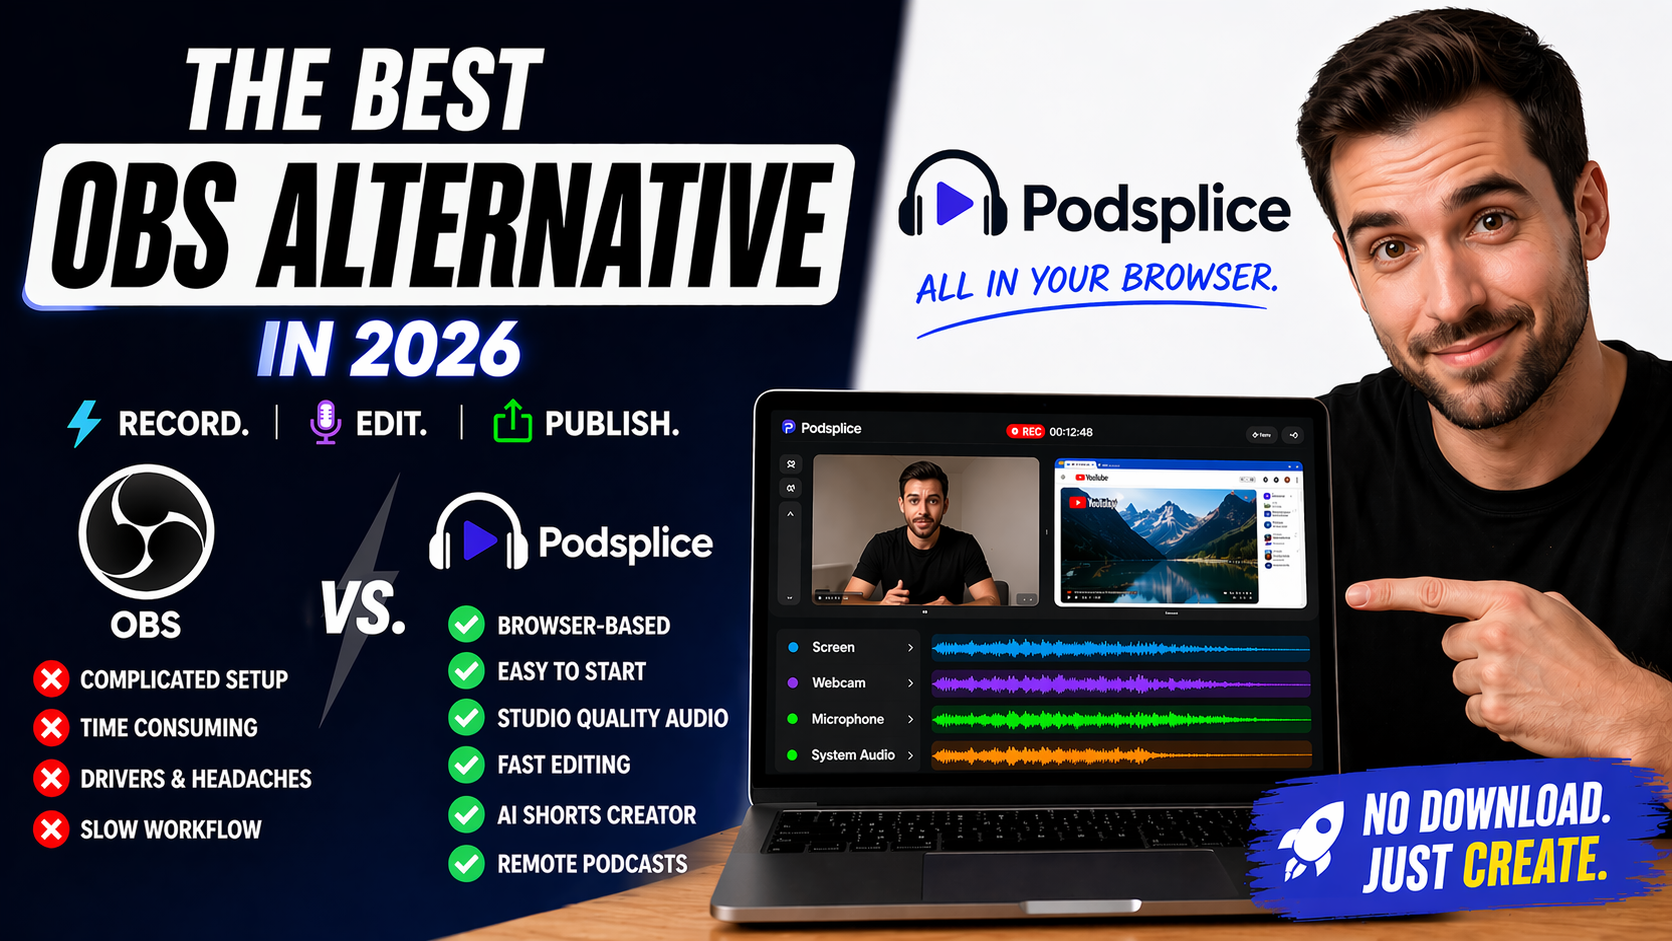
Best Browser-Based OBS Alternative in 2026 (No Download Needed)
Article
Start Recording in Seconds
No downloads. No setup. Just hit record and share your story with the world in studio quality.
Looking for a Screen Recorder or Remote Recording tool?