How to Make Reaction Videos on a Mac: The Easiest Way in 2026
The best and easiest way to make reaction videos on a Mac is with Podsplice because it records your screen, mic, webcam, and internal/system audio directly in the browser. No OBS, no BlackHole, no drivers, and no complicated Mac audio settings.
In this article, I'll show you the three main ways Mac users make YouTube reaction videos, and the pros and cons of each.
Why Making Reaction Videos on a Mac Is Usually Annoying
Making a reaction video on a Mac sounds simple.
You open a YouTube video. Hit record. Share your thoughts.
Unfortunately, this isn't simple on a Mac.
The biggest problem is that reaction videos need system audio (also called internal audio). That's the sound coming from the video you're reacting to. If viewers can't hear the original video, your reaction makes little sense.
I found this out the hard way when I tried making a reaction video on a Mac using Canva's screen recorder. I was able to get my webcam, my voice, and the screen recorded, no problem. But there was no audio from the YouTube video itself.
Macs are designed with strong privacy and security protections. The downside of this is that it makes screen recording more complicated. Unlike recording your microphone, recording internal audio is not straightforward. Most recording tools can easily capture your voice and screen, but capturing the sound coming from your computer is where things often become frustrating.
Option 1: OBS on Mac
OBS is free and powerful. If you're willing to learn it, you can do almost anything with it.
The problem is that most reaction creators don't want to become OBS experts. They just want to hit record and start talking.
OBS has a fairly steep learning curve, especially for Mac users trying to record screen, microphone, webcam, and system audio at the same time.
Even after you learn OBS, the workflow is still slow.
You will find yourself dealing with:
Scenes
Sources
Audio mixers
Recording settings
Permissions
Audio routing
Export settings
None of those things are impossible. They just take a lot of time.
And time matters when you're creating content consistently.
The faster you can go from idea to published video, the more content you can create.
For most creators, it feels like operating the recording software becomes a project of its own.
OBS is free, but free does not always mean fast. If your goal is to make reaction videos consistently, the setup can become the thing that stops you from creating.
Also, OBS doesn't transcribe your videos, cut them into shorts, put karaoke subtitles on them, or automatically post to your social media channels in one click. Podsplice does all of this.
Option 2: QuickTime + BlackHole
Many Mac users start with QuickTime because it's already installed and completely free.
For basic screen recordings, QuickTime works fine.
The problem starts when you want to create a reaction video.
Reaction videos require internal audio (system audio). Viewers need to hear the video you're reacting to, not just your microphone.
Recording internal audio on a Mac is not straightforward.
That's why so many tutorials eventually send you down the QuickTime + BlackHole route.
What started as a simple recording project suddenly becomes a technical setup project.
You install BlackHole. You create virtual audio devices. You change Mac audio settings. You adjust permissions. You test your microphone. You test your system audio. You record sample clips. You troubleshoot audio issues. Then, when you're done, you may need to change some of those settings back again.
To be fair, many creators get this setup working.
The problem isn't whether it works.
The problem is the workflow.
If you're creating reaction videos every week, all those extra steps add up. Time spent configuring audio is time you're not creating content.
QuickTime is simple until you need internal audio. Then it stops feeling simple.
And even after you've jumped through all those hoops, you're still left with a basic recording.
QuickTime and BlackHole won't keep your audio tracks separate. They won't transcribe your video. They won't automatically create Shorts. They won't generate karaoke subtitles. They won't edit in the cloud. And they won't publish your content to multiple social media channels with one click.
Podsplice does all of that.
Option 3: Podsplice — The Easiest Way to Record Reaction Videos on Mac
If your goal is simply to create reaction videos as quickly and easily as possible, Podsplice is built for exactly that.
Unlike OBS or the QuickTime + BlackHole setup, Podsplice works directly in your browser. There is nothing to install, no virtual audio drivers to configure, and no complicated audio-routing setup to learn.
In many ways, it's more like Gmail than traditional recording software.
You open a browser, log in, and start working.
Because everything happens in the browser, you're not really dealing with Mac-specific recording headaches. You don't have to worry about downloading software, managing drivers, or constantly adjusting settings every time you want to record.
You simply open Podsplice, choose what you want to record, and start creating.
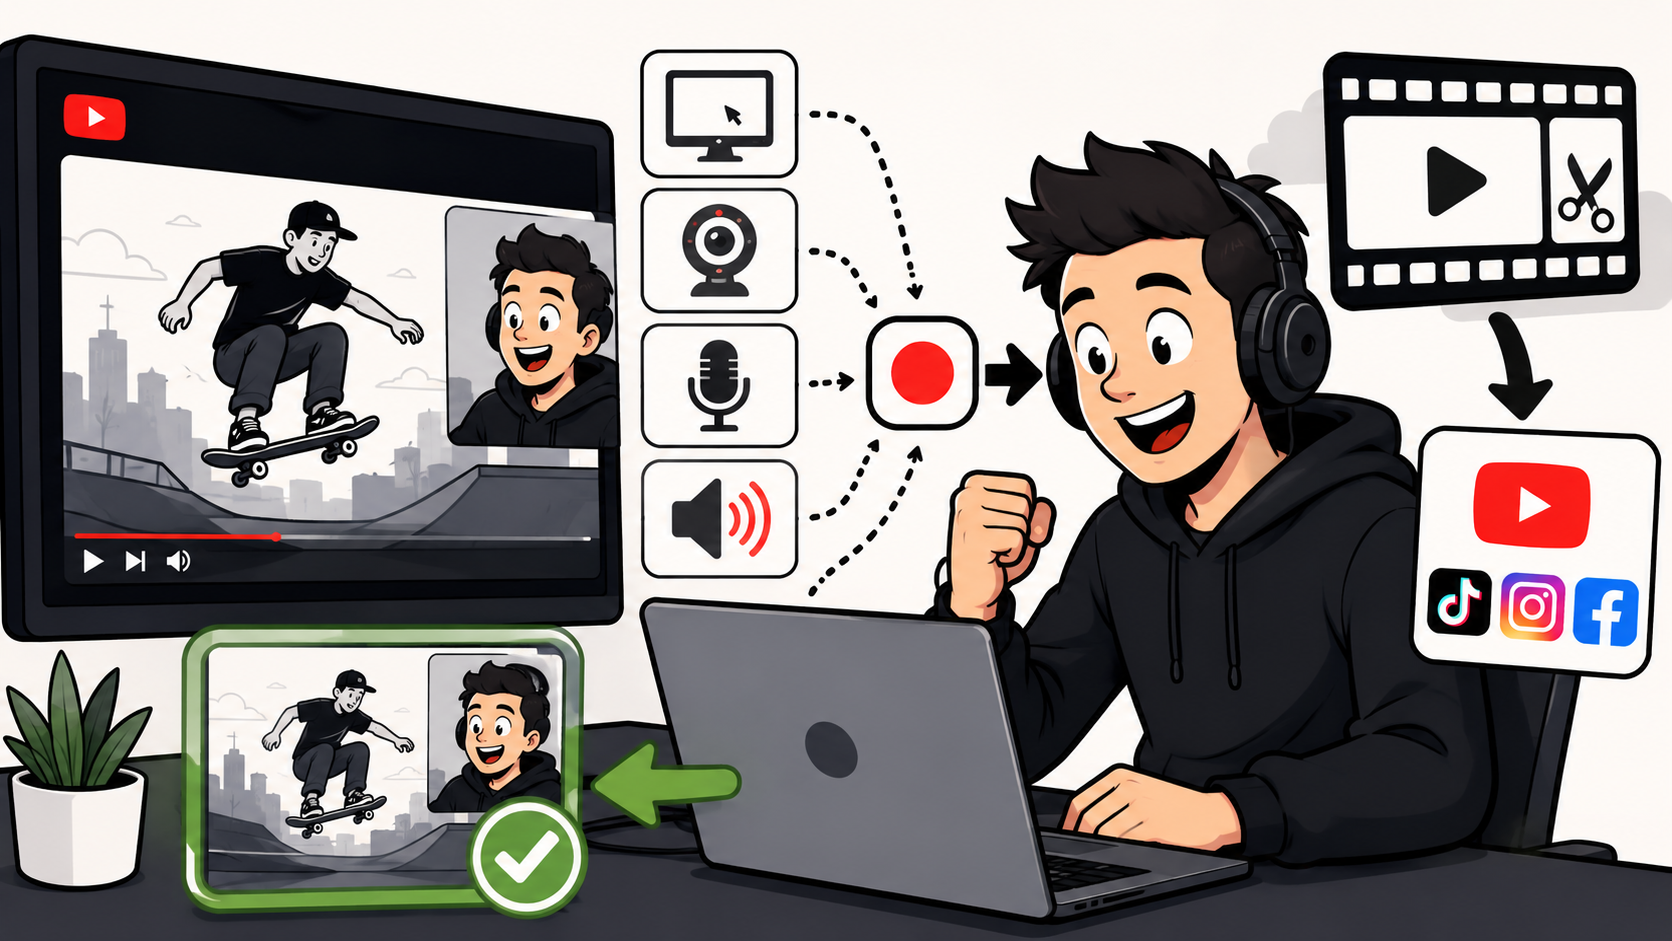
Podsplice records:
Your screen
Your microphone
Your webcam
Internal system audio
all at the same time.
It also keeps those tracks separate, which makes editing much easier later. If your microphone is too loud or the original video is too quiet, you can adjust them independently instead of being stuck with a single mixed audio track.
The platform automatically splices everything together for you and stores your project in the cloud, so you can continue working without managing large video files on your Mac.
Audio quality is also excellent, with recordings captured at up to 192 kbps.
Whether you create facecam reaction videos or faceless commentary videos, the workflow is exactly the same.
Another advantage is flexibility.
Many reaction creators don't react to just one video. They jump between multiple browser tabs, compare examples, review websites, analyze thumbnails, or react to several clips in a single recording.
With Podsplice, you can simply switch between browser tabs and keep recording. There's no need to download videos first, import files into an editor, or spend time building a complicated project before you even start recording.
The biggest advantage is simplicity.
Podsplice bypasses the annoying part of Mac reaction videos. You are not building an audio routing system. You are just recording your content.
And the workflow doesn't stop after recording.
If you need to make changes, you can edit your video directly inside Podsplice.
When you're ready to publish, you don't need to download the finished file and manually upload it to YouTube. Podsplice can upload directly to your YouTube channel from within the platform. If you manage multiple YouTube channels, switching between them is easy as well.
Once your reaction video is finished, Podsplice can automatically transcribe it, turn it into Shorts, generate karaoke-style subtitles, and publish your content to multiple social media platforms with a single click.
Instead of juggling four or five different tools, everything happens in one place.
For creators who care about publishing consistently, that's a huge advantage.
How to Record a Reaction Video on a Mac With Podsplice
Step 1: Open the video you want to react to
Open YouTube, a course video, a podcast clip, a news clip, or whatever you are reacting to in one browser tab.
Step 2: Open Podsplice in your browser
In a separate browser tab, open Podsplice.
Step 3: Choose your recording layout
You can record:
Screen + facecam
Screen only
Facecam only
Faceless reaction video with voiceover
Step 4: Turn on system audio
This captures the sound from the video you are reacting to.
Step 5: Record your reaction
Talk naturally. Pause, rewind, explain, laugh, criticize, teach, compare, whatever fits your content.
I share more in this article about recording reaction videos.
Here is a reaction video I made with Podsplice.
Step 6: Edit in the cloud
Because the audio and video are on separate tracks, you can adjust your mic and the original video audio separately.
Step 7: (Optional) Turn the long video into Shorts
Podsplice can turn the long recording into short clips with karaoke subtitles and post to social channels in one click.
Webcam or Faceless Reaction Videos?
One of the nice things about reaction videos is that there isn't one "right" format.
Some creators do extremely well with a facecam. Others never appear on camera at all.
Facecam (webcam) reaction videos tend to work best when you are part of the entertainment. Your expressions, reactions, humor, personality, and opinions become part of the content itself.
This is common for:
Comedy reactions
Commentary channels
Sports reactions
Entertainment content
Personality-driven YouTube channels
Creator brands
Faceless reaction videos are different.
The focus is less on you and more on what you're reacting to. They're often easier and faster to create because you don't have to worry about lighting, appearance, or being on camera.
Faceless reactions work especially well for:
AI tool reviews
Software demonstrations
Website reviews
Product reviews
Educational content
Tutorial-style reactions
Research and analysis videos
The good news is that Podsplice supports both workflows. You can record your webcam alongside your screen, or keep the camera off entirely and create a faceless reaction video.
The best reaction video setup is the one you will actually use. If showing your face slows you down, go faceless. If your personality is part of the content, turn the camera on.
Here is a faceless reaction video I made with Podsplice.
Why Separate Tracks Matter for Reaction Videos
This is one of those features that doesn't sound important until you actually need it.
Many recording tools combine everything into a single track. Your microphone, the YouTube video, system audio, and sometimes other sounds all get mixed together permanently.
At first, that seems fine.
Then you finish recording and realize the original video is too loud.
Or your microphone is too quiet.
Or you coughed halfway through the recording.
Or your dog barked.
Or the balance between your voice and the video isn't quite right.
Once everything is baked into a single track, fixing those problems becomes difficult or impossible.
That's why separate tracks are so valuable.
Podsplice records your microphone, system audio, webcam, and screen separately while automatically keeping everything synchronized.
That means you can:
Turn down the original video without affecting your voice
Increase your microphone volume without making the video louder
Remove mistakes from your audio
Clean up background noise more easily
Adjust each element independently
Create a more professional final video in less time
For reaction videos, this is especially important because you're balancing two different experiences: the content you're reacting to and your reaction itself.
If one is too loud, the entire video suffers.
Separate tracks give you control after the recording is finished, which can save a video that would otherwise be unusable.
What Types of Reaction Videos Can You Make?
When most people think of reaction videos, they think of YouTubers reacting to other YouTube videos.
But reaction content is much broader than that.
You can create reaction videos around almost anything that appears on your screen, including:
YouTube videos
AI tools and software
Websites and landing pages
Podcasts
News clips
Sports highlights
Product demos
Online courses
Marketing campaigns
Social media posts
YouTube thumbnails
Business ideas
Competitor websites
In fact, some of the fastest-growing reaction channels aren't reacting to entertainment at all. They're reacting to businesses, websites, AI tools, marketing strategies, and industry news.
One advantage of Podsplice is that you can easily switch between browser tabs during a recording session. This makes it easy to react to multiple videos, websites, or examples in a single recording without downloading anything or setting up a complicated project beforehand.
Whether you're reviewing AI tools, critiquing websites, analyzing YouTube thumbnails, or reacting to sports clips, the recording process stays exactly the same: open your content, hit record, and start talking.
Final Verdict: The Best Way to Make Reaction Videos on a Mac
OBS is powerful and free. QuickTime is fine for simple recordings. BlackHole can work if you like technical setups.
But if you are a content creator and want the easiest way to record reaction videos on a Mac, Podsplice is the best option because it records your screen, mic, webcam, and internal audio in the browser, keeps the tracks separate, edits in the cloud, and turns your long video into social clips afterward.
Start recording your Mac reaction video with Podsplice. No OBS. No BlackHole. No downloads. Just hit record and create.

About the Author
Andrew Best
Andrew Best is an entrepreneur, educator, and AI expert with over two decades in online marketing. He co-founded China232 — a podcast and learning platform with 10M+ downloads — and later 88Herbs, a premium supplement company. Andrew now focuses on helping creators leverage AI for podcasting, screen recording, and YouTube content through Podsplice.
More from Podsplice

How to Record a Scam Website Demo with Screen, Voice, and System Audio
Article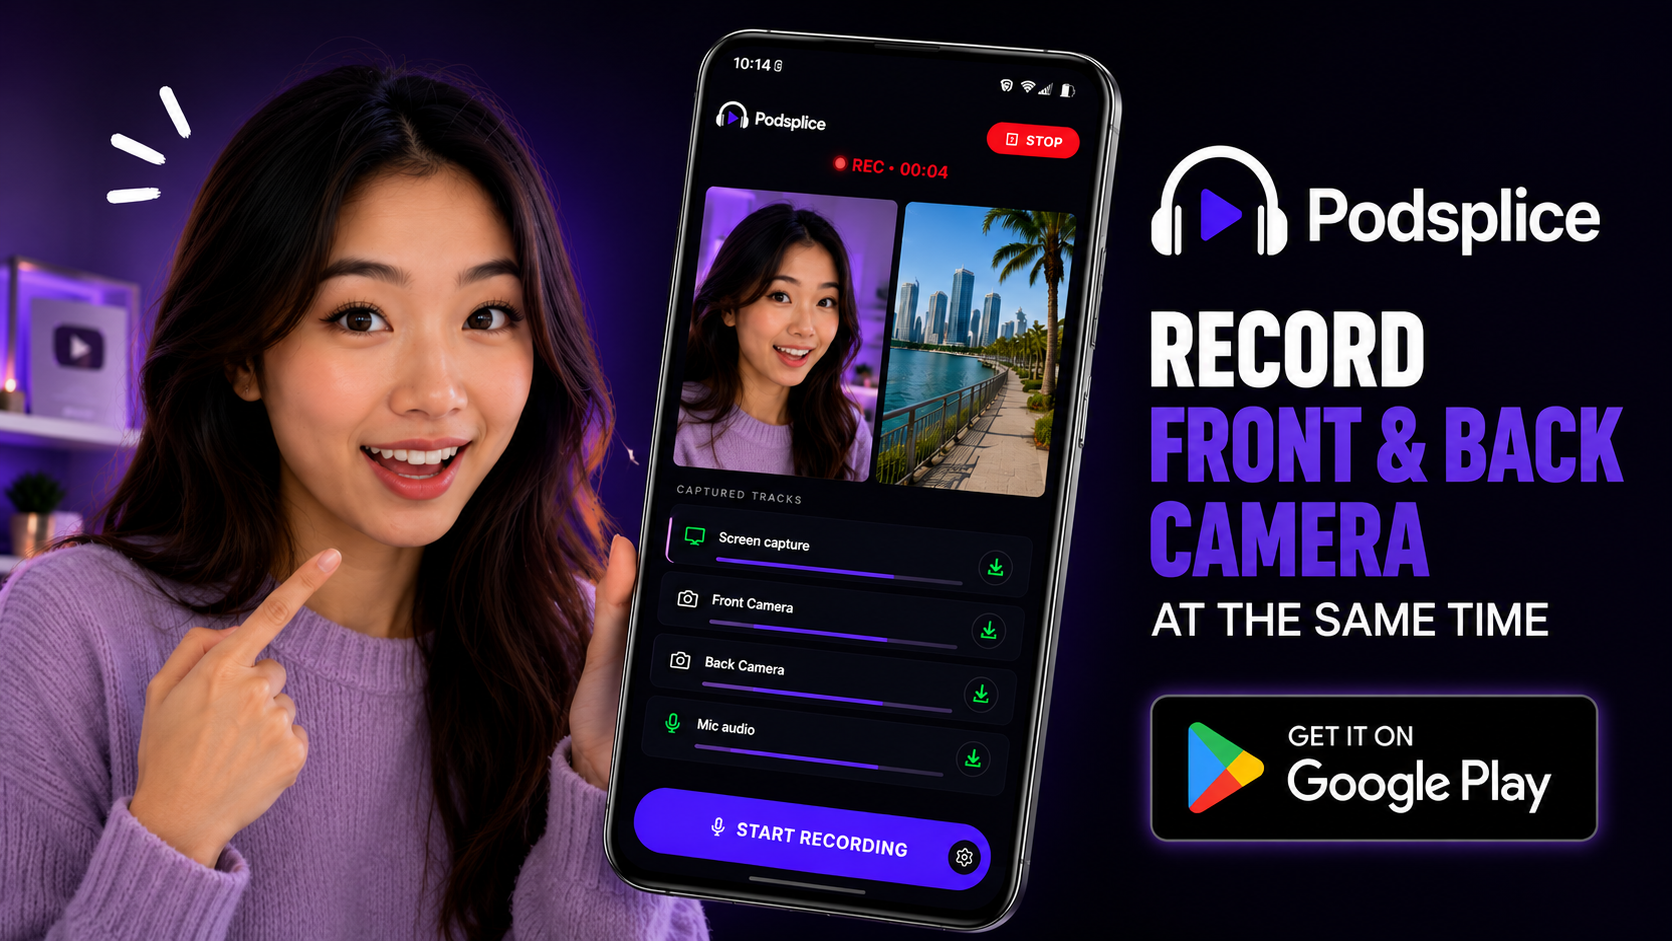
How to Record Front and Back Camera at the Same Time on Android (for Creators)
Article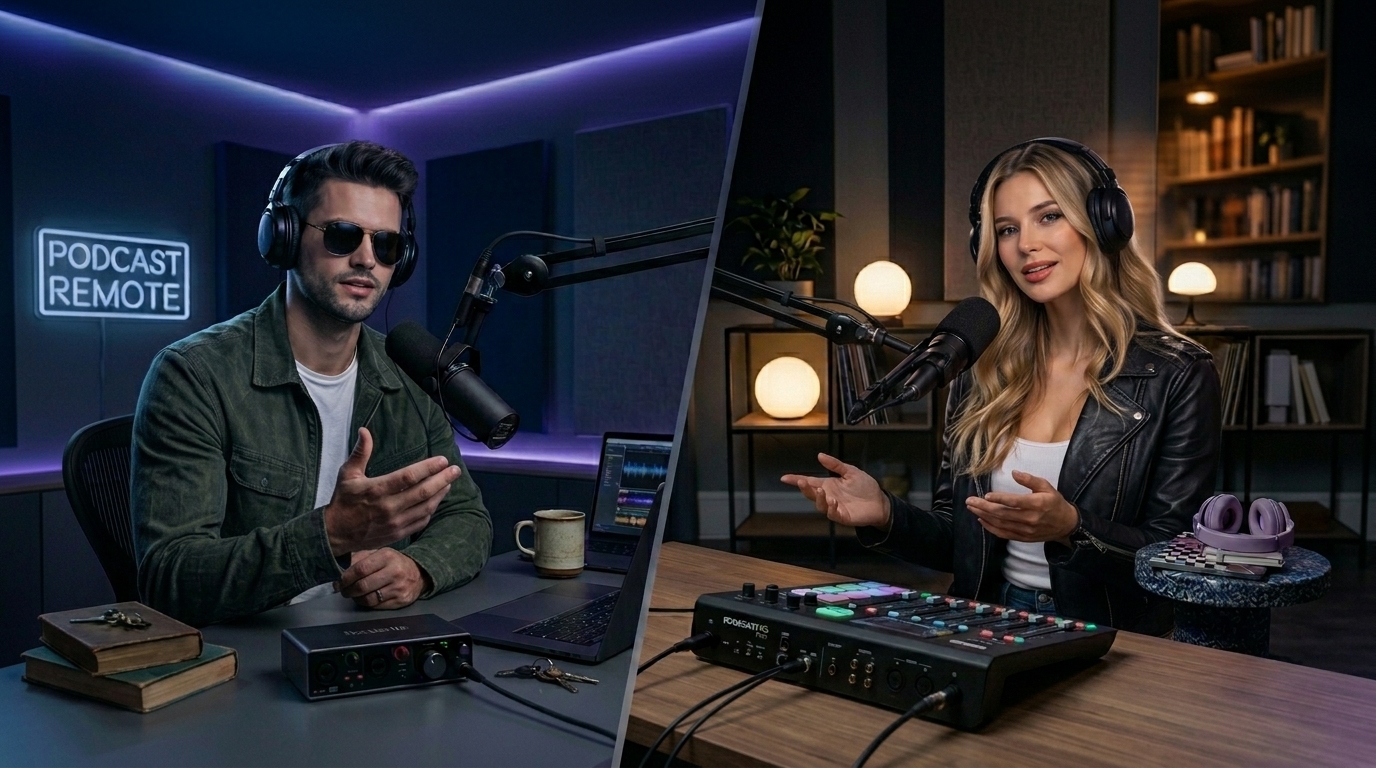
Recording a Remote Double-Ender Podcast Interview
Article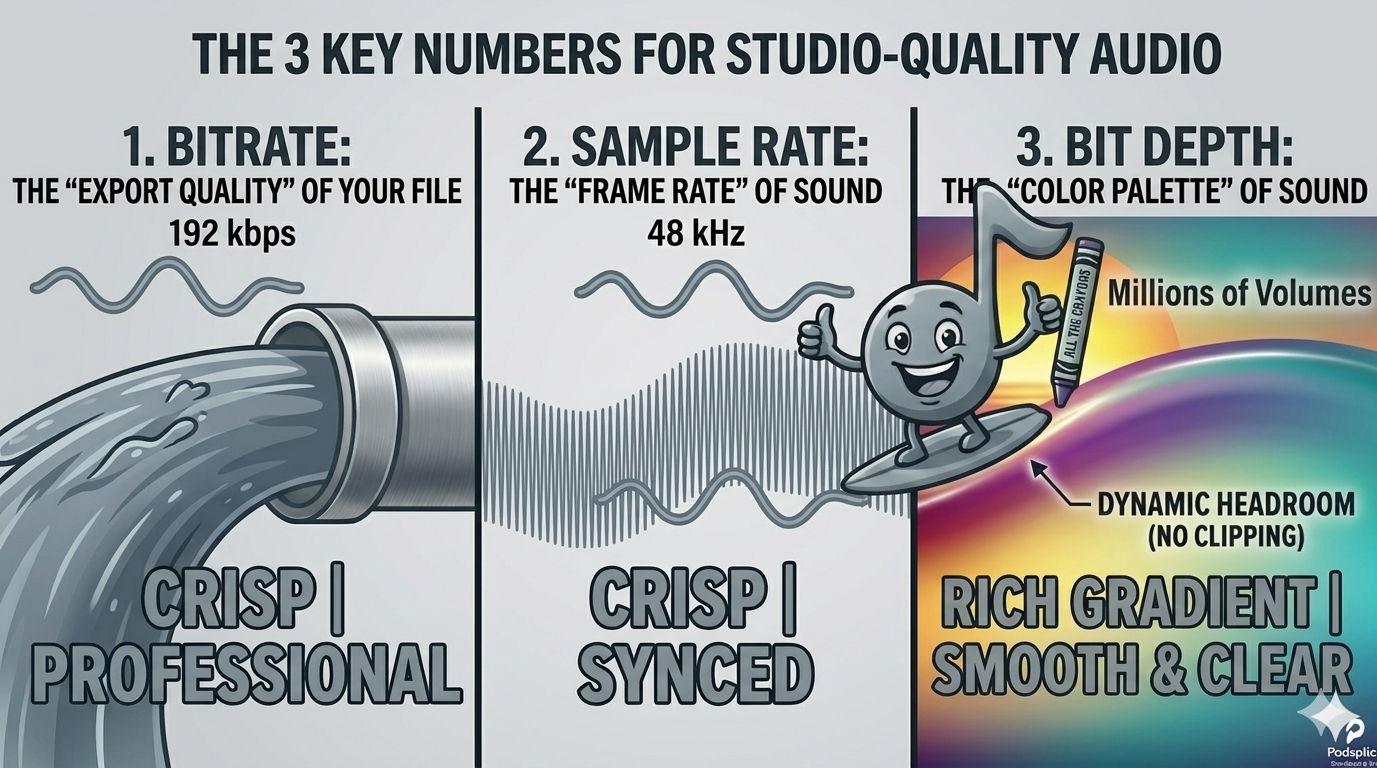
Bitrate vs. Sample Rate: The Creator’s Guide to Crisp Audio
Article
Bandicam vs Podsplice: Which Is Better for Content Creators in 2026?
Article
Start Recording in Seconds
No downloads. No setup. Just hit record and share your story with the world in studio quality.
Looking for a Screen Recorder or Remote Recording tool?