
How to Create a Podcast Guest Booking Page With a Calendar
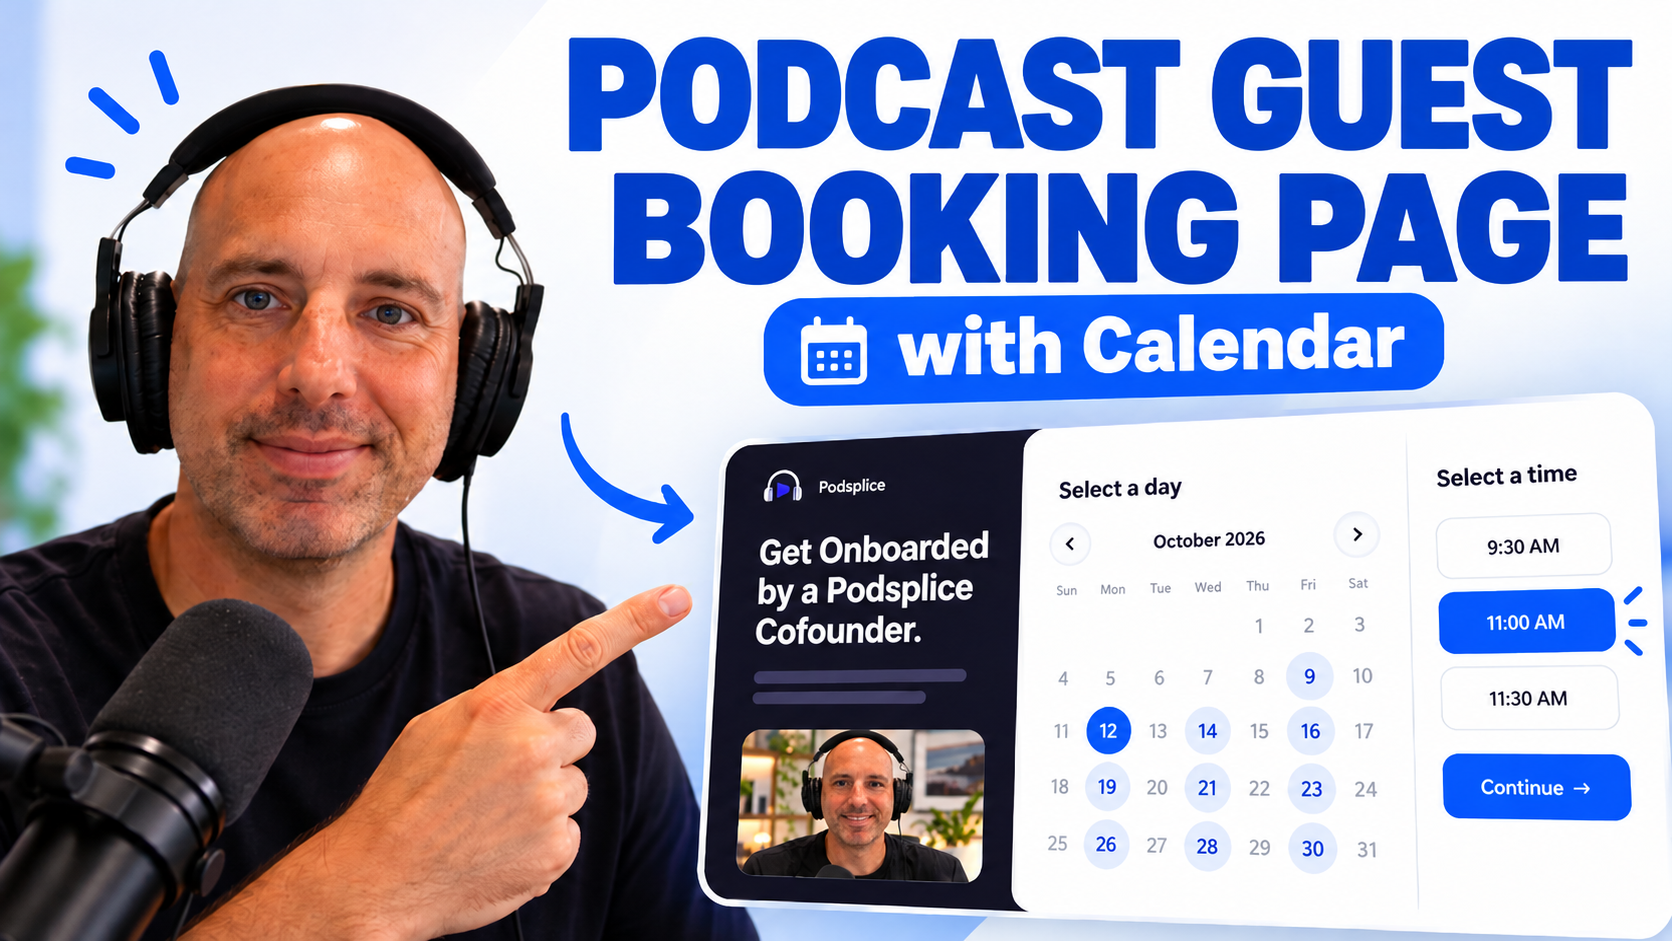
Booking podcast guests shouldn’t require 10 emails just to find a time that works.
With Podsplice Pods, you can create a simple branded guest booking page, add a calendar with your available times, ask guests a few questions, and send them one link to book.
Pods are available on Podsplice Pro and higher plans.
See Podsplice pricing
What You Need
Before you start, you only need:
A Podsplice Pro plan or higher
Your podcast name
A photo, podcast artwork or logo
The days and times you want to make available
Any questions you want to ask potential guests
That’s it.
1 - Create a New Pod
Inside Podsplice:
Go to Booking Pages / Pods
Click Create New Offer
Choose a URL/name for your Pod
Select a template
Your Pod becomes a simple landing page that you can send directly to potential guests.
Example:podsplice.com/pod/yourname/your-podcast
2 - Customize Your Guest Booking Page
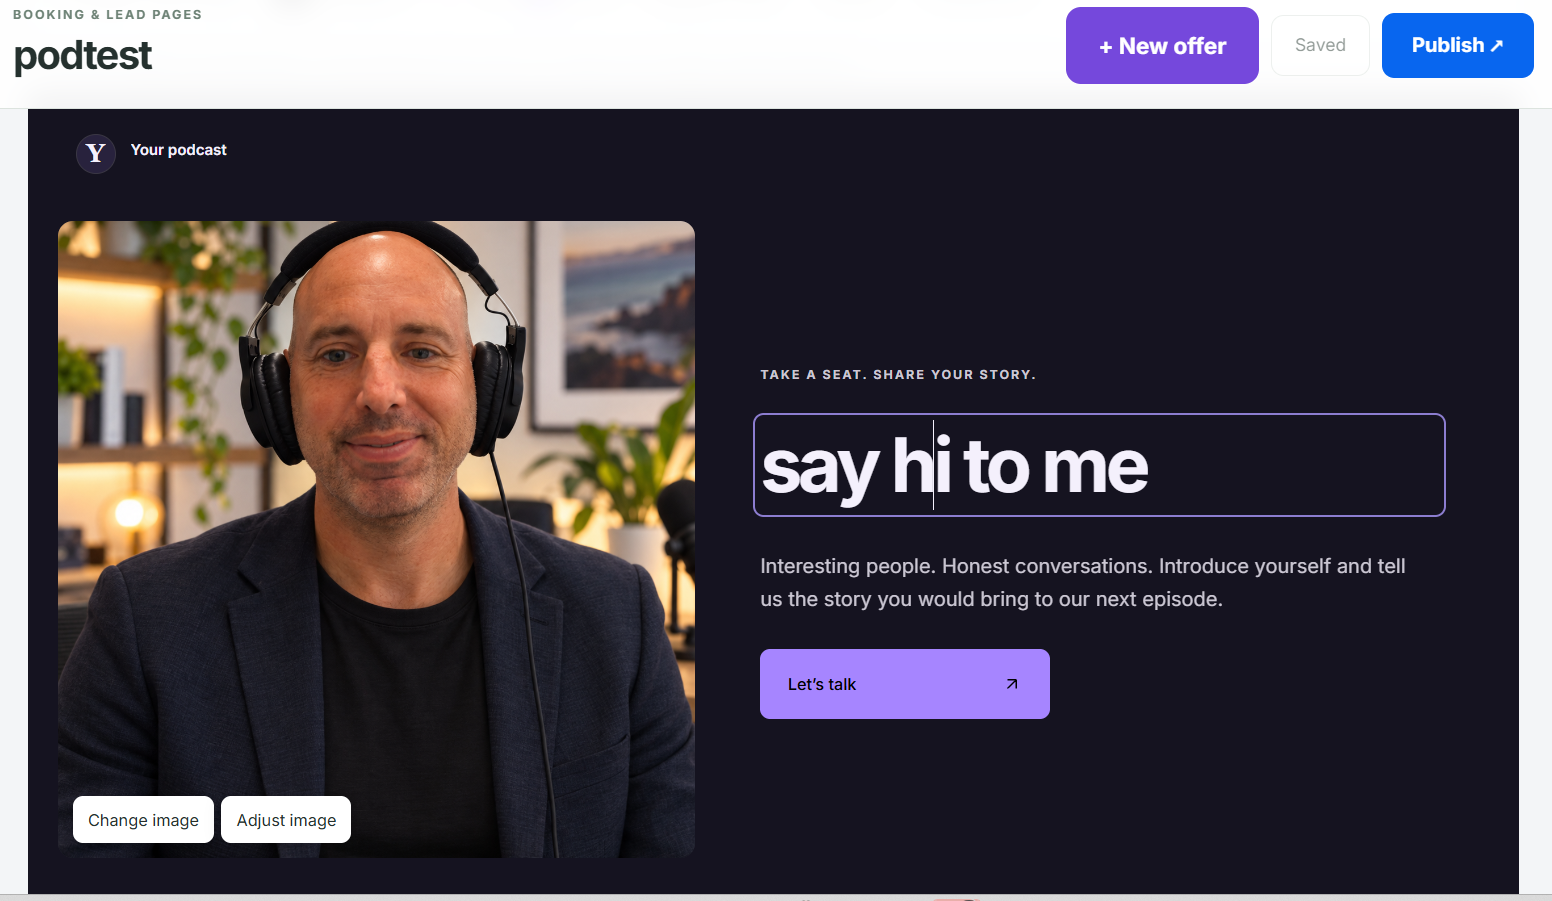
Edit the page to match your podcast.
You can change things like:
Headline
Description
Featured image
Podcast artwork
Logo
Colors
Button text
Keep it simple. A guest mainly needs to understand:
What is the podcast? Why are you inviting them? What should they do next?
For example:
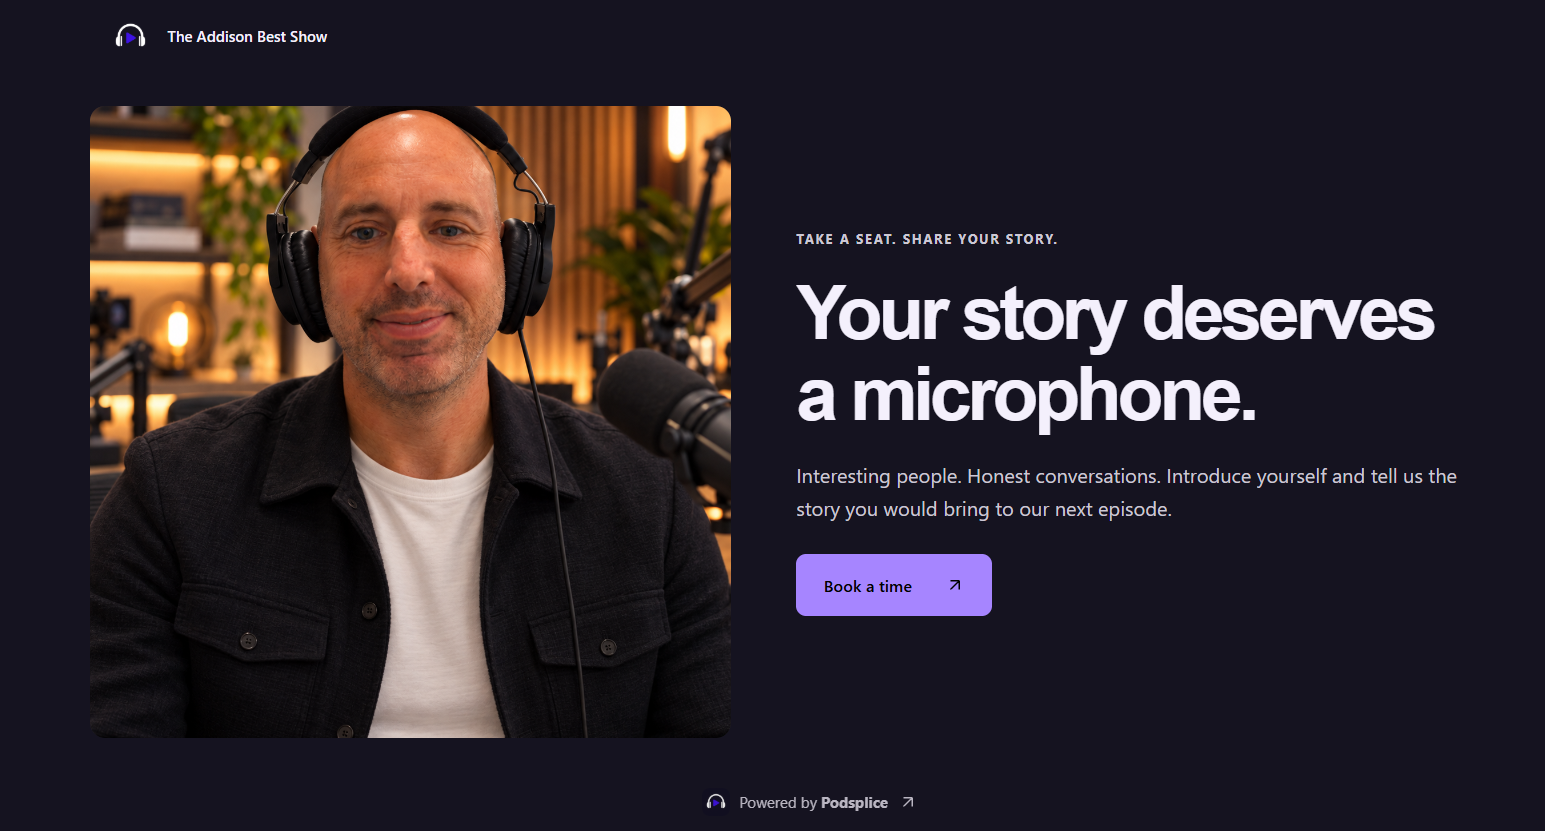
Your Story Deserves a Microphone
Join me for a conversation on the Addison Best Show.
Then add a clear button such as:
Book a Time
3 - Add Questions for Your Guest
You can collect information before the guest books.
For example:
What would you like to talk about?
What is your company or website?
Is there anything you want us to mention during the episode?
What is the best email to contact you?
You can keep this to one question or create a longer guest intake form.
For most podcasts, 2–4 questions is plenty.
4 - Add Your Booking Calendar
Next, add a Calendar to the Pod.
Set the days and times when you are available to record.
Instead of emailing:
“Are you free Tuesday?”
“No. What about Wednesday?”
“What time Wednesday?”
Your guest simply sees your available times and chooses one.
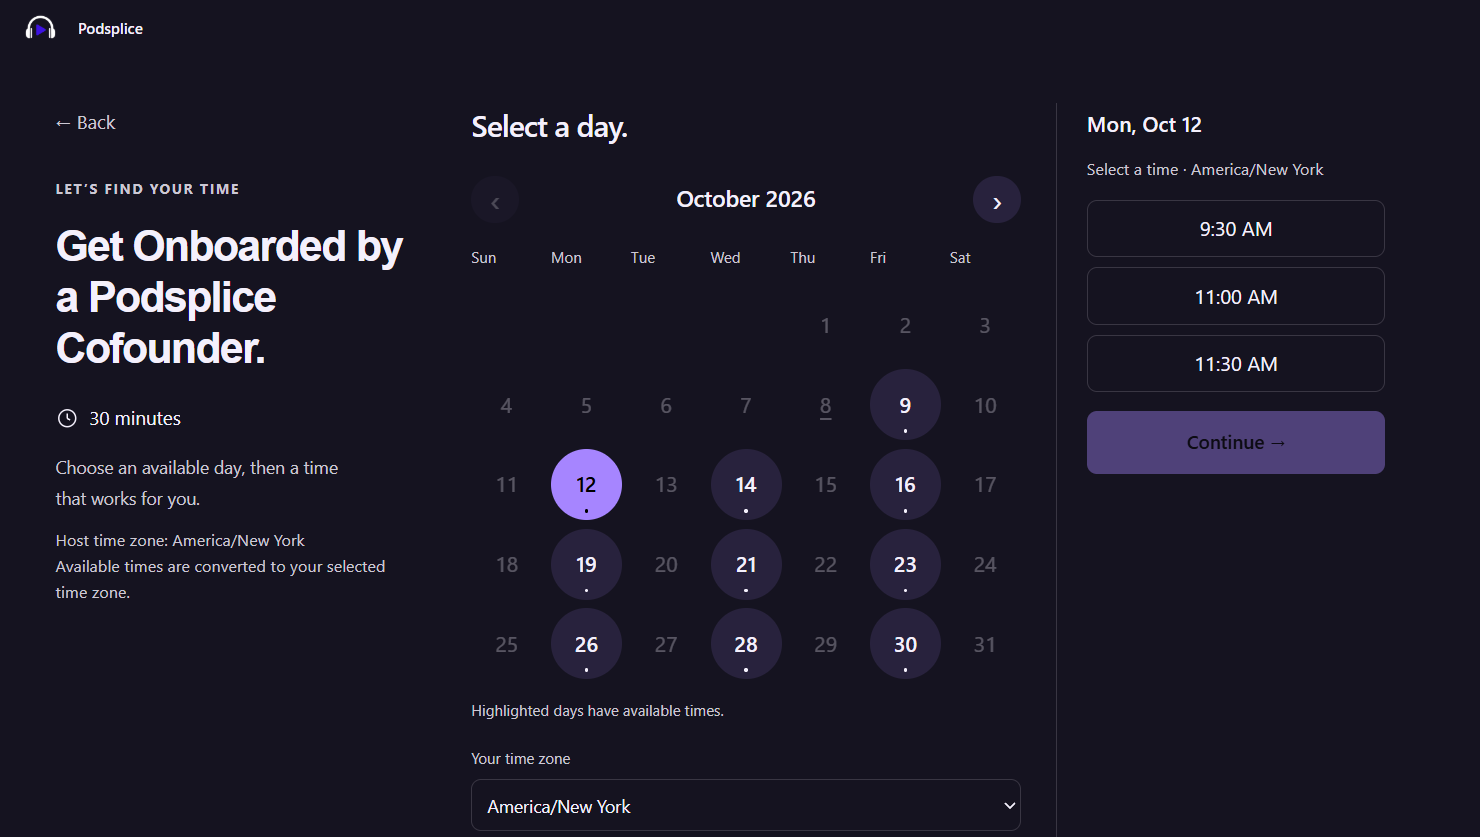
You can reserve specific blocks of time just for podcast recordings—for example:
Monday: 10:00 AM–12:00 PM
Wednesday: 1:00 PM–3:00 PM
Friday: 10:00 AM–12:00 PM
5 - Publish Your Pod
Once everything looks good:
Save your Pod
Set it to Live
Copy your unique link
Anyone with that link can now visit your page, answer your questions and select an available time.
6 - Send the Link to Potential Guests
Now you can use the same booking page everywhere.
Send it through:
Email
LinkedIn
X
Instagram
Facebook
Your website
Direct messages
Guest outreach campaigns
Instead of coordinating the meeting manually, simply say:
“Here’s my podcast booking page. Pick any time that works for you.”
7 - See Your Bookings Inside Podsplice
When somebody books, their information appears with your bookings.
You can see things like:
Guest name
Email
Selected date and time
Answers to your questions
The guest can also add the booking to their calendar.
That gives you a much cleaner system for managing podcast guests.
One Link for Your Entire Podcast Guest Process
A Pod can handle the process from invitation → qualification → scheduling.
And while this tutorial focuses on podcast guests, Pods can also be used for:
Sales demos
Coaching calls
Consulting
Discovery calls
Client onboarding
Interviews
Lead generation
You can build different Pods for different offers and share the appropriate link.
Pods are included with Podsplice Pro and higher packages.
More from Podsplice

Best Screen Recorder for Mortgage Brokers: Record Loan Walkthroughs, Podcasts, and Social Clips
Article
Bitrate vs. Sample Rate: The Creator’s Guide to Crisp Audio
Article
Why You Should NEVER Record a Podcast in Zoom
Article
Send Podsplice transcripts to Notion
Article
How to Start a Faceless YouTube Channel Without AI (2026 Guide)
Article
Start Recording in Seconds
No downloads. No setup. Just hit record and share your story with the world in studio quality.
Looking for a Screen Recorder or Remote Recording tool?