
How to Record a Reaction Video With a Co-Host in Different Locations (Easy Step-by-Step Tutorial)
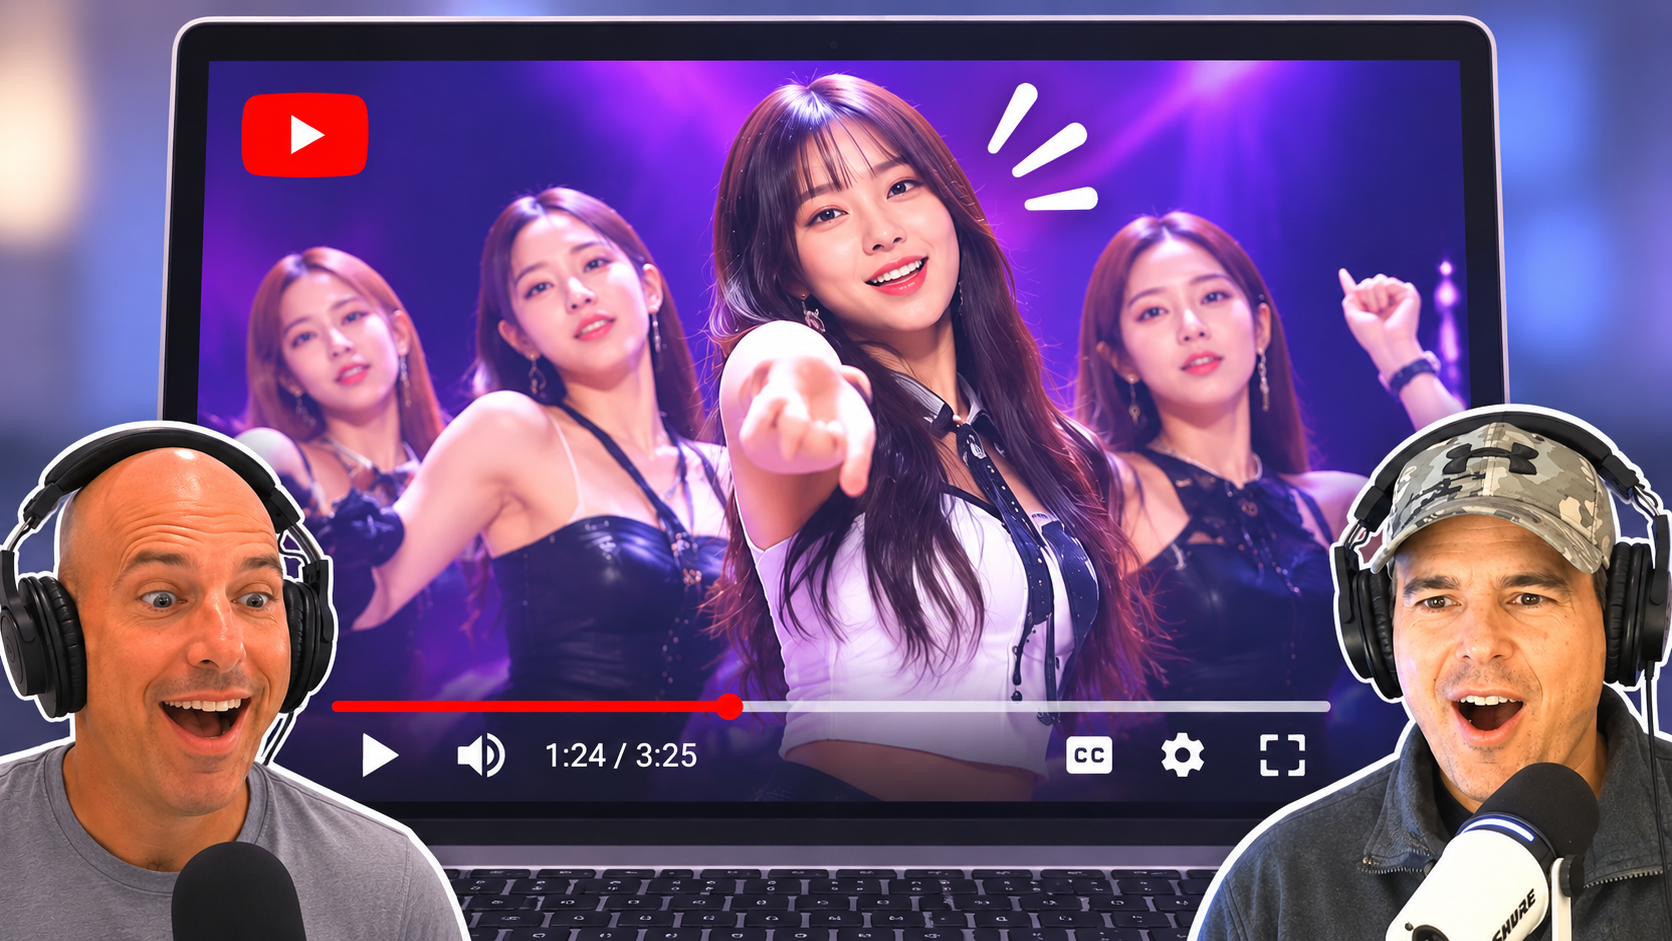
Want to record a reaction video with a co-host who isn't in the same location as you?
Maybe you're on your computer at home, and your co-host is on another computer somewhere else. You want to watch the same YouTube video, record both of your faces and voices, and capture the original video's audio clearly.
You can do all of this with Podsplice.
You don't need to be in the same room, and your co-host doesn't even need a Podsplice account.
I'll show you exactly how to do it.
Video Tutorial: Record a Reaction Video With a Remote Co-Host
Here's my full video walkthrough. If you'd rather follow written instructions, I've included all five steps with screenshots below.
Step 1: Start an Interview in Podsplice
First, go to Podsplice.com and create an account or sign in.
Once you're in your dashboard, you'll see several recording options, including Reaction Video, Screen Recording, Webcam Only, and Interview.
Since you're recording with someone in another location, choose Interview, then click Start Interview.
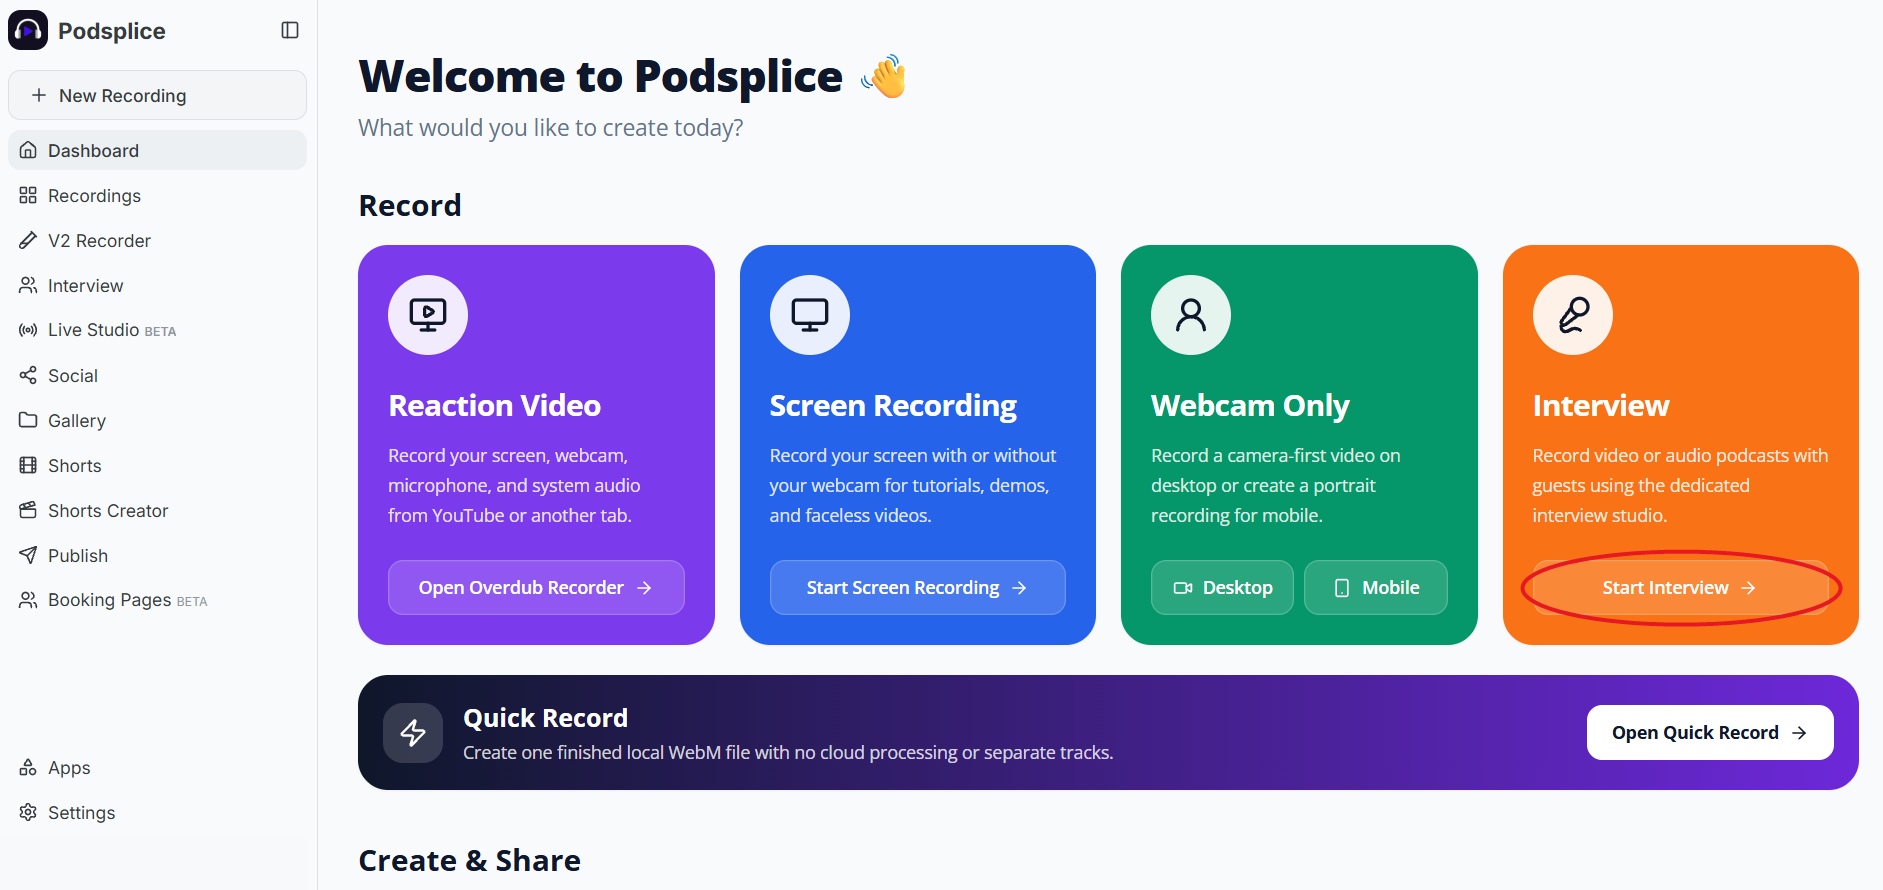
Podsplice will ask you to choose your microphone and camera. Select the devices you want to use.
You can also switch between light mode and dark mode. I personally prefer dark mode, but it doesn't make any difference to the recording.
Step 2: Invite Your Co-Host
Now you need to get your co-host into the interview.
Click Create Invite Link, copy the link, and send it to your co-host.
You can send it through email, Messenger, or whatever you normally use to communicate.
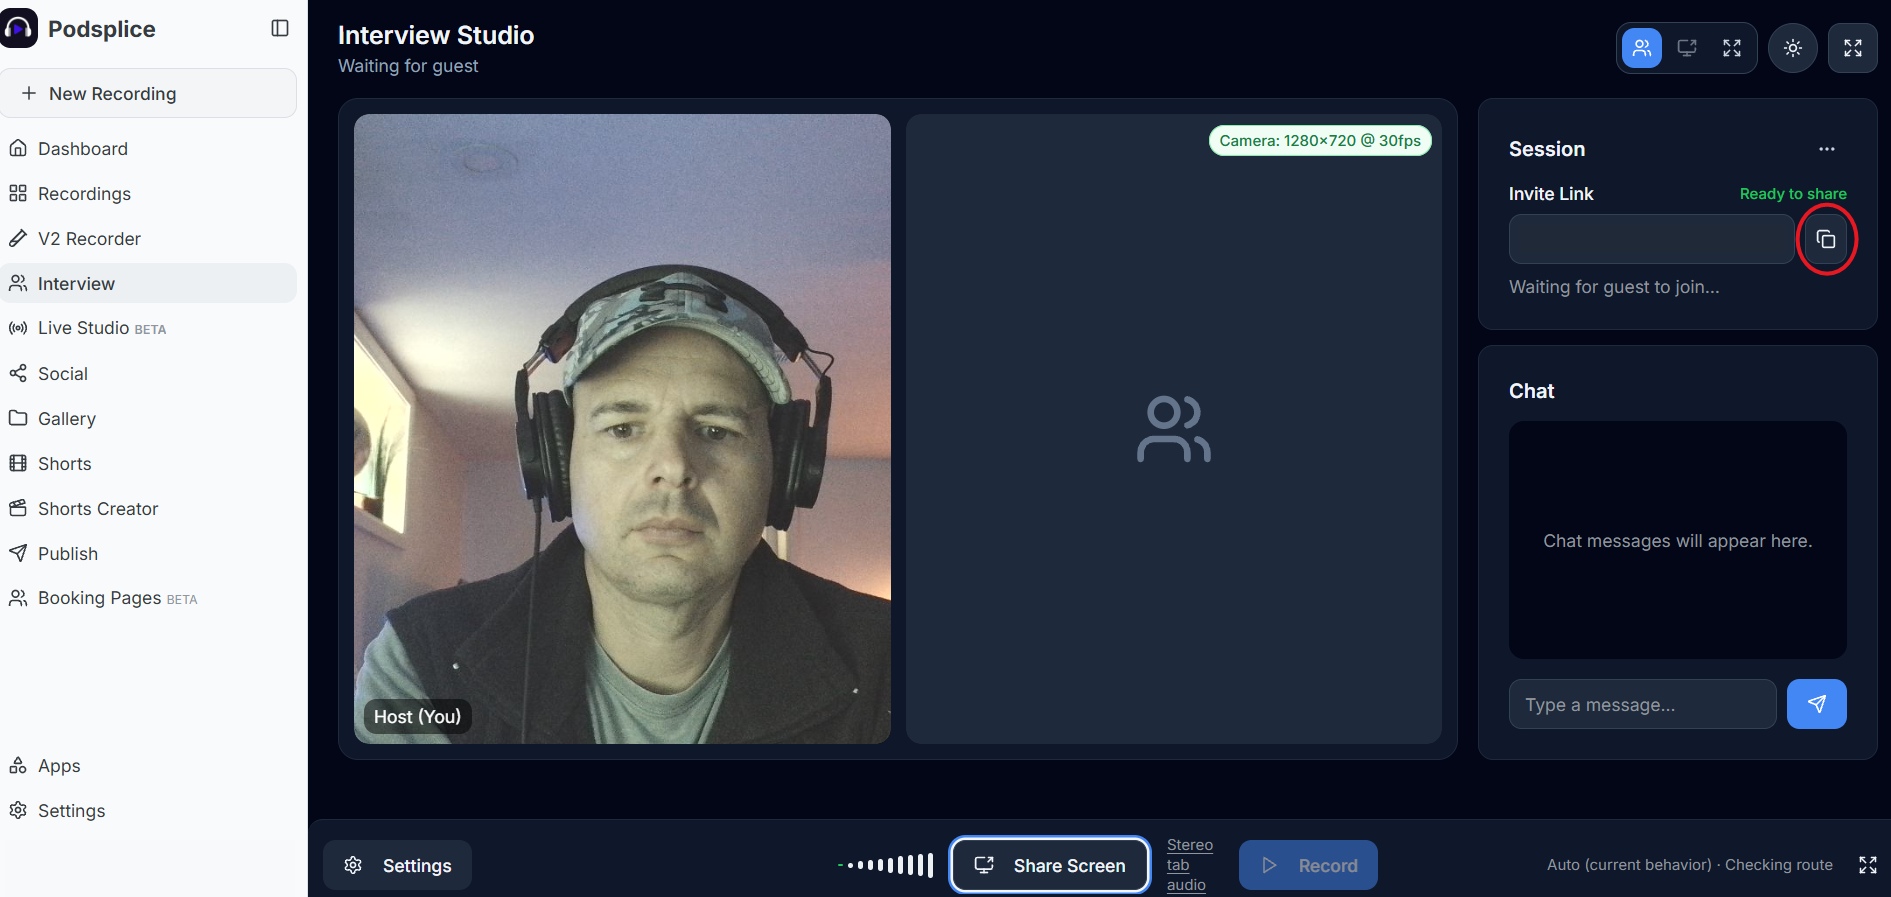
The great thing is that your guest doesn't need to create a Podsplice account. They just open your invitation link.
And it doesn't matter where they're located. You could be in Canada and your co-host could be in another country.
Step 3: Have Your Co-Host Join the Interview
When your co-host opens the invitation link, they'll see a screen where they can choose their webcam and microphone.
They can also select their camera quality.
Once everything looks good, they click Join Interview.
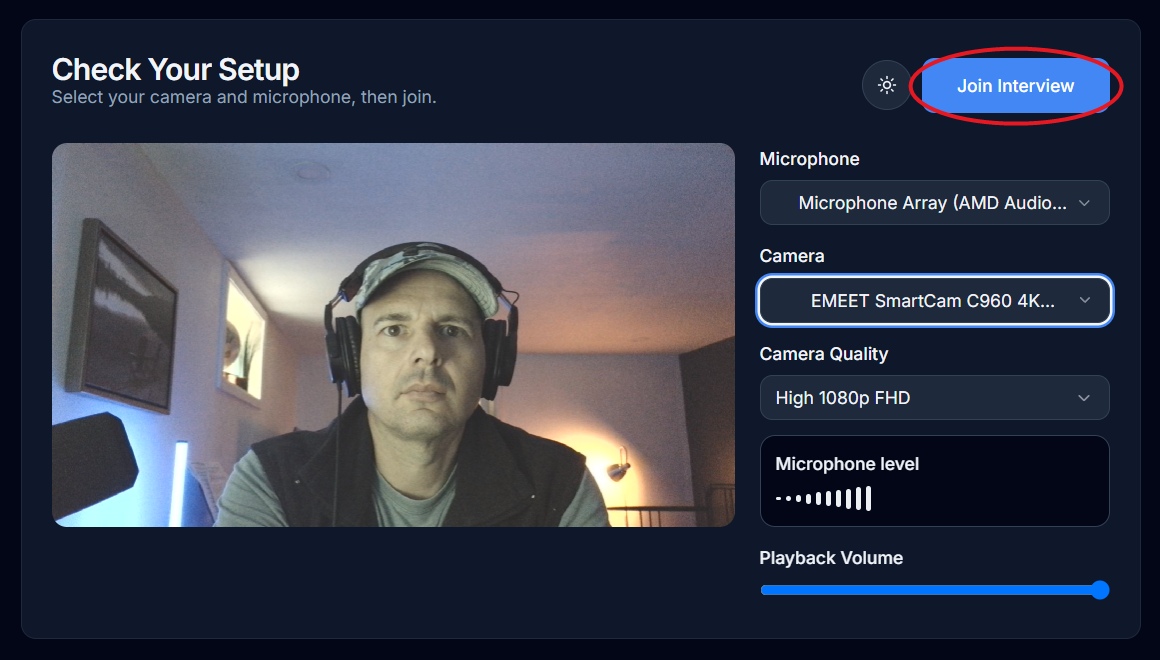
Now you're both in the same recording session.
You can see each other, hear each other, and talk normally, even though you're using two different computers in two different locations.
Step 4: Record Both Webcams and Voices
Once your guest joins, you'll see both people in the interview.
This is how you record a two-person reaction video without being in the same room.
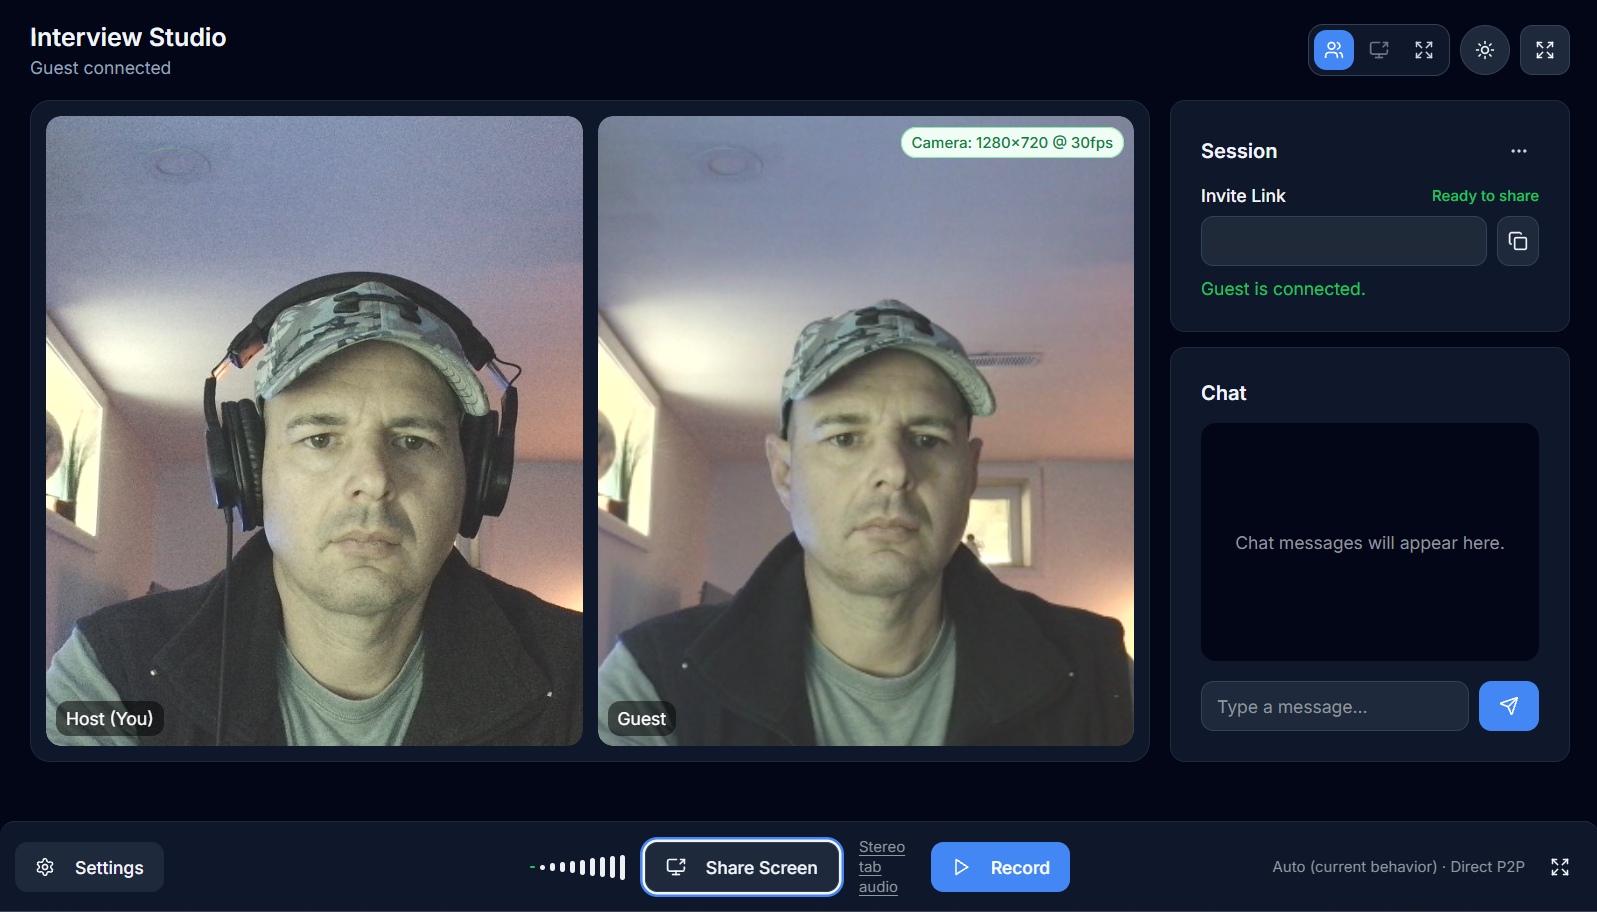
One of the things I really like about Podsplice is that each person's webcam and microphone are recorded locally on their own computer, rather than relying only on the quality of the internet connection.
The separate recordings are then automatically combined and synchronized.
This is especially useful for remote reaction videos because you can edit the individual tracks afterward.
For example, you can show both webcams side by side, make one person's face larger, or switch between the two people depending on who's reacting.
You're not stuck with one combined recording.
Step 5: Share the Video and Record System Audio
Now for the important part.
You want both people to watch the same video and react to it, while recording the video's original sound.
In your Podsplice interview, click Share Screen.
Depending on what you're sharing, you can choose your entire screen, a window, or a browser tab.
Make sure you enable the option to share system audio.
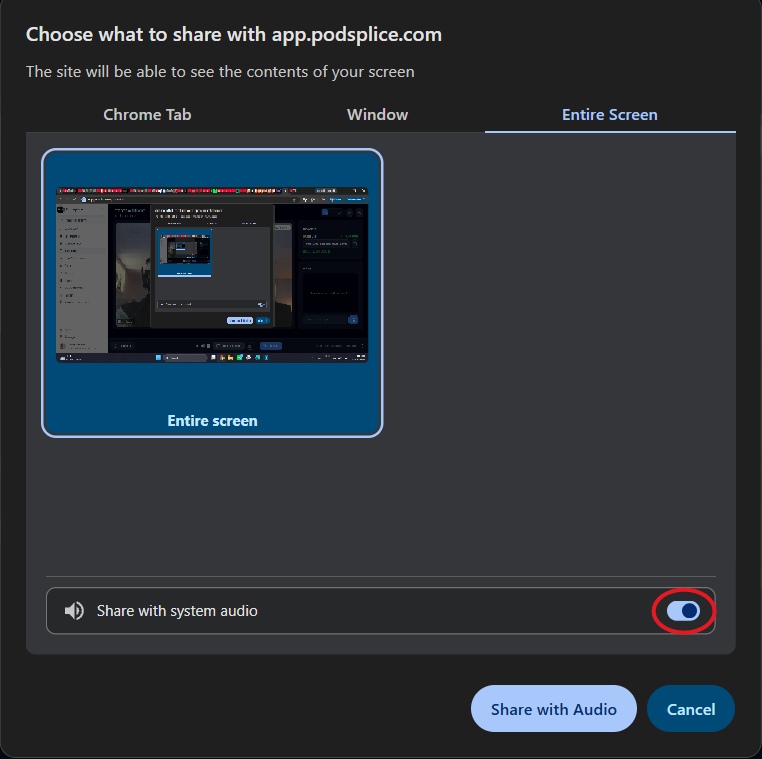
This is important because you don't want to record the YouTube video's audio through your microphone. You want the actual audio from the video captured directly.
Once you've enabled system audio, confirm screen sharing.
Now open the YouTube video, or whatever video you want to react to, and play it.
Your co-host can watch the shared video while you both talk and react.
You can click Record before you start sharing, or start recording first and share your screen later. Either way works.
How to Edit Your Reaction Video
Once you're finished recording, you can edit everything in Podsplice.
And this is where having separate tracks becomes really useful.
You can:
Show both webcams on the screen at the same time.
Make one person's webcam bigger than the other.
Change the size, shape, and position of the webcams.
Focus entirely on the video you're reacting to.
Switch to a full-screen view of either person.
Edit the separate recordings without being stuck with one fixed layout.
Because the webcam and audio tracks are recorded separately, you have much more flexibility than simply screen recording a video call.
You can change how your reaction video looks after you've already recorded it.
Once you're happy with the result, export your finished video.
Frequently Asked Questions
Can two people record a reaction video from different locations?
Yes. With Podsplice, you can start a remote interview, invite a co-host using a link, and record both people from separate computers.
Can my co-host and I watch the same YouTube video simultaneously?
Yes. One person can share their screen or browser tab, play the YouTube video, and let the other person watch and react through the interview. Playback is controlled by the person sharing.
Can I record both of our faces and voices at the same time?
Yes. Podsplice records each participant's webcam and microphone on separate tracks, so you can show both faces and hear both voices in the finished reaction video.
How do I record the original video's audio?
When you share your screen, make sure you enable Share system audio. This captures the sound from the video you're playing instead of relying on your microphone to pick it up.
Does my co-host need a Podsplice account?
No. Your co-host can open the invitation link, choose their camera and microphone, and join your interview without creating an account.
Start Recording Your Reaction Video
That's it.
You don't need to be in the same location to record a reaction video together.
With Podsplice, you can record both webcams, both voices, and the video you're reacting to, then edit everything on separate tracks.
Try Podsplice here and make your first reaction video with a remote co-host.

About the Author
Andrew Best
Andrew Best is an entrepreneur, educator, and AI expert with over two decades in online marketing. He co-founded China232 — a podcast and learning platform with 10M+ downloads — and later 88Herbs, a premium supplement company. Andrew now focuses on helping creators leverage AI for podcasting, screen recording, and YouTube content through Podsplice.
More from Podsplice
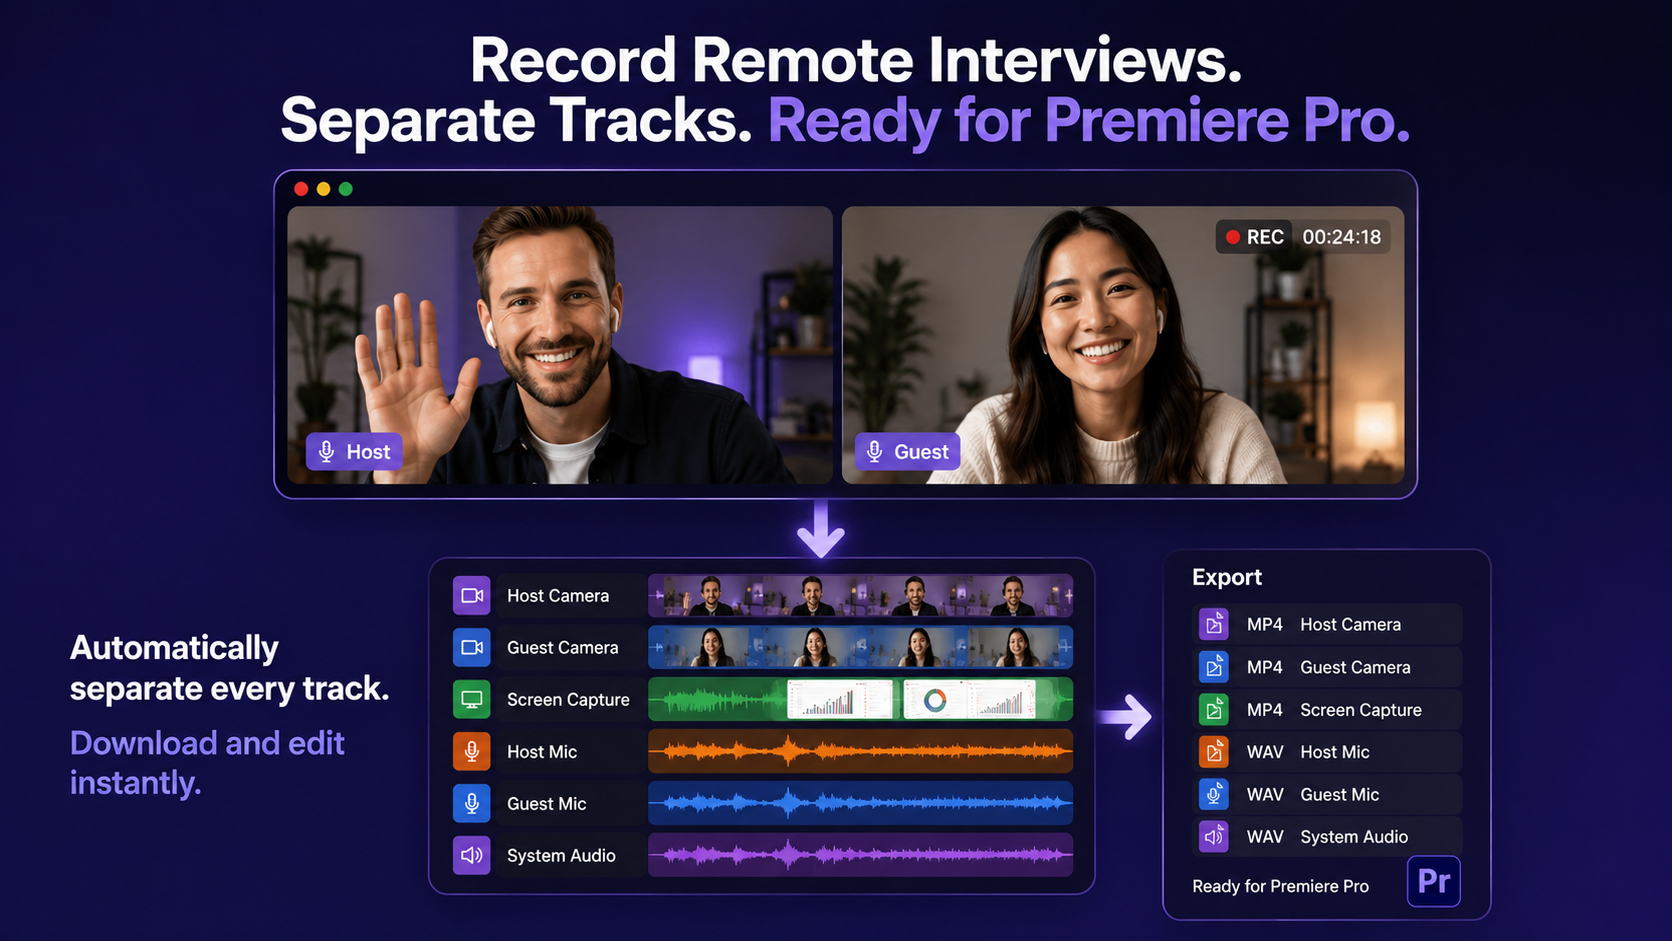
Best Way to Record Remote Interviews With Separate Tracks for Premiere Pro
Article
How Mortgage Brokers Can Get Clients With Animated YouTube Videos (Human + AI)
Article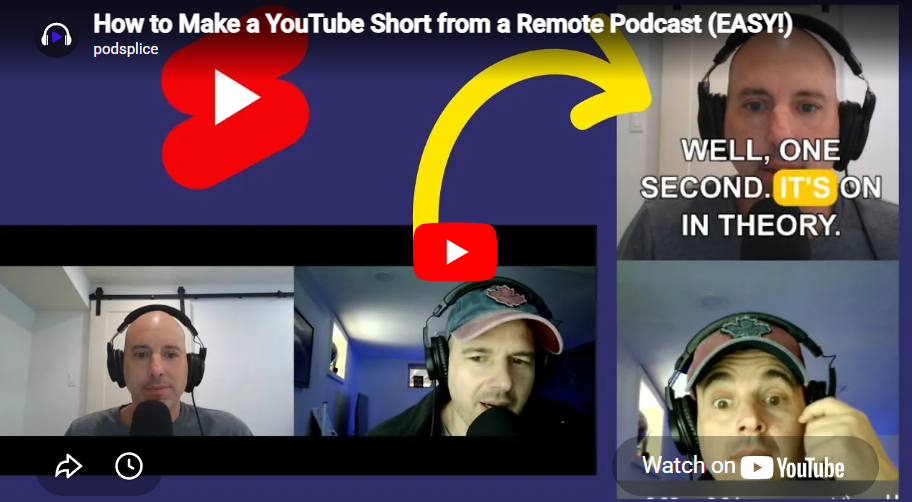
Repurposing: Turn Long Podcasts into Viral Shorts
Article
Best Screen Recorder for Mortgage Brokers: Record Loan Walkthroughs, Podcasts, and Social Clips
Article
Screen Recording Software for Shopify: The Easiest Way to Get Free Organic Traffic & Sales
Article
Start Recording in Seconds
No downloads. No setup. Just hit record and share your story with the world in studio quality.
Looking for a Screen Recorder or Remote Recording tool?