
How I Built a Low-Light Podcast Studio Because Bright Lights Give Me Migraines
I've hated bright lights in my face ever since I was a little kid.
They give me headaches and migraines.
All of the popular podcasting advice online tells me I need a bright key light in my face to get a good image.
They say to get a nice bright key light, position it at a 45-degree angle, lower your camera's ISO, and you'll get a nice crisp image.
Or they say I need to "diffuse it" off a wall if it's still too bright for me.
The problem is that I still can't stand the amount of light that is supposedly required.
I wanted a low-light podcast studio setup that looks good on camera without having to sit in front of bright lights.
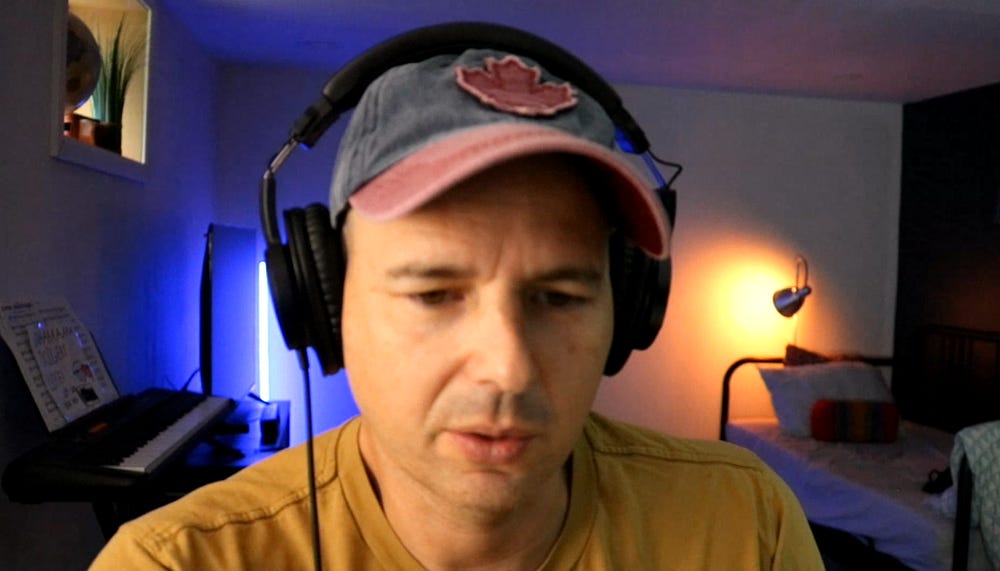
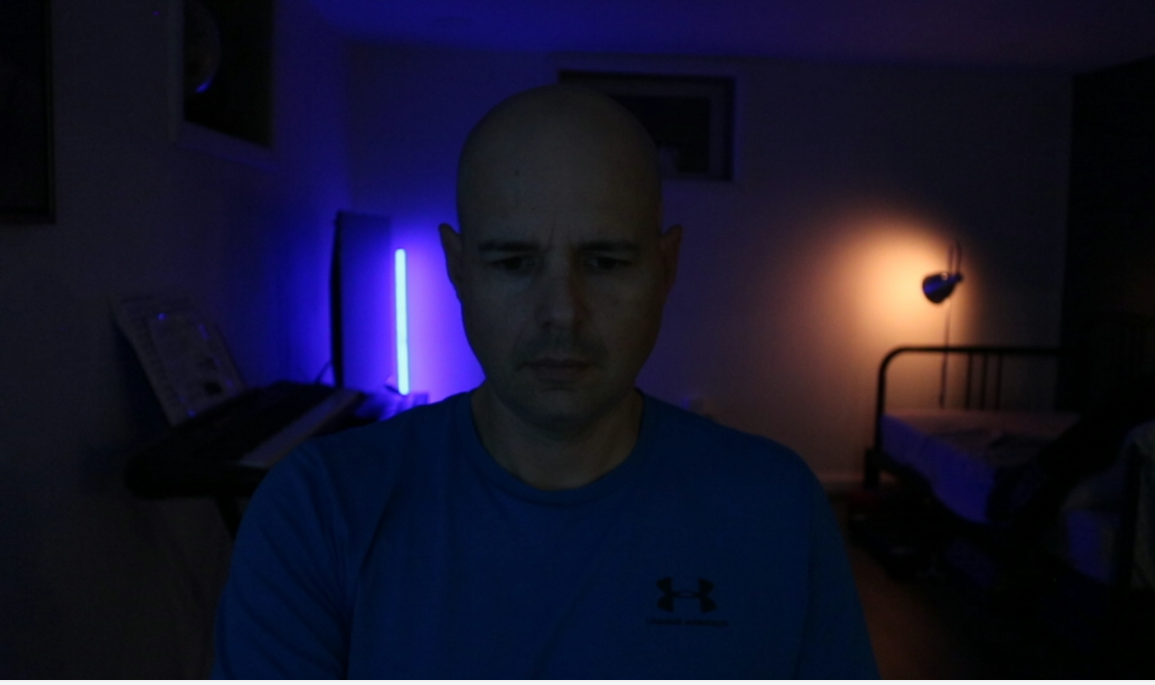
Here's what I ended up with.
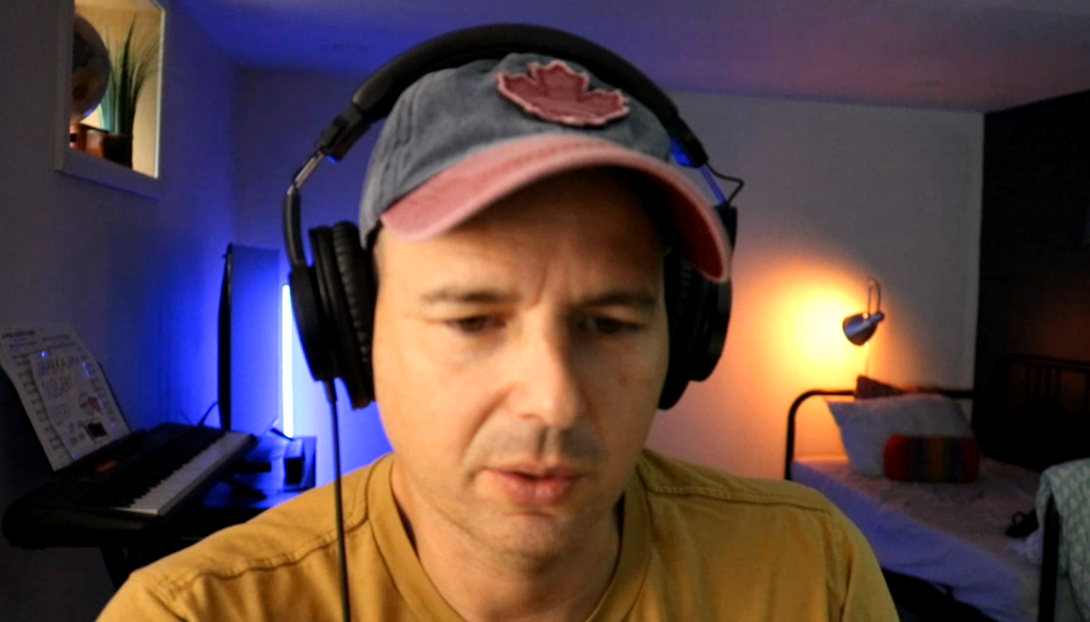
Note that this is a camera from 2015. My face is slightly out of focus because I'm too close to the camera in this screenshot. And I'm in very low light. But despite all that, it still looks good, and people ask me about it all the time.
I'll show you exactly how I got this look.
My Low-Light Podcast Studio Lighting Setup
If you don't like bright lights in your face, or you naturally have a low-light podcasting studio, you can't follow the standard advice on camera settings.
My setup is actually pretty simple.
I'm recording in my basement, which used to look pretty boring.
White walls, bright overhead lights, and nothing particularly interesting going on in the background.
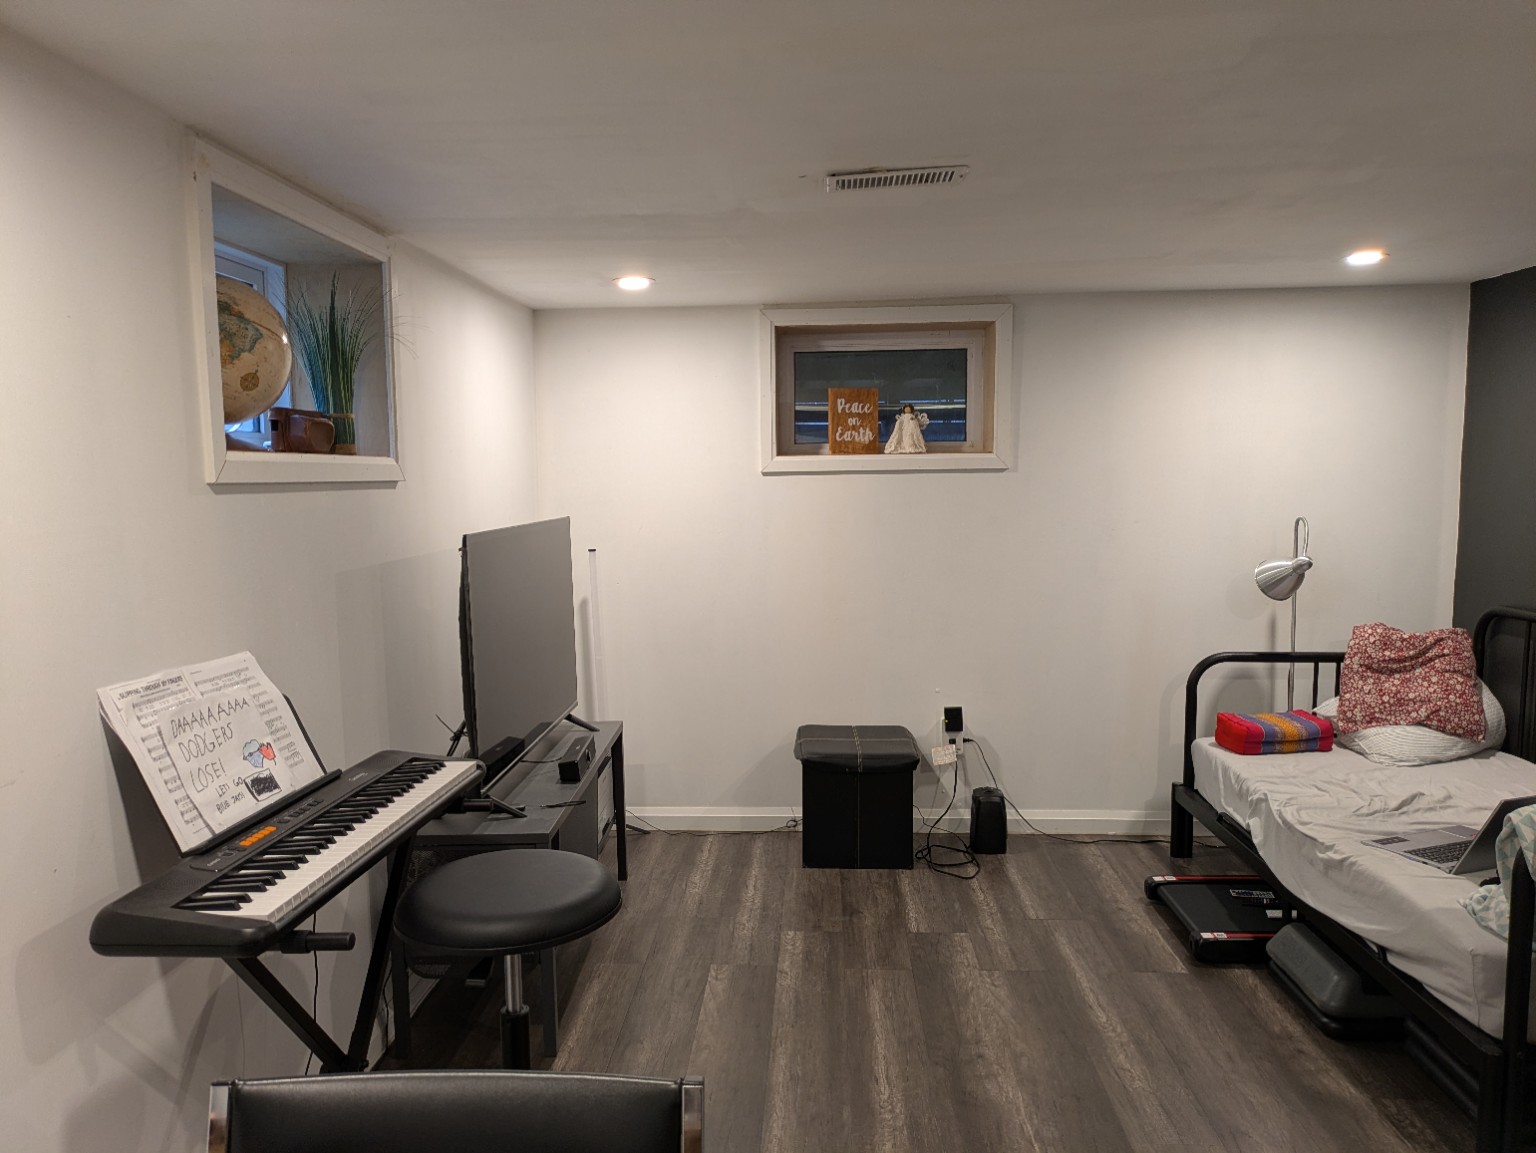
I wanted something that looked a lot more like a cool podcast studio.
So I bought a couple of inexpensive colored lights from Amazon for about $40.
Here's how I arranged everything:
Blue light: On one side of my background.
Orange light: On the other side.
Indirect white light: A small amount of light bounced off a wall to help illuminate my face. Much less than most experts recommend.
Overhead lights: Turned off.
That's pretty much it.
The important part for me is that I don't have a bright key light pointing directly at my face.
The very soft and indirect lighting is much more comfortable for me, and the blue and orange lights make the background look pretty cool.
But there was a problem.
With such a small amount of light on my face, my camera wasn't getting enough light to produce the image I wanted.
I had to do a lot of experimentation to figure out what actually worked in low light.
My Camera Settings for Low-Light Podcast Recording
I'm using a Canon Rebel T6i DSLR camera.
It's from 2015, so we're not exactly talking about the latest and greatest camera technology here. Lol.
But it works.
The trick was figuring out how to get a reasonably bright image without adding more lighting.
Here are the camera settings I ended up using:
Camera: Canon Rebel T6i
Camera Mode: Manual (M)
ISO: 1600
Aperture: f/3.5
Shutter Speed: 1/40 second
White Balance: Daylight
White Balance Shift: Slightly toward blue (B2)
The most important setting for this particular experiment was ISO 1600.
If you're unfamiliar with ISO, here's the simple explanation.
ISO controls how much your camera amplifies the image signal.
Increasing ISO makes your recorded image brighter without needing to add more light to the room.
But there's a trade-off.
Higher ISO settings introduce more noise or graininess into your video.
That's why you'll often hear people recommending that you keep your ISO as low as possible.
And generally speaking, that's good advice.
But what happens when you are like me with migraines and you don't want to add more light?
You have to make some compromises.
One other thing: my 1/40-second shutter speed is what I was experimenting with, not necessarily the ideal setting for everyone. Slower shutter speeds can introduce motion blur, especially when you're recording video.
Before I figured out the key to my whole setup was the ISO setting, I tried taking a video in my low-light studio in automatic mode.
I originally had my camera in Program mode with Auto White Balance, and the results were terrible. Instead of getting distinct blue and orange lighting, everything had this weird pinkish tint.
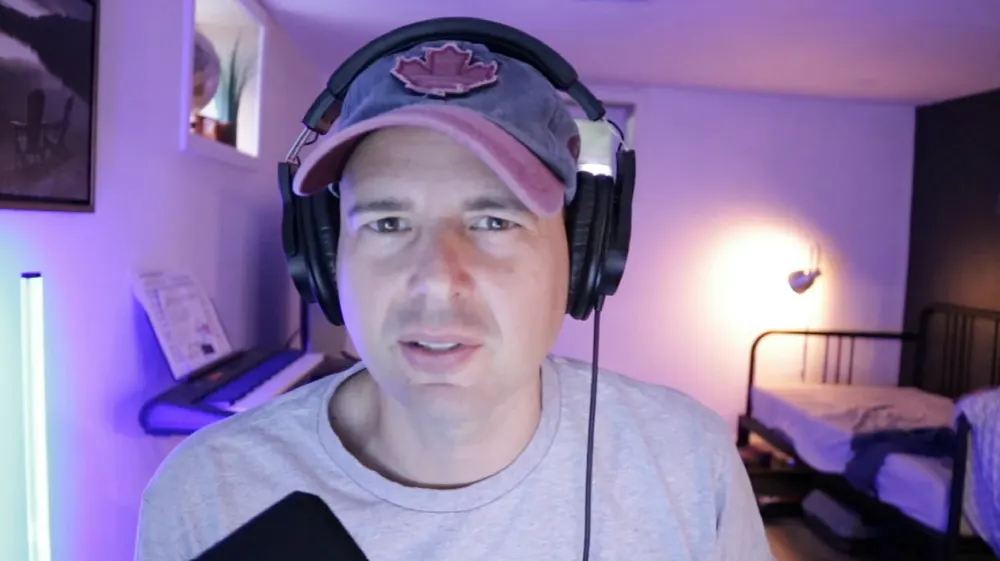
After experimenting with the settings, I switched to Manual mode and Daylight White Balance. That finally gave me much better control over the colors.
You'll notice that I moved my blue light to the back in my final setup, but this pink thing was happening regardless of where the blue light was. It was all about the poor setting choice.
ISO 800 vs. ISO 1600: My Actual Results
ISO 800 is a much higher ISO setting than most podcasting experts would recommend, but it was still too low for me in my preferred dark room.
I started experimenting with different ISO settings to see how much light I could get without turning on a bright key light.
ISO 800: Way Too Dark for Me
First, here's what my camera produced at ISO 800.
Look at that.
The blue and orange background lights actually look pretty cool.
But my face is way too dark. I didn't even bother taking screenshots of ISO settings below 800, because I was obviously even darker than in this one.
And remember, ISO 800 isn't exactly an extremely low ISO setting.
I could have kept that ISO setting and added more light to my face with a key light, but that would have defeated the whole purpose of this experiment.
So I decided to increase the ISO instead.
ISO 1600: Much Better
Next, I changed my ISO to 1600.
Much better!
My face is reasonably well-lit, and the blue and orange background still looks good.
I'm a little too close to the camera in this particular screenshot, so I'm slightly out of focus. But you can clearly see the improvement in brightness.
Is the image perfectly crisp and noise-free?
No.
But it's a pretty good result considering I'm using an old DSLR in a basement with very little light.
And most importantly, I don't have bright lights shining in my face.
That's a trade-off I'm more than happy to make. Now I can make a good-looking podcast or screen recording video, but without the eye strain, migraine, or headache.
It's funny to think that I didn't change a thing with the lighting between the ISO 800 and ISO 1600 images. I just changed the ISO setting (and my clothes because I ended up taking a shower in the middle of all my setting changes)
Of course, different cameras handle high ISO settings differently. A newer camera would produce a cleaner image at ISO 1600 than my Canon T6i.
The point isn't that everyone should use ISO 1600.
It's that you should experiment with your own camera settings instead of blindly following advice that might not work for your situation.
How I Record Podcasts in Low Light With Podsplice
One thing that made all this experimenting easier was being able to record quick test videos and see exactly how everything looked.
My brother and I have been podcasting since 2006, and we've been building our own podcast recording and editing software.
It is called Podsplice.
We started building it because we were tired of complicated recording software.
And I use it for my own podcasts.
With Podsplice, I can open my browser, select my camera and microphone, and start recording. Everything is recorded in high quality and on separate tracks. I can even include the system audio if I want to make a reaction video.
Podsplice makes testing different lighting and camera settings pretty easy.
For example, when I was experimenting with ISO 800 and ISO 1600, I could record a short video, watch it back, change a setting, and record another one.
No complicated setup. No need to publish anything.
Just record, watch, and make adjustments.
I also use Podsplice to record interviews with remote guests, capture my screen, edit recordings, and turn longer podcasts into short clips for social media.
And since I'm already using it to record my actual podcasts, I can see exactly how my lighting and camera settings will look in the finished recording.
You Don't Need Bright Lights to Have a Good Podcast Studio
I'm pretty happy with how my low-light podcast studio looks now.
It's not perfect, but it's a huge improvement over my original basement setup.
And I didn't need an expensive camera or professional studio lighting to get there.
I spent about $40 on colored lights, experimented with my camera settings, and figured out how to get a decent image without bright lights shining directly at my face.
If you're someone who gets migraines, headaches, or eye strain from bright lighting, don't assume you need to follow the traditional podcast lighting setup.
Try softer, indirect lighting. Experiment with your ISO and exposure settings. See what your camera can do in a darker room.
You might have to accept a little more noise in your video, but that doesn't necessarily mean your podcast will look bad.
A podcast studio should be comfortable enough that you actually want to spend time recording in it.
And for me, that means keeping the bright lights off.
About the Author
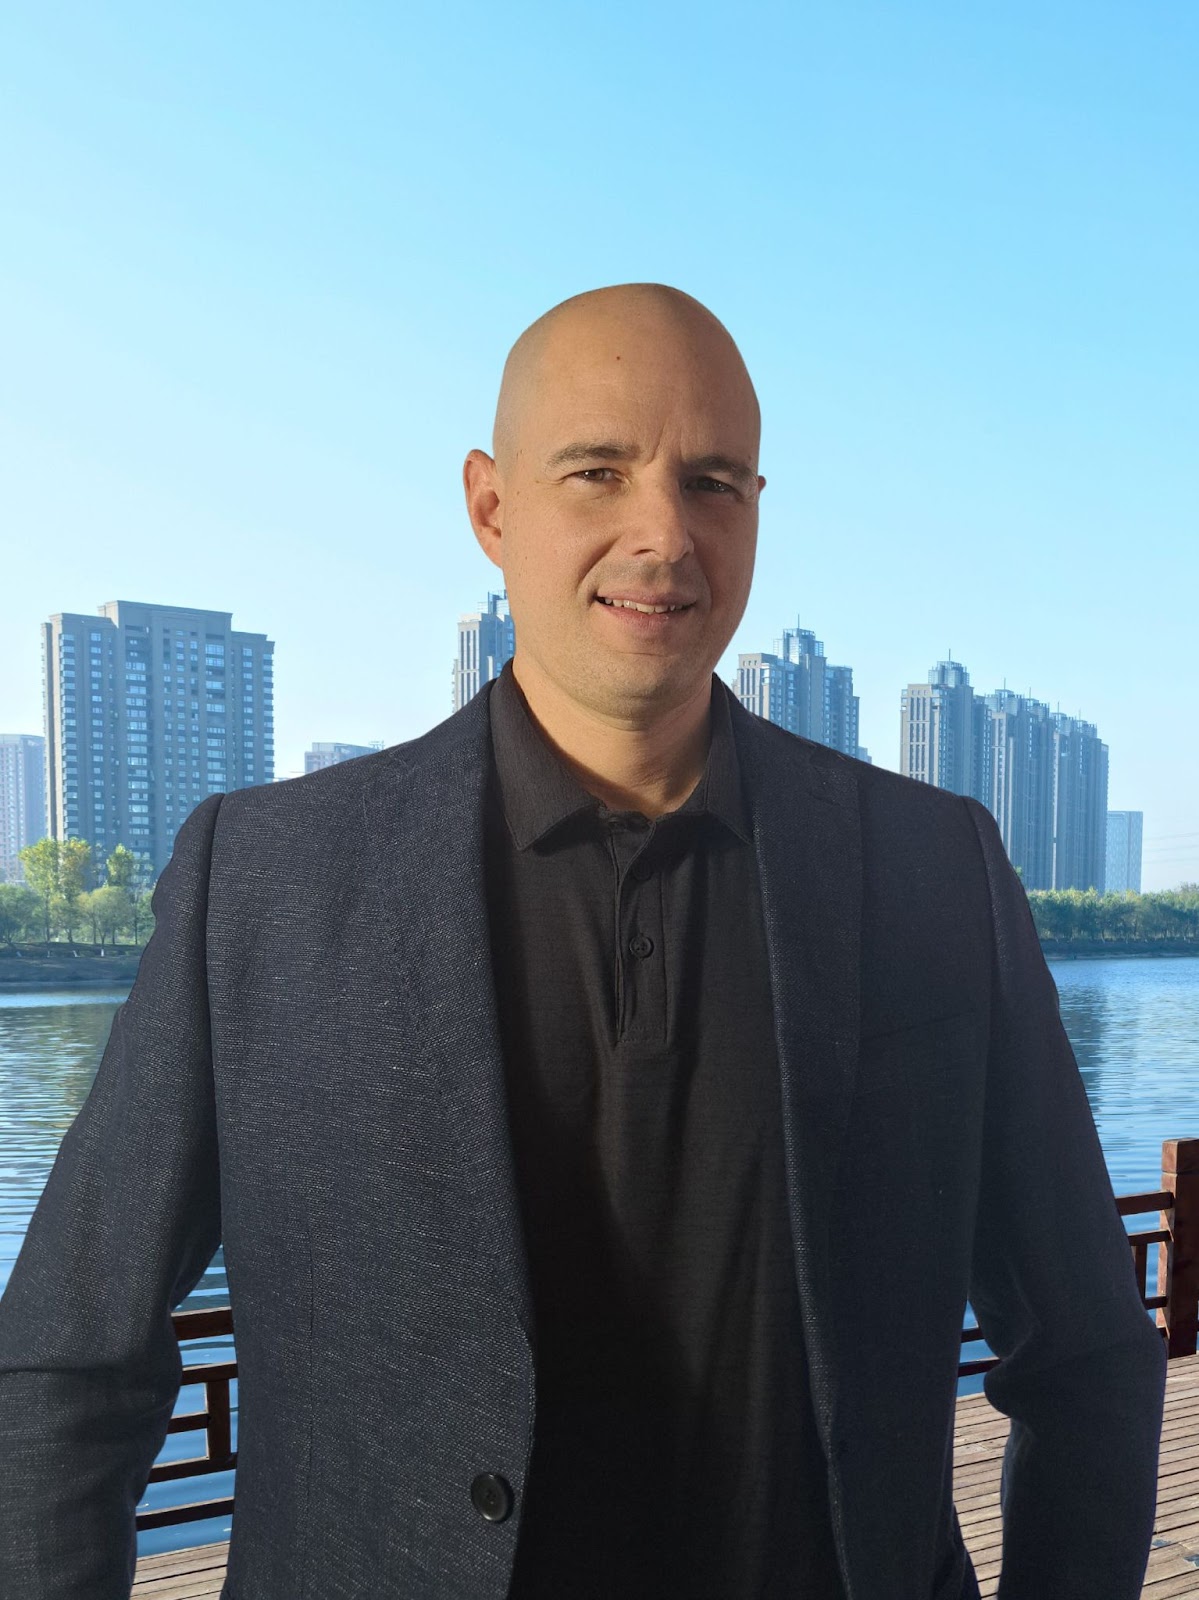
Andrew Best
Andrew Best is an entrepreneur, educator, and AI expert with over two decades in online marketing. He co-founded China232 — a podcast and learning platform with 10M+ downloads — and later 88Herbs, a premium supplement company. Andrew now focuses on helping creators leverage AI for podcasting, screen recording, and YouTube content through Podsplice.
More from Podsplice
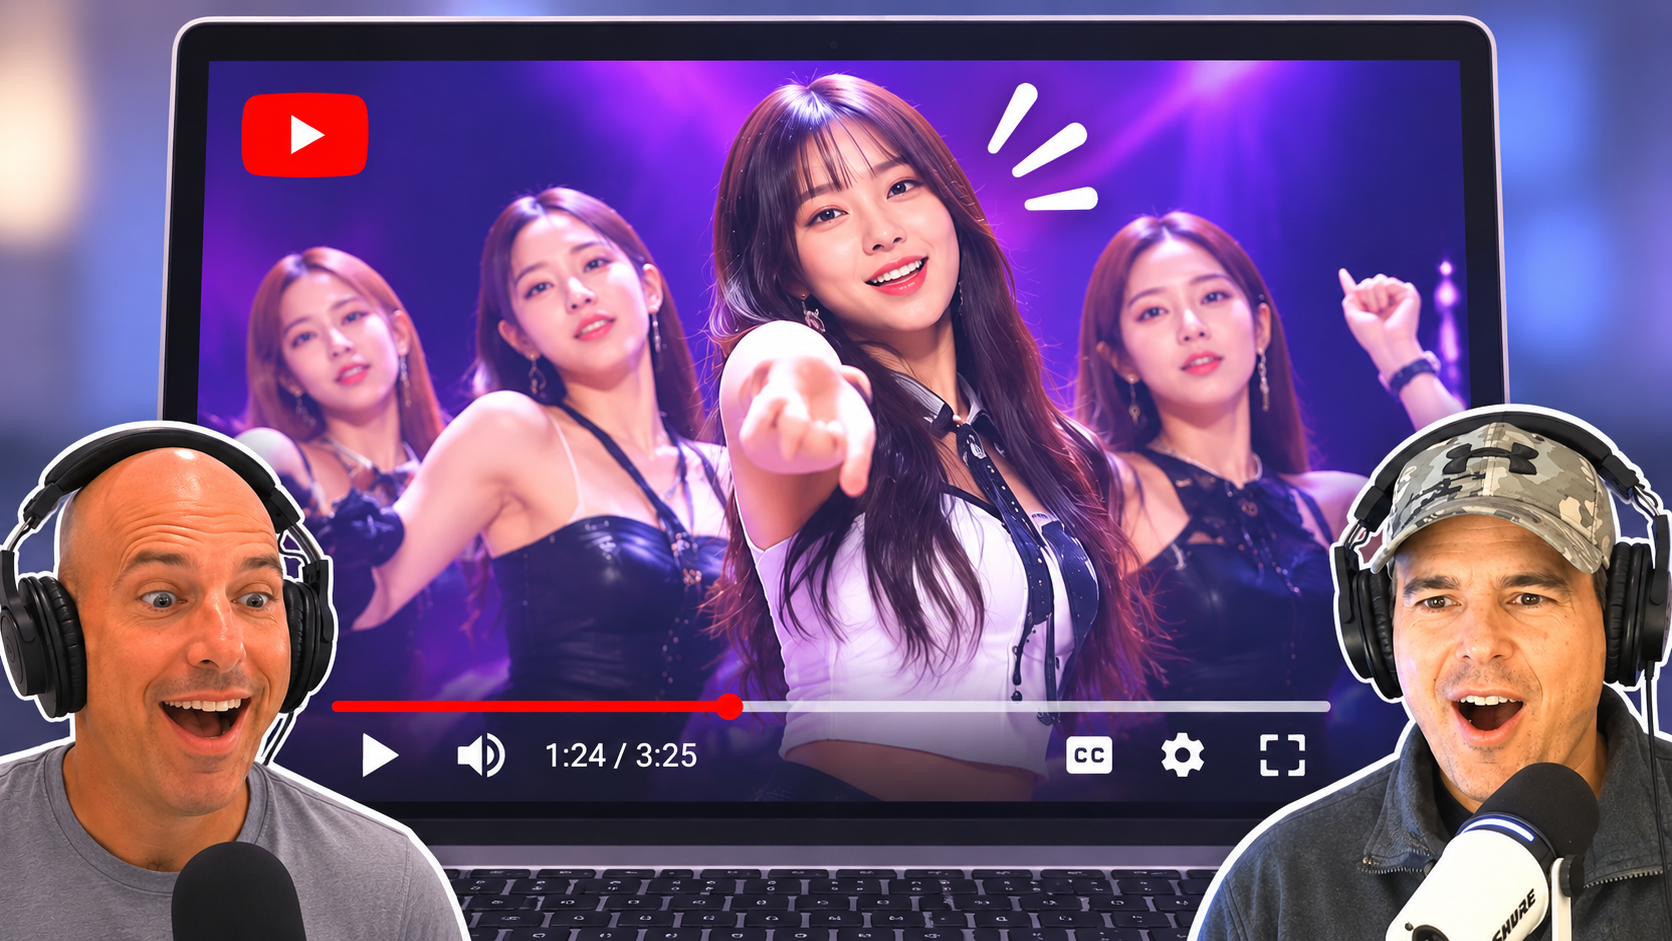
How to Record a Reaction Video With a Co-Host in Different Locations (Easy Step-by-Step Tutorial)
Article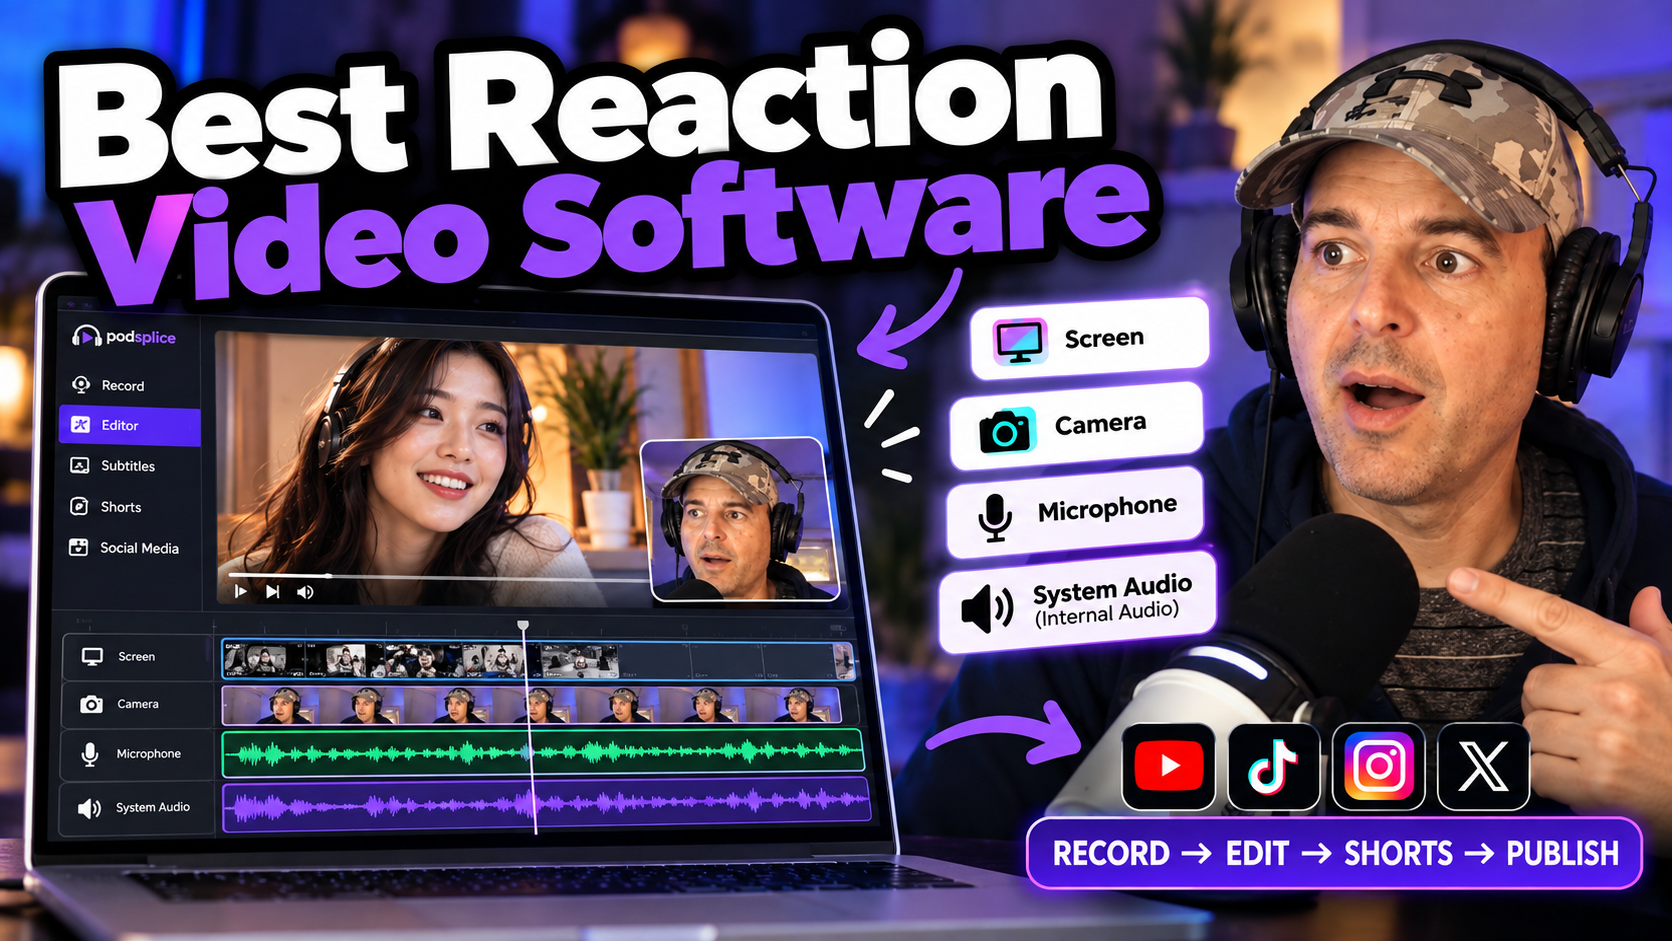
Best Reaction Video Software: Why we Built Podsplice
Article
How to Screen Record with System Audio in 2026: The Easiest Way (Complete Guide)
Article
How Mortgage Brokers Can Get Clients With Animated YouTube Videos (Human + AI)
Article
Record System Audio on Mac and Windows
Article
Start Recording in Seconds
No downloads. No setup. Just hit record and share your story with the world in studio quality.
Looking for a Screen Recorder or Remote Recording tool?