
Remove Ambient Background Noise From Your Videos
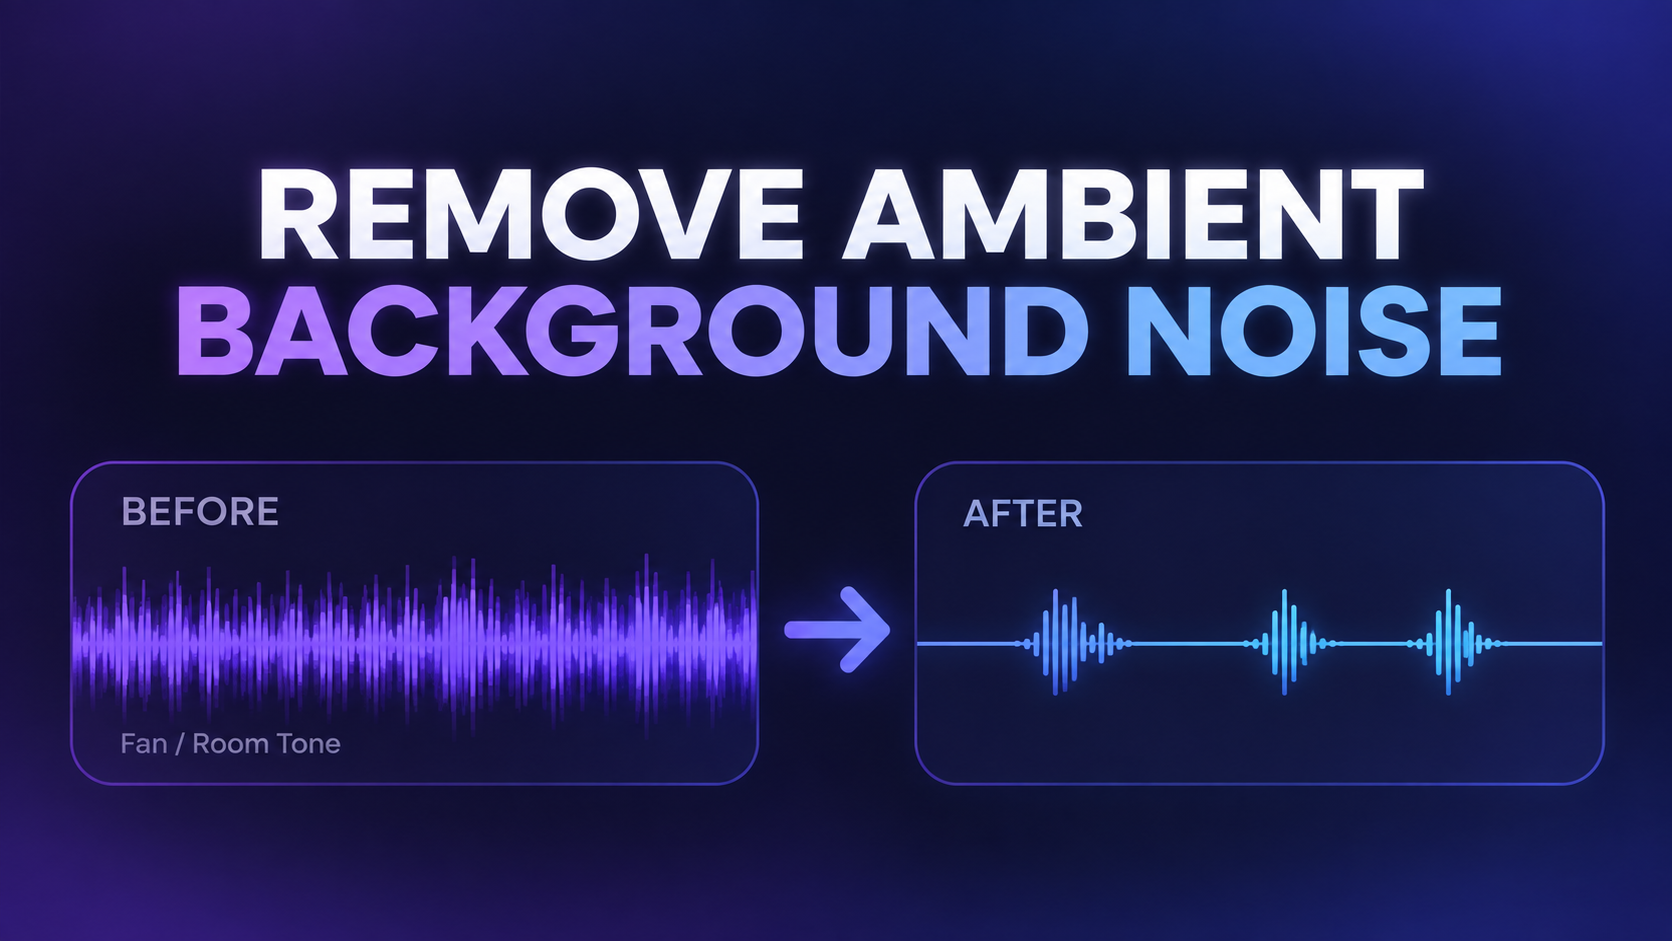
How to Remove Ambient Background Noise in Podsplice
Sometimes you finish recording a video or podcast and realize there is a constant noise in the background.
It might be:
A computer fan
An air conditioner
HVAC noise
Electronic hiss
A nearby room fan
General room tone
These types of sounds are different from sudden noises like a dog barking, somebody dropping something, or a car horn.
Because the noise is relatively steady and consistent, Podsplice can analyze what it sounds like and reduce it throughout your recording.
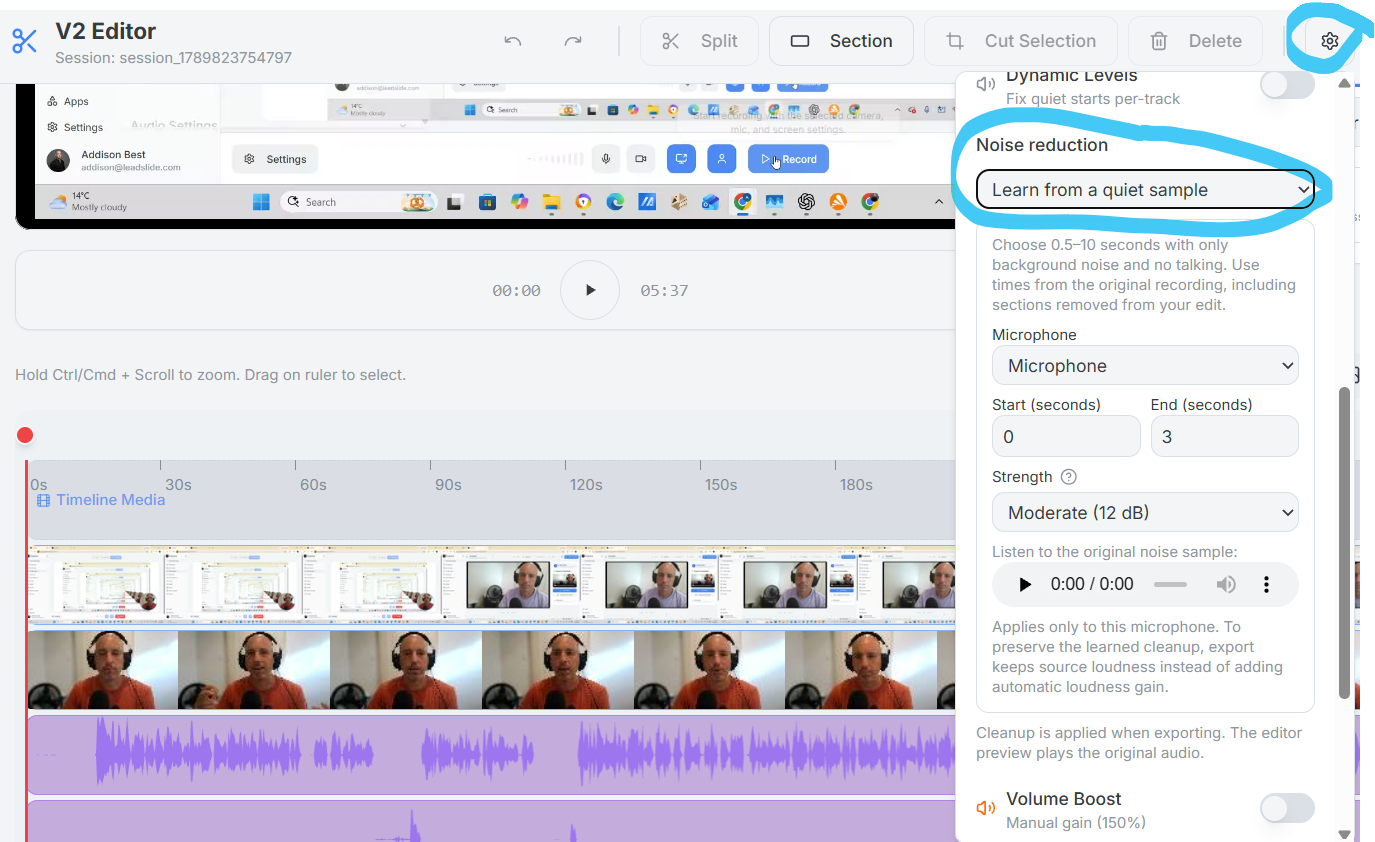
You can choose between a simple automatic cleanup or let Podsplice learn the noise from a quiet section of your recording.
The Three Noise Reduction Settings
Podsplice gives you three main options.
Off
Off leaves your recorded audio exactly as it was recorded.
If your microphone already sounds clean and there is no noticeable background noise, there is no reason to process the audio.
Noise reduction can slightly affect the sound of a voice, especially at stronger settings, so leaving it off is usually best when you do not need it.
Automatic Light
Automatic Light applies a gentle amount of cleanup automatically.
You do not need to select a noise sample.
It is useful when you have relatively mild background noise such as:
Light computer fan noise
Small amounts of hiss
General room noise
Very light HVAC sound
Automatic Light is deliberately conservative. The goal is to reduce a little unwanted noise while keeping the voice sounding as natural as possible.
For many normal recordings, this may be all you need.
Learn From a Quiet Sample
If the background noise is more noticeable, you can let Podsplice learn exactly what the unwanted noise sounds like.
Select between 0.5 and 10 seconds of your recording where nobody is speaking.
A 3–5 second sample will usually work well.
For example, if you have a fan running in the background, choose a section where the fan can be heard but nobody is talking.
Podsplice analyzes that section and creates a frequency profile of the background sound.
It then looks for those same frequencies throughout the microphone recording and reduces them.
Choose Your Sample Carefully
For the best result, your sample should contain only the background noise you want removed.
Do not choose a section containing:
Speech
Music
Keyboard taps
Doors closing
Other people talking
Sudden noises
The cleaner the sample, the more accurately Podsplice can identify the steady background sound.
How Much Noise Reduction Should You Use?
After selecting a quiet sample, you can choose how strongly Podsplice reduces the learned noise.
The strength is measured in decibels (dB).
The larger the reduction, the more aggressively Podsplice removes the background noise.
However, stronger processing can also have a greater effect on the natural sound of your voice.
That is why you normally want to use the lowest setting that solves the problem.
Gentle — 6 dB
Gentle removes approximately 6 dB of the learned background noise.
This is the lightest noise reduction option.
Use it when the background noise is present but not particularly distracting.
It has the smallest impact on speech quality and is a good choice for recordings where you want to preserve as much of the original sound as possible.
Moderate — 12 dB
Moderate reduces the learned noise by approximately 12 dB.
This is usually the best place to start.
It can make a noticeable difference with common problems such as:
Computer fans
Room fans
Air conditioning
Electronic hum
Consistent background hiss
In most cases, Moderate can substantially improve the recording without making the speaker's voice sound noticeably processed.
If you are unsure which setting to use, start with Moderate.
Stronger — 18 dB
Stronger applies approximately 18 dB of noise reduction.
This is useful when the background noise is fairly prominent and Moderate does not remove enough of it.
At this level, you may begin to notice a small change in the texture of the voice.
That does not necessarily mean it will sound bad, but you should listen to the exported result and compare it with the original.
Maximum — 24 dB
Maximum applies up to approximately 24 dB of noise reduction.
This is designed for unusually loud and constant background noise.
For example, in our test recording we deliberately used a very loud fan to demonstrate how much noise could be removed.
Maximum can be useful for rescuing a recording that would otherwise be difficult to use.
However, aggressive noise reduction can sometimes make speech sound:
Watery
Metallic
Less natural
Slightly processed
For that reason, do not automatically choose Maximum just because it removes the most noise.
Start with Moderate and move up only when necessary.
What Happens When Podsplice Removes the Noise?
Noise reduction is applied as part of the export process.
First, Podsplice reads the quiet section you selected and creates a profile of the background noise.
It then reduces frequencies matching that profile throughout the selected microphone track.
After the noise is reduced, Podsplice also adjusts the speaking level using a fixed, peak-safe level adjustment.
This is important because simply making an entire recording quieter can sometimes give the impression that the noise reduction worked better than it really did.
The goal is to keep the voice at a useful listening level while reducing the unwanted background sound.
The processed microphone tracks are then mixed together into your final exported video.
Why Doesn't the Editor Preview Sound Different?
The audio you hear while previewing your project inside the editor is still the original recorded audio.
The noise reduction is applied when Podsplice processes the final export.
So after changing your noise reduction settings, export the video and listen to the resulting file.
This also makes it easy to compare the original recording with the processed version.
Noise Reduction for Interviews
Noise reduction can be especially useful for remote interviews and podcasts.
For example, your microphone may sound perfectly clean while your guest has:
A laptop fan
An air conditioner
Background hiss
A noisy room
You do not need to apply noise reduction to every participant.
Choose the microphone containing the unwanted sound and process only that microphone.
This preserves the original audio quality of the other speakers while cleaning up the problematic track.
What Types of Noise Work Best?
Noise profiling works best with sounds that remain fairly consistent over time.
Good examples include:
Fans
Air conditioners
HVAC systems
Computer fans
Electrical hum
Electronic hiss
Steady room tone
It is much less effective for unpredictable sounds such as:
Dogs barking
Keyboard clicks
Traffic horns
Doors closing
People talking
Sudden impacts
Those sounds change too much for a simple background-noise profile to remove them cleanly.
Tips for Better Results
For most recordings:
1. Find 3–5 seconds with no speech.
Choose a section containing only the unwanted background noise.
2. Make sure the noise is representative.
The fan or hum during your sample should sound similar to the noise during the rest of the recording.
3. Start with Moderate — 12 dB.
This is generally a good balance between noise removal and natural voice quality.
4. Increase the strength only if necessary.
Try Stronger or Maximum if too much noise remains.
5. Export a short test.
Listen to the processed audio before exporting a long project.
6. For interviews, process only the noisy microphone.
There is no reason to alter clean tracks.
More from Podsplice
Repurposing: Turn Long Podcasts into Viral Shorts
Article
Why Your Screen Recording Audio Sounds Bad (Even With a Great Mic)
Blog
Why WebM Files Break Your Premiere Pro Workflow (And the Easy Fix)
Article
Bitrate vs. Sample Rate: The Creator’s Guide to Crisp Audio
Article
Record Stereo Tab Audio in Chrome
Article
Start Recording in Seconds
No downloads. No setup. Just hit record and share your story with the world in studio quality.
Looking for a Screen Recorder or Remote Recording tool?